January is the perfect time to get organized for the new year. This includes backing up all of your photos from 2012, as well as, creating an organizational system for your 2013 photos.
I hope you have found – or will find – a way to block out time in your busy schedule to back up and get ready for all of your 2013 photos.
 Q: How do you organize your photos?
 A: Oh how I love to organize! Of course, if you ask my husband, he will ask how my organizational systems are helping the mess in our basement. 😉 Hmmmmm…no answer for that one! But creating an organizational system is key for your photos on your hard drive…and is the one I’m more excited about tackling! It’s great to know where they are in your computer and how to reference certain pictures you may be looking for.
You may already have your own specific system…If so, perfect! But if you don’t, I thought I would share with you some tips for organizing your photos.
1. Import by date.
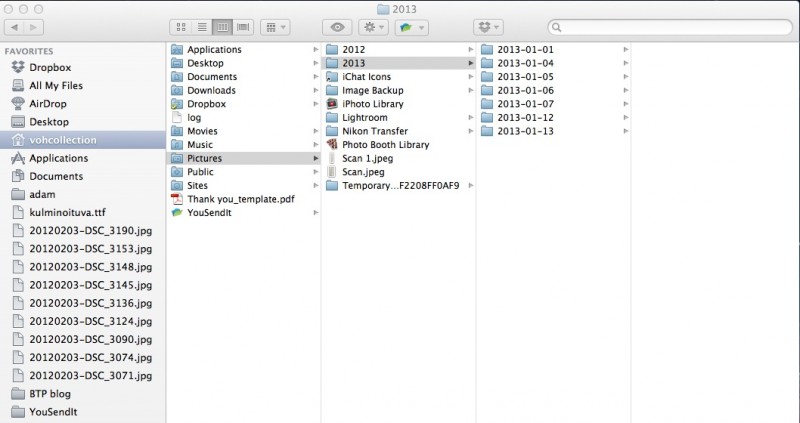
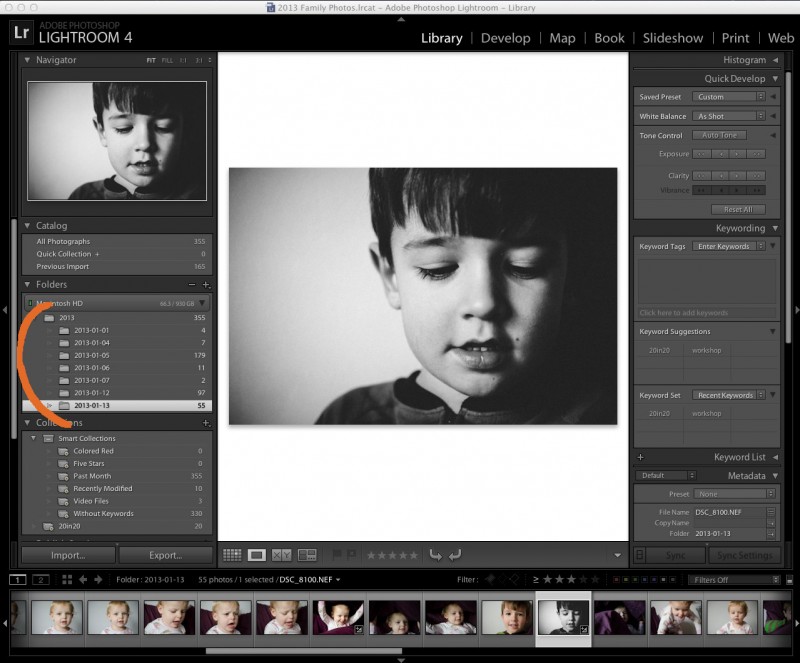
All of my photos are imported and organized by Lightroom with the file name set up as the date. I love it because it is all automatic. You can select this in Lightroom and you can establish it on most cameras.
At the start of every year, I create a new Lightroom catalog to organize my annual photos.
2. Delete, Delete, Delete!
Delete photos right away that you don’t need. The key to this is to do it immediately, otherwise you forget and photos pile up on your hard drive. I often take several photos to get the 1 or 2 I really want. If I don’t delete the practice pics upon import, they sit and take up unnecessary space on my hard drive.
3. Rank your photos.
Star photos that you love and want to come back to – either to edit, put on facebook, or export to go into a photo book. I start with 3 stars for the photos I want to edit or upload. When I go back though all of my 3 stars
4. Keywords.
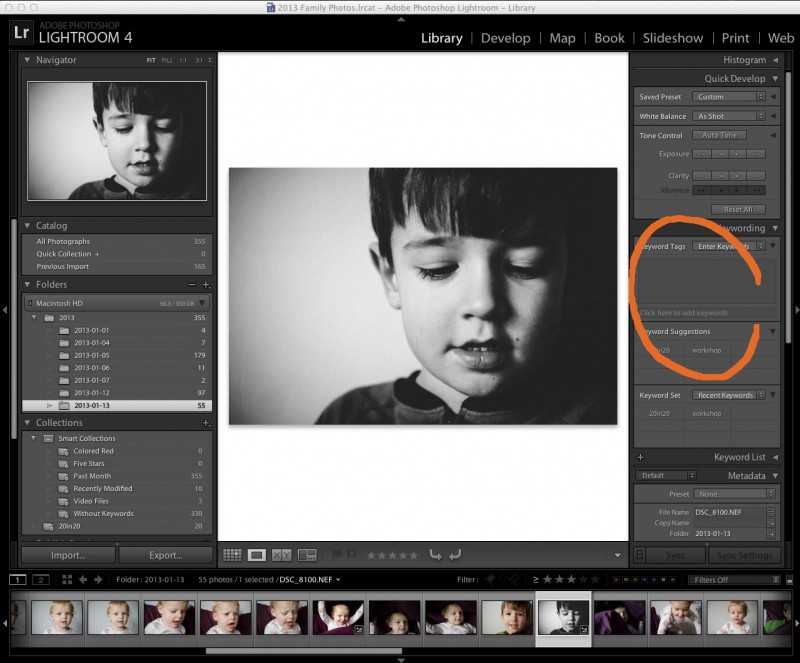
Create keywords, either in Lightroom, iPhoto, or on the folder on your desktop. If your photos were taken during a vacation, you can label the folder, “2013-01-16_Vacation”. This is helpful when you may be looking for a particular photo a couple months from now. With keywords, you can be as specific as you like but I recommend to keep things short and sweet!
5. Smart Collections/Albums.
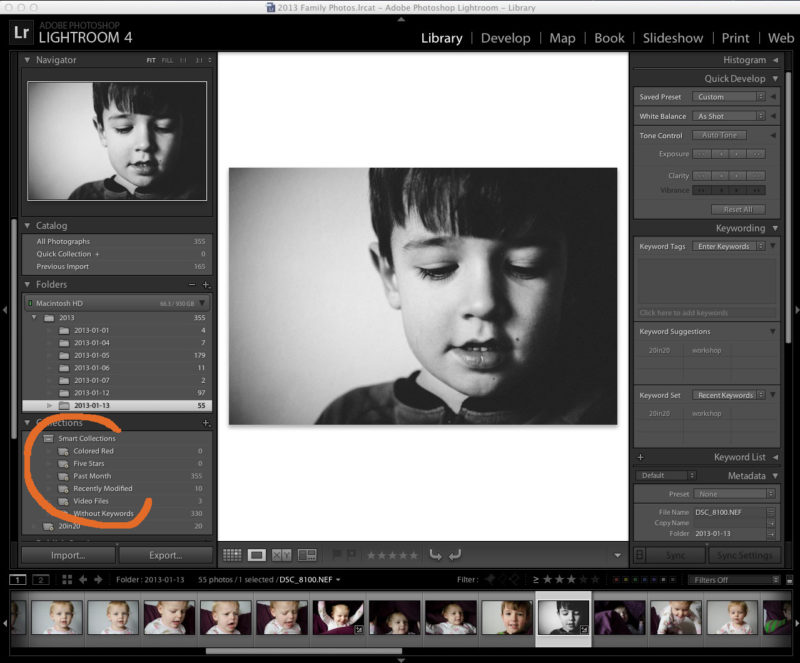
Create a Smart Collection for photos that I want to be in consideration for my photo book. I love Smart Collections! This can be done in Lightroom but also in iPhoto!
So here is my summary:
1 – Import with date.
2 – Delete unwanted photos.
3 – Star photos I really like.
4 – Edit or upload photos I really like.
5 – Revise rating. If I really love the photo/edit, I change it to a 5. Not so much, goes to a 1.
6 – Mark it with a keyword.
7 – Upload it to my blog or smugmug.
8 – Ensure photos I want for my photo book are marked to go in my Smart Collection.
9 – Export all photos at the end of the month for my photo book.
10 – Back-up.
What keeps you organized? Leave a tip for us in the comments below.
Do you have a question you want answered? Let me know!


