Selecting photos is one of the first steps to photo book design. The photographs are what really provide the story, backbone and purpose for your photo book. And selecting photographs can be one of the first stumbling blocks to actually completing your photo book. That is the focus of this month’s Q&A!
 How do you select photos for a photo book?
[divider]
 1. Select photos that you immediately love.
You should select photos that you melt your heart when you see them. They could be technically great photos, with tremendous clarity or use of light. Perhaps they have an artistic creativity in its composition or content that immediately draw you in. Or, they can be photos that you perfectly capture the essence of your loved one or a moment that you want you want to freeze in time forever.
Of course, a particular photo addresses all three of these qualities, you will want to feature this photo as large as you can in your photo book.
2. Select photos that tell the story.
If your photos document a specific event or story, use an editorial eye to select the minimum number of photos you need to really tell the story. An example, if you want to include two pages in your photo book to feature a trip you took with your family to an amusement park, what are the necessary photos you need to tell the story of the day? I’m assuming you will have a lot of photos from the day. Maybe getting your tickets, riding roller coasters, driving bumper cars, eating lunch, watching a performance, and indulging in an afternoon snack. It’s important to think about what you want to describe from the day and what photos you need to really tell the story.
You may have a series about riding the roller coaster. Select 3-5 photos from this set. You may have four photos that you want to use to describe the morning (arrival), late morning, lunch, and afternoon. Finally, you may have a photo that you want to feature as a 5×7 somewhere throughout the spread. For this select your favorite aspect of the day; then the favorite photo to show that moment. It could be a portrait with a great smile and a toy that they received while at the park.
3. Select photos for their orientation.
When selecting photos, it is important to keep in mind the orientation of the photos you are selecting. Picking 3 horizontal photos and 1 vertical photo forces a very different layout from 4 horizontal photos that can all go in a square. Nothing is off-limits, it just helps to understand the concept of orientation early on. Often times, I like to layout photos in a square (all horizontal or all vertical) in groups of 4 (2 rows of 2) or 9 (3 rows of 3). This sets the orientation and the quantity so you know right away what you are looking for when your picking out photos.
4. Select photos for their processing.
Another preference I have, is to select photos with similar processing styles on a spread together. This means, all color photos on one spread and black and white on another. If you have three photos from a day that are black and white, stick with those 3. Now all you have to determine are the sizes.
5. Select photos for the quantity.
Similar to number 3, determining the quantity of the photos you want to capture an event or tell a story is a crucial first step to selecting your photos. This helps to define and limit what you are choosing. For some days, you may really only love 1 photograph. Other days, you may 300 photos. You could do 9 small photos on one page and 4 medium sized photos on another. This way, you will use the quantity of 13 to select the very best photos to include.
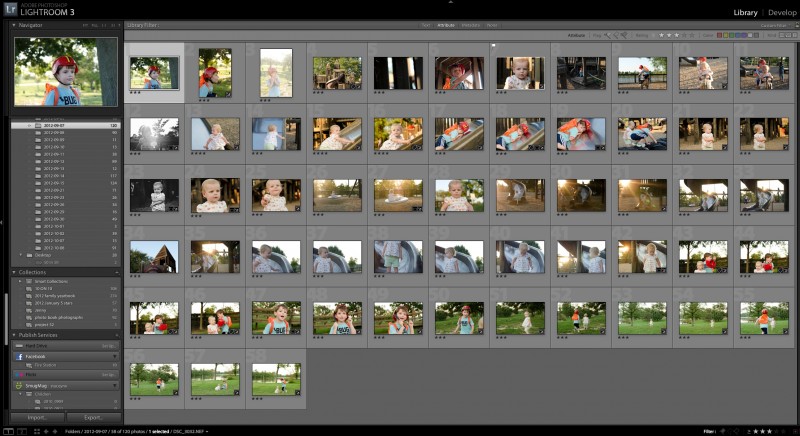
All of these tips will help guide you as you are looking through your catalog or folder of photos to determine what photos you should use in your photo book.
Let me know in the comment below, what quality makes you immediately love a photo!


