My computer is a tech dinosaur. Toward the end of 2017, it was taking entirely too long to do anything so I decided to move my photos completely off of my computer and onto an external hard drive.
Fast forward to the end of 2018, one evening I set my laptop down a little too quickly. The next morning, my external hard drive was not turning on. Immediate panic set in.
Of course, I have a back-up system. Several years ago, I had a similar mishap and set up multiple back-up systems. In fact, I now have files in so many places it’s hard to know if it’s duplicated or quadruplicated.
Yet, my little external hard drive containing my 2018 photos, somehow missed my back-up system. Yep, it felt as though my memories from 2018 vanished in an instant. Several weeks and hundreds of dollars later, I got my photos back.
After all of this happened, I knew it was time to update my back-up system and I wanted to share with you my process for backing up my computer….primarily my photos.
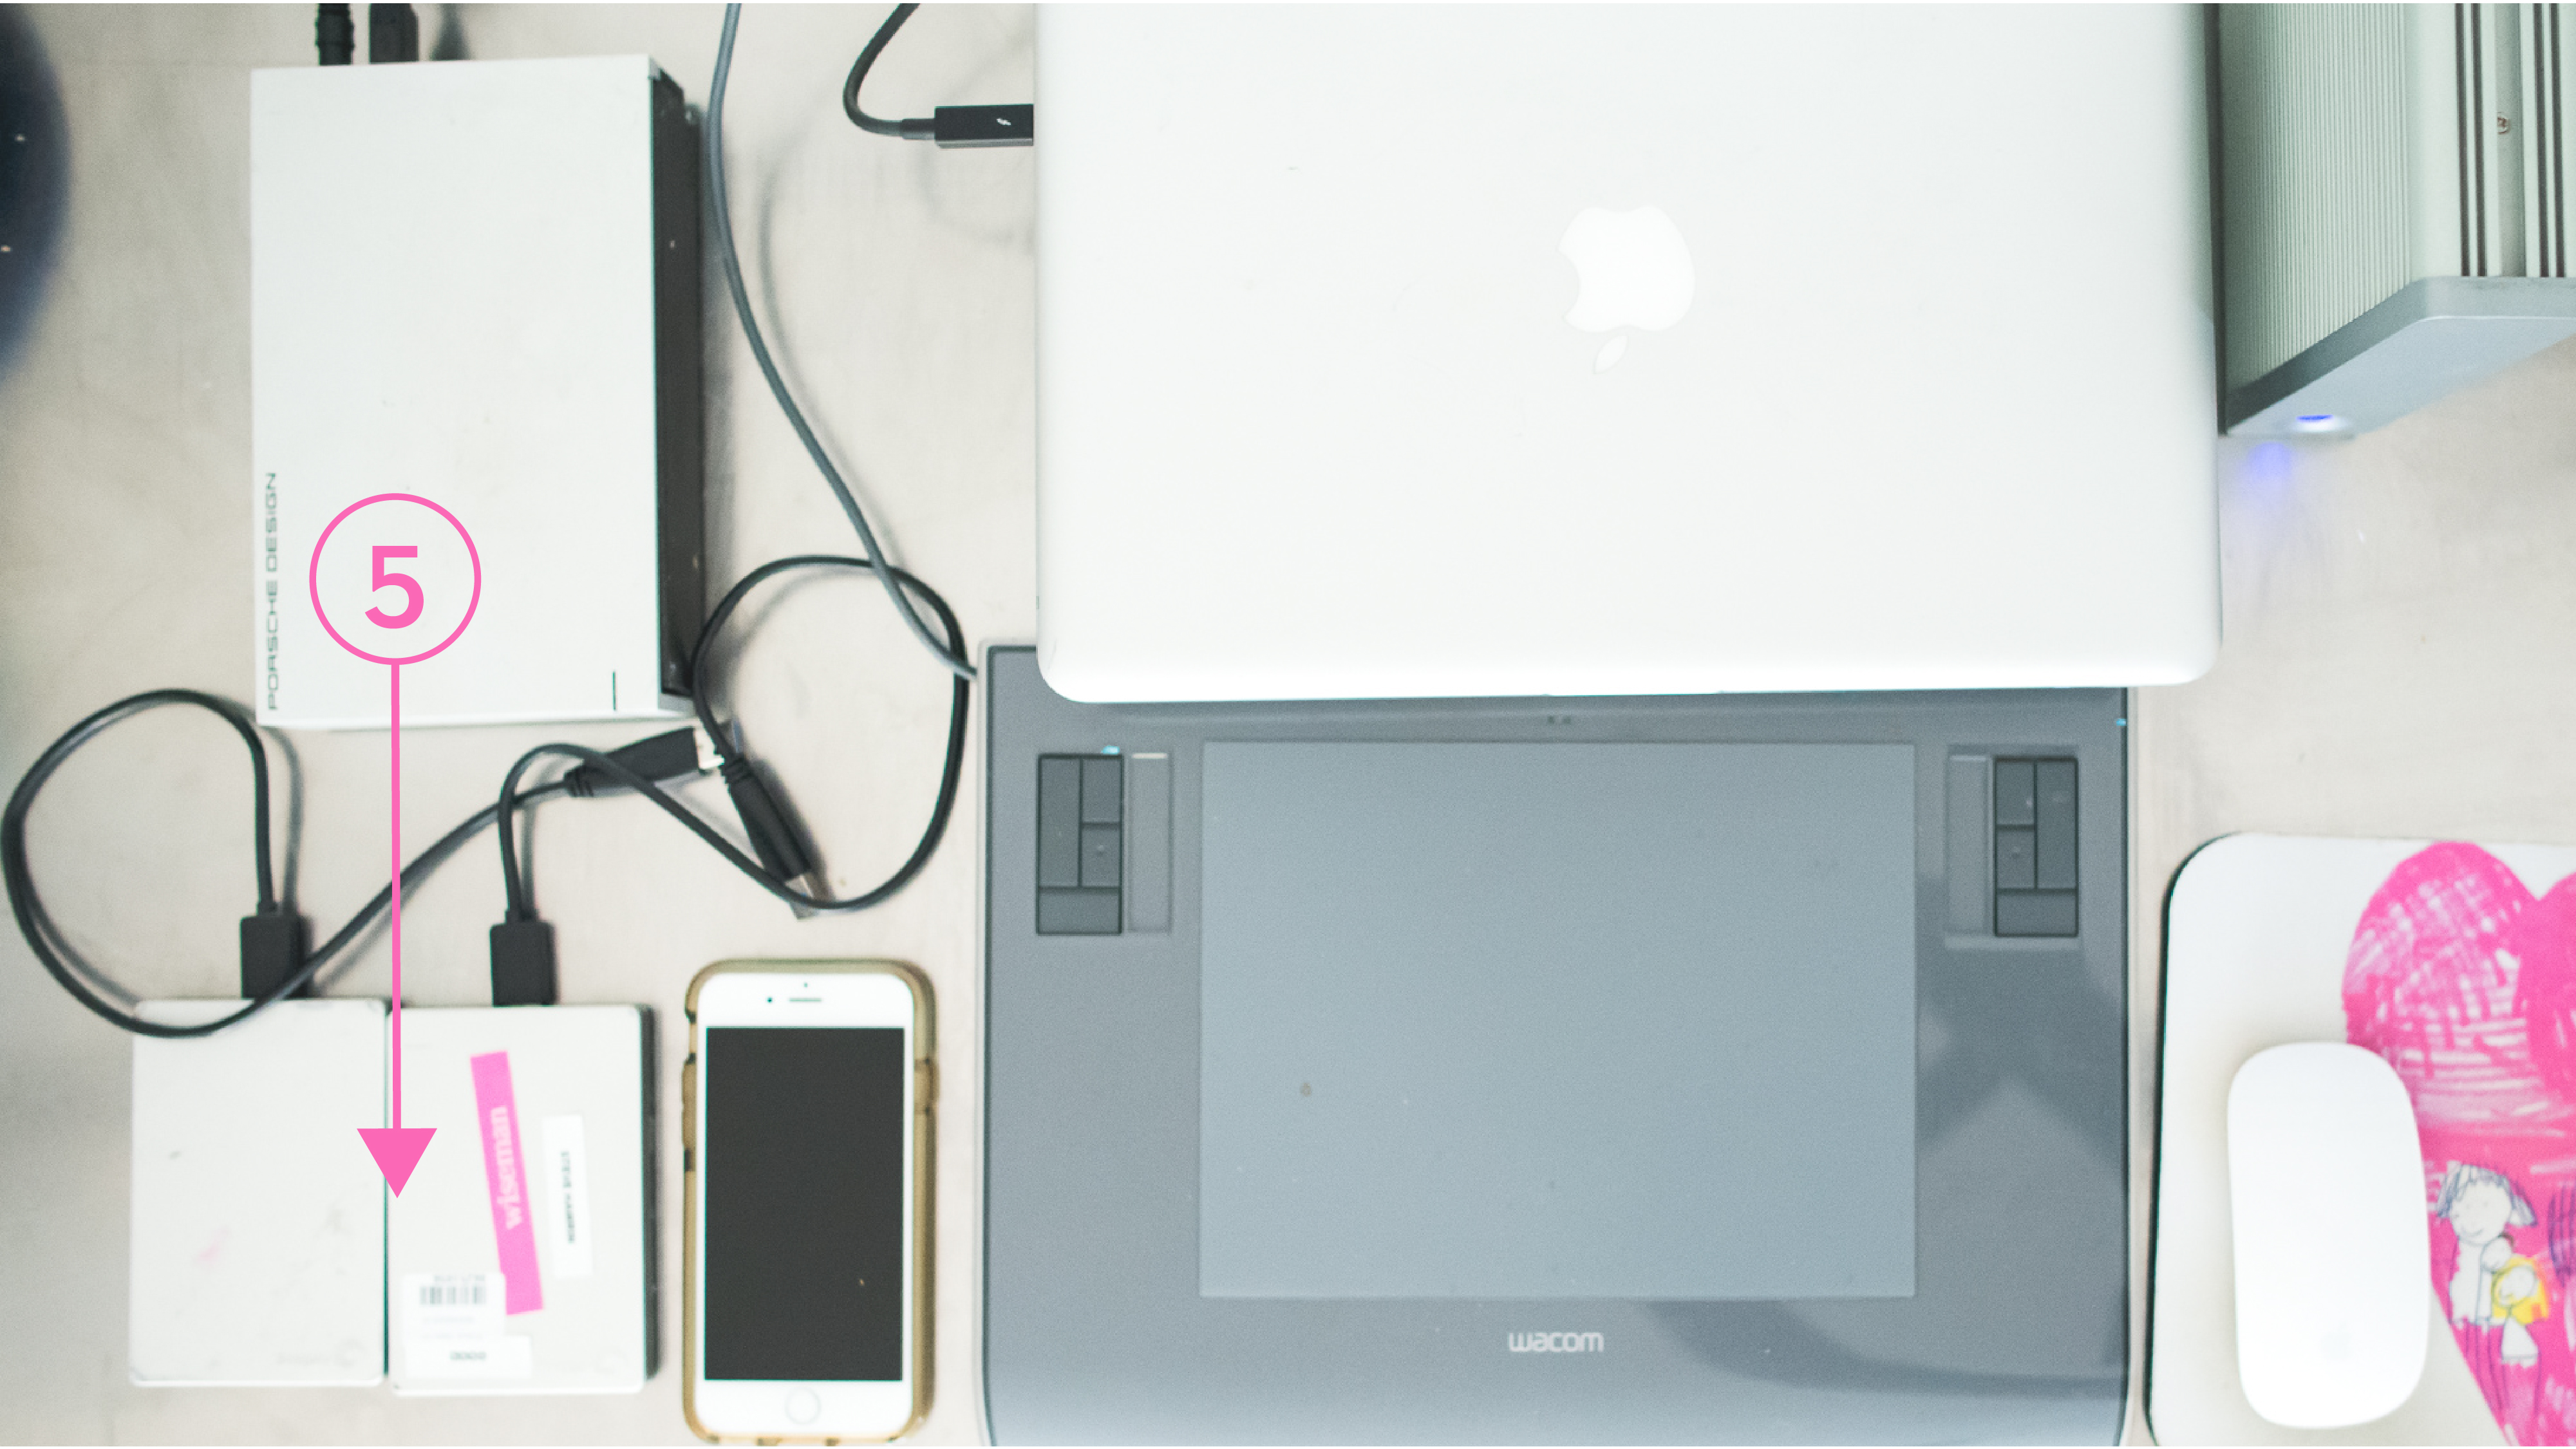
My 5 Step Method to Backing up my Photos
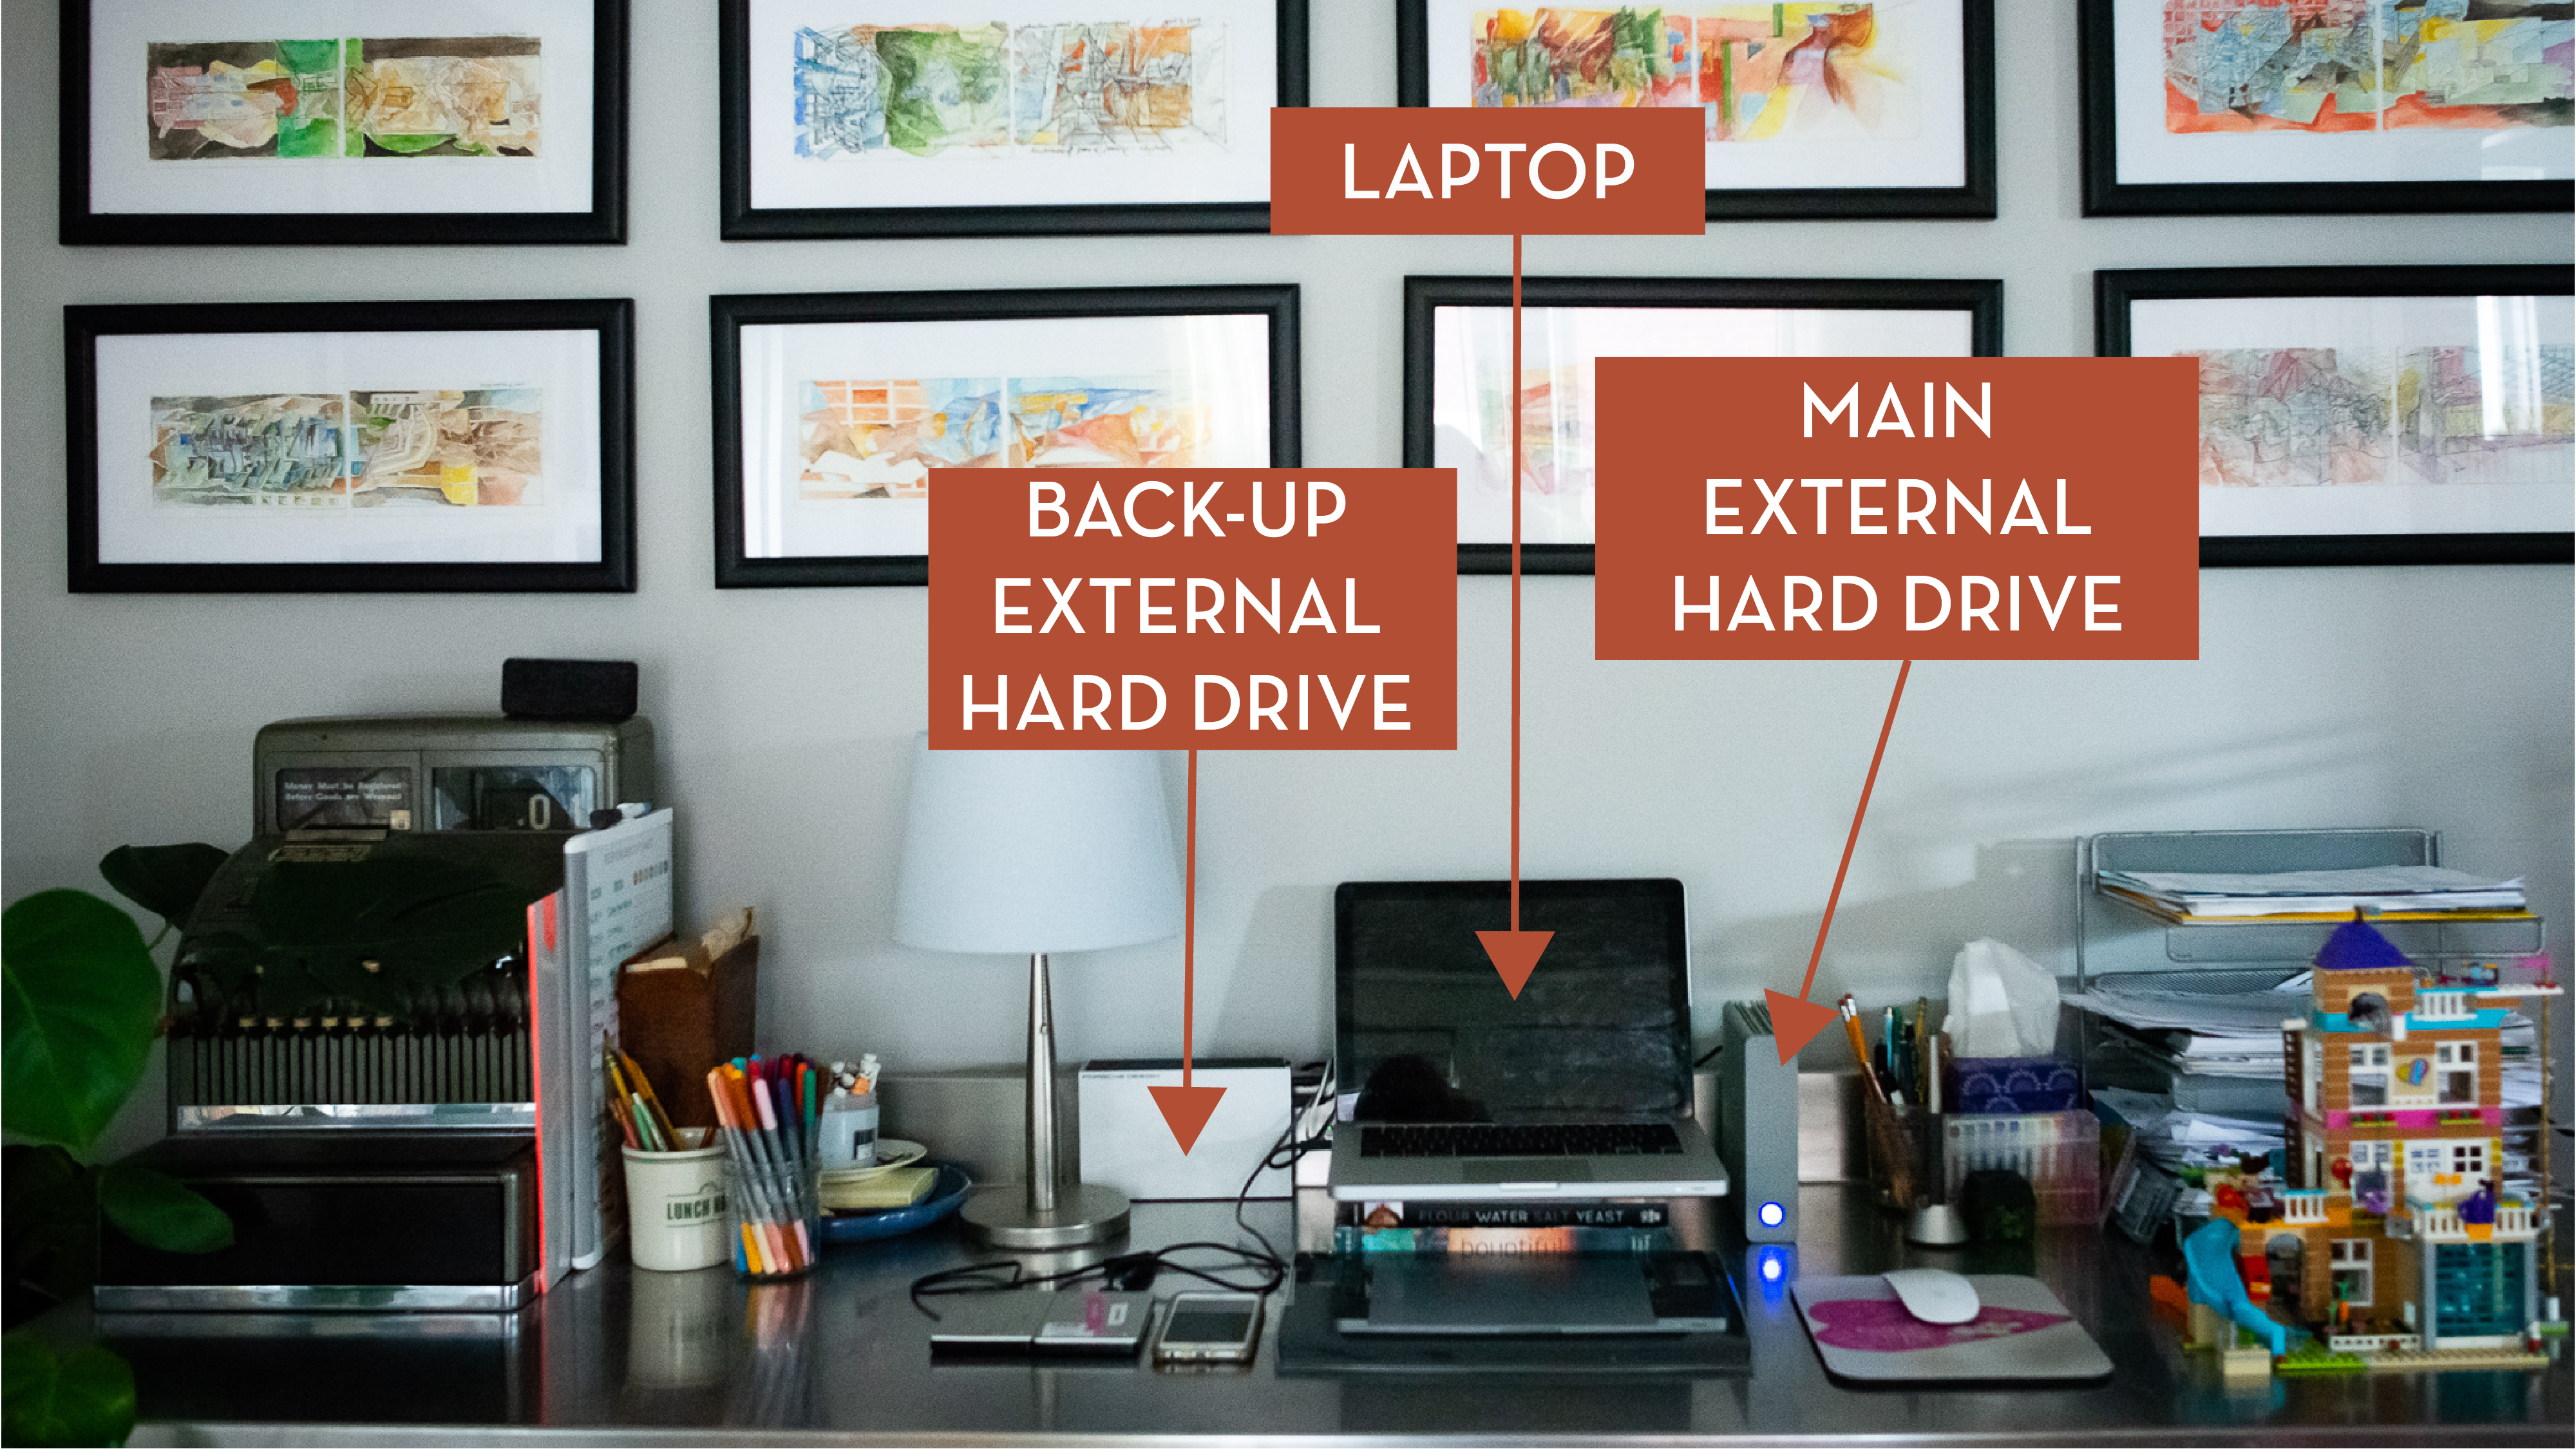
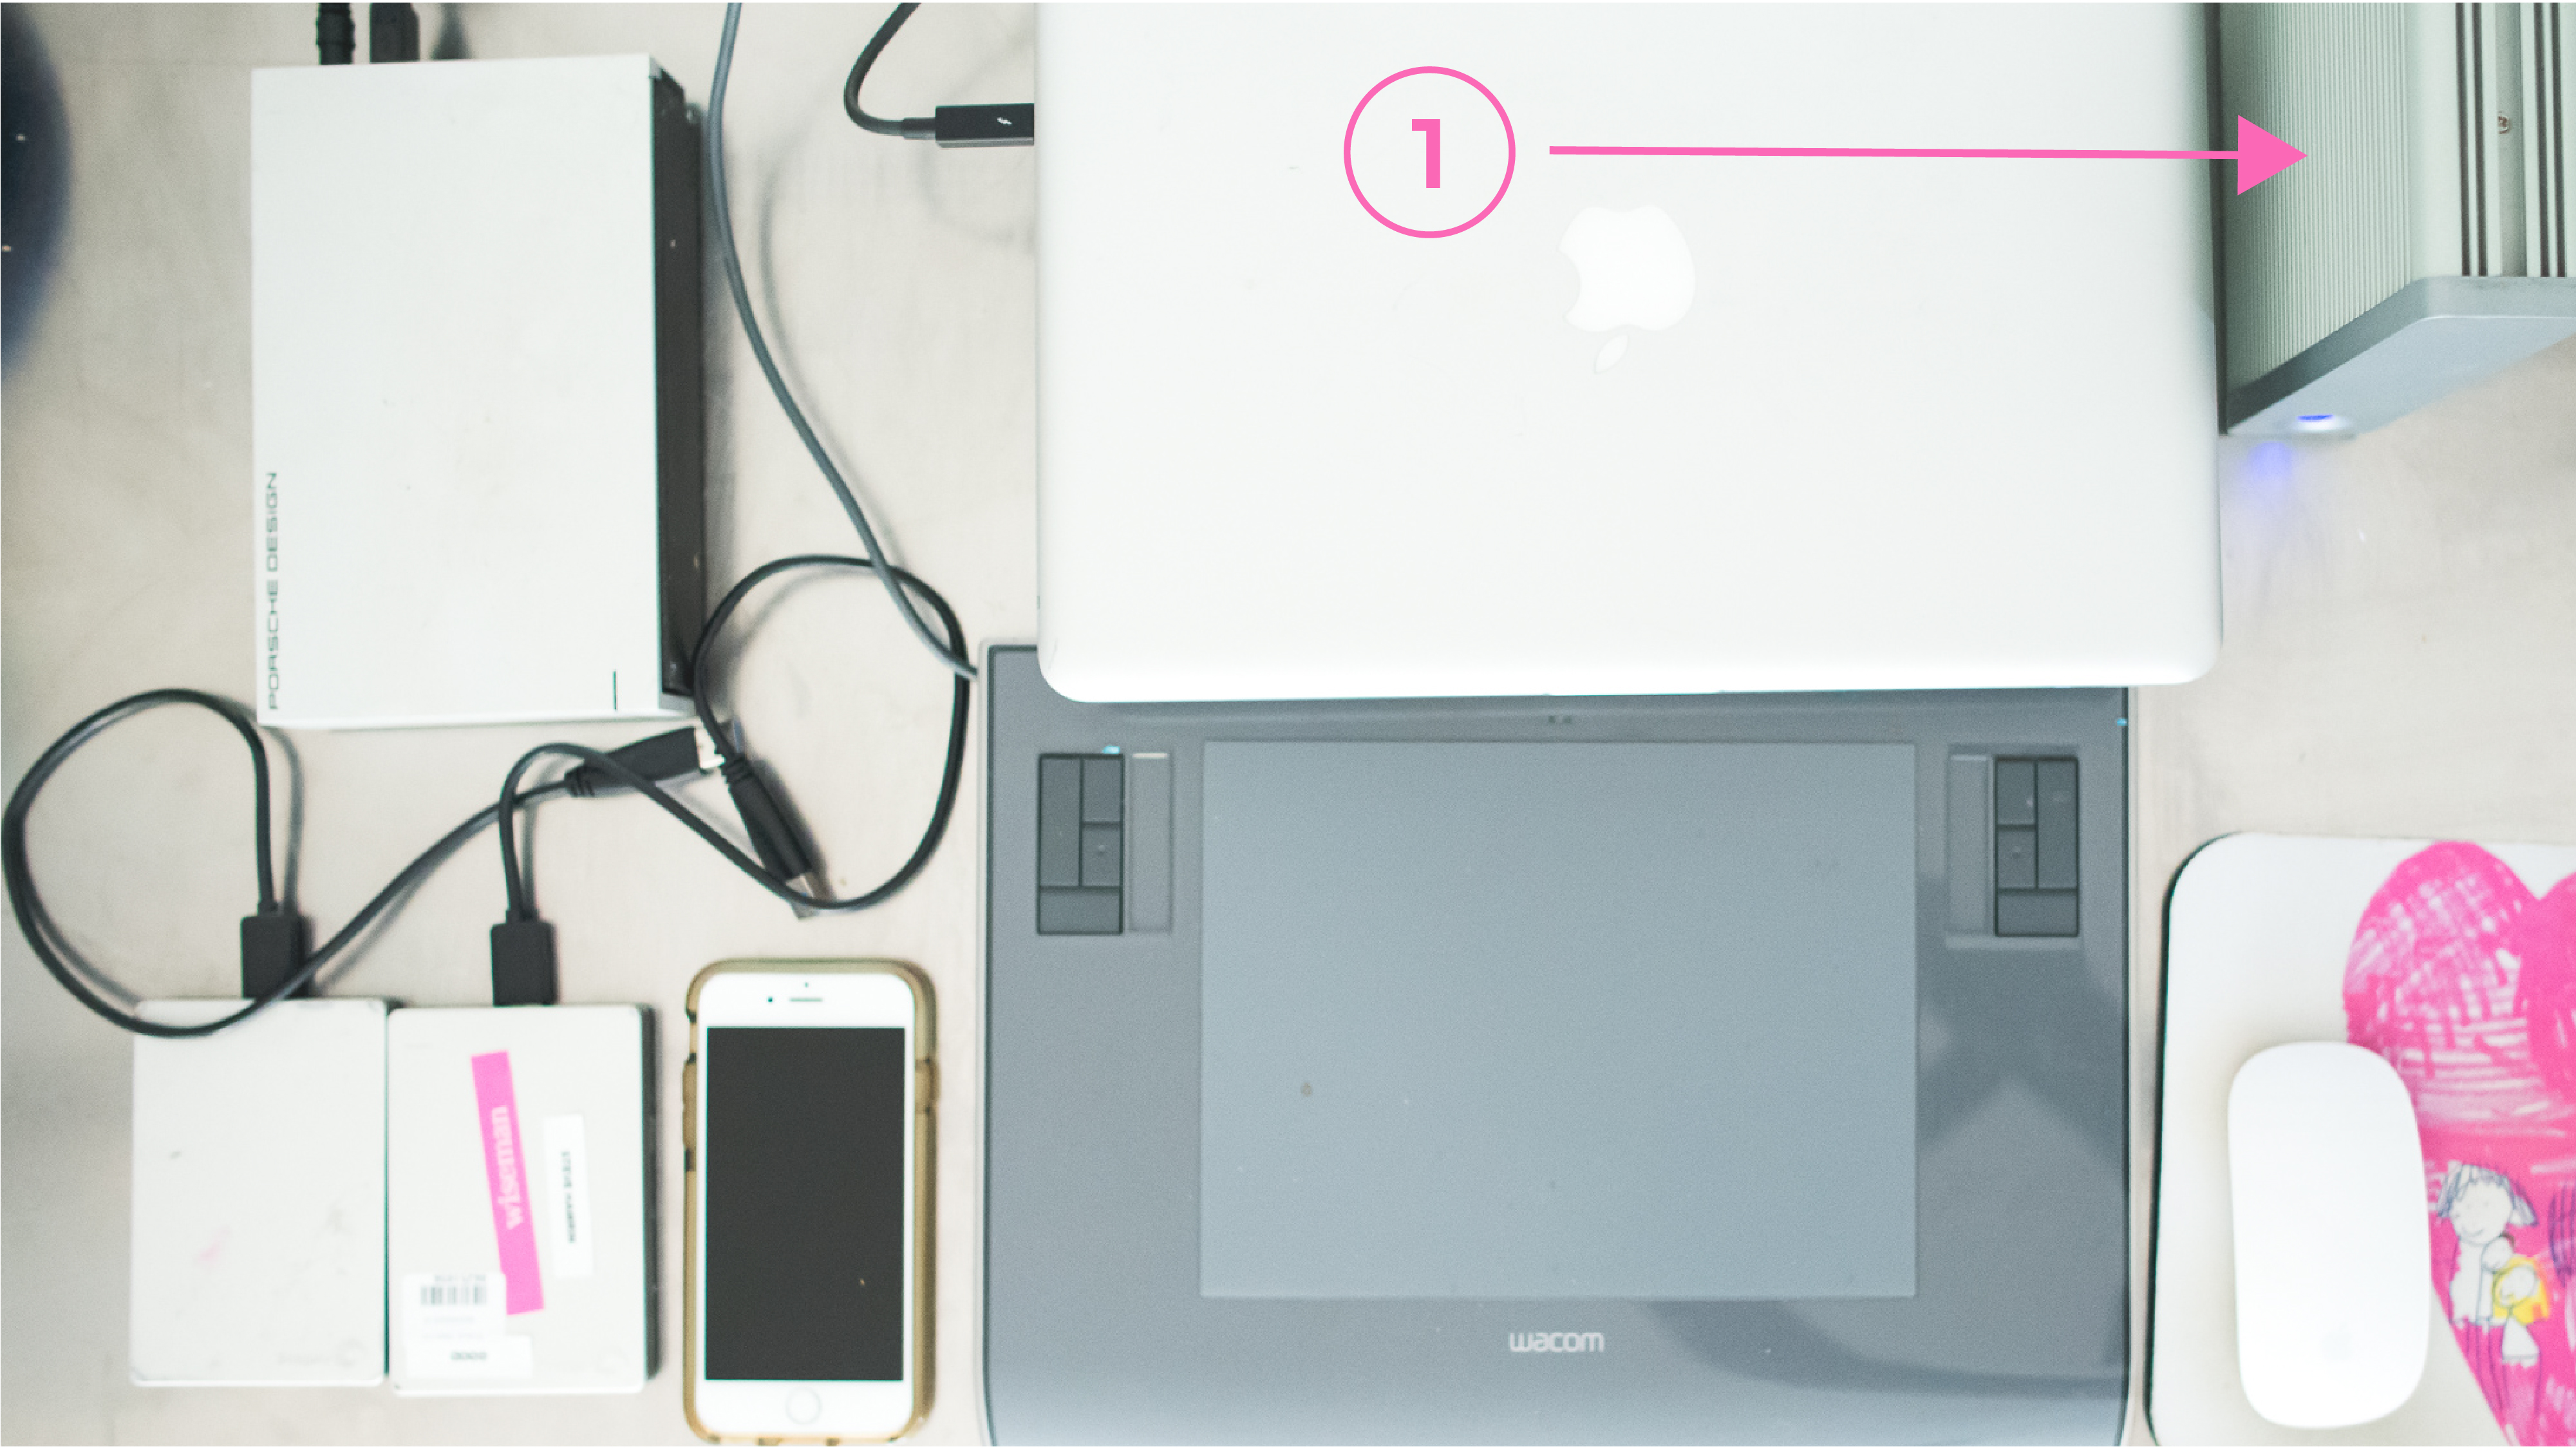
1. Back-Up my Laptop using Apple Time Machine to my Main External Hard Drive, at least once a week.
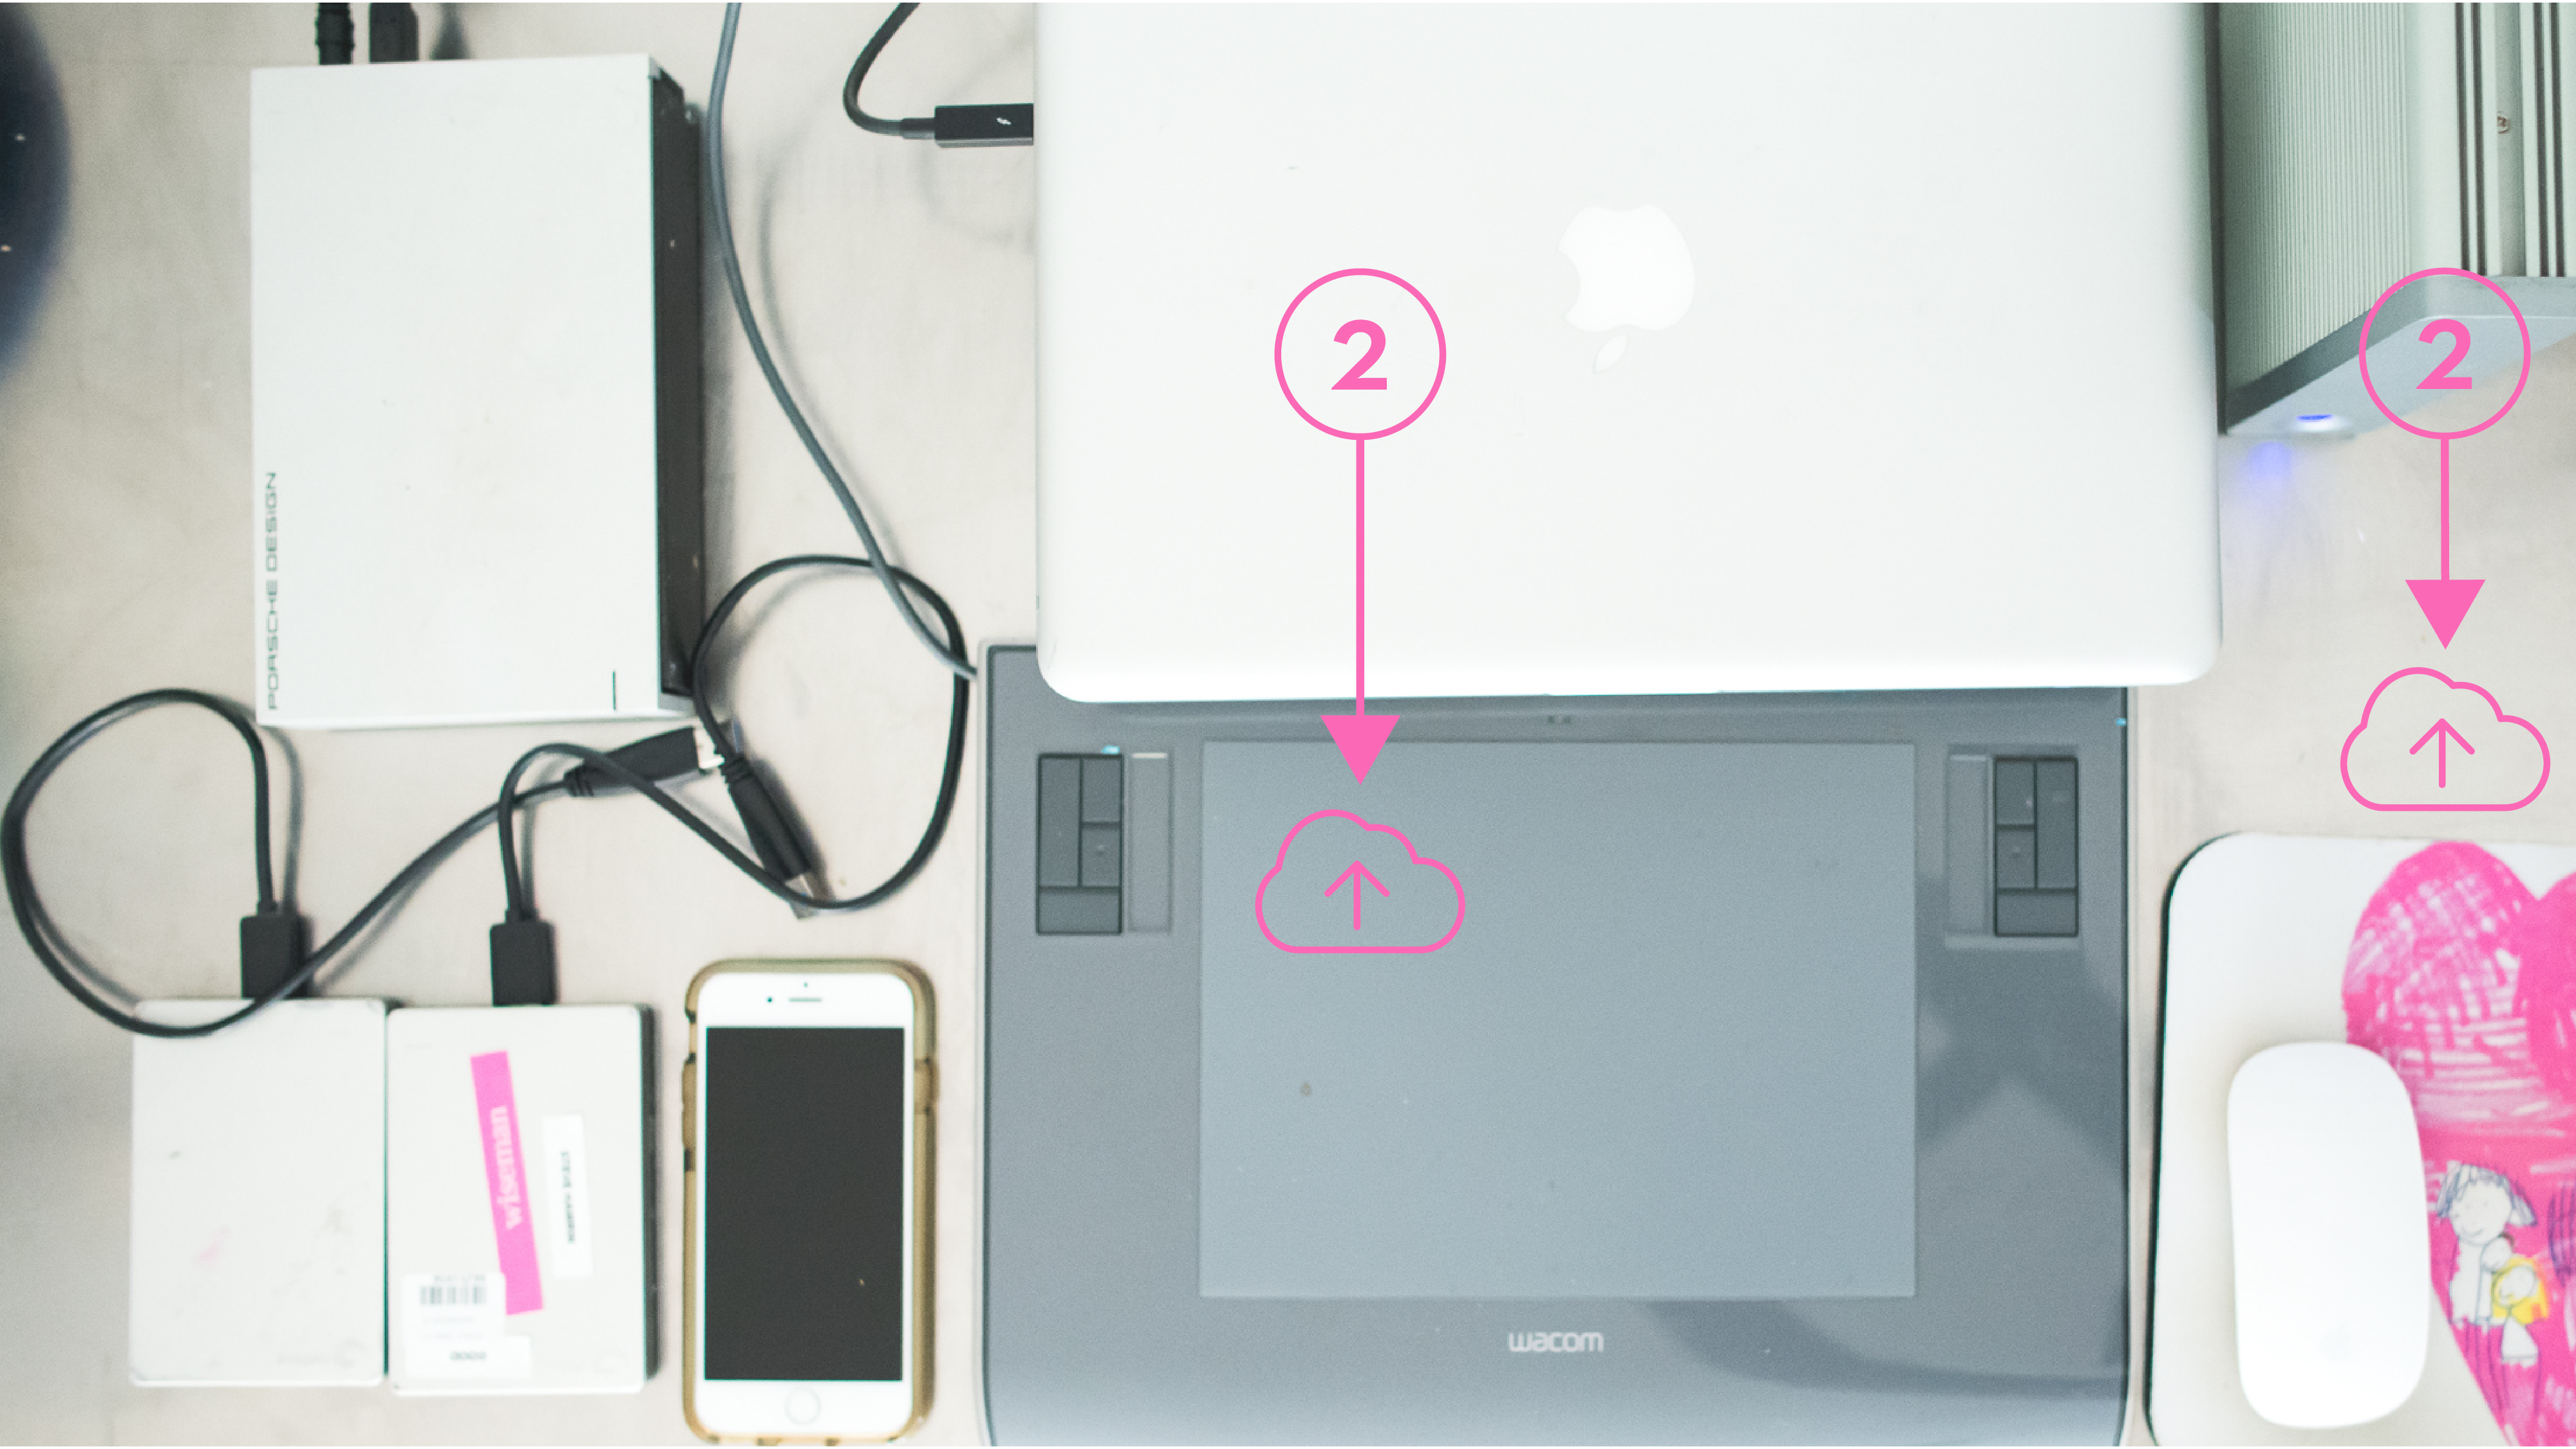
2. Back-Up my Laptop + my Main External Hard Drive using a cloud-based system such as Carbonite. I’ve set it to consistently back-up but will check it monthly.
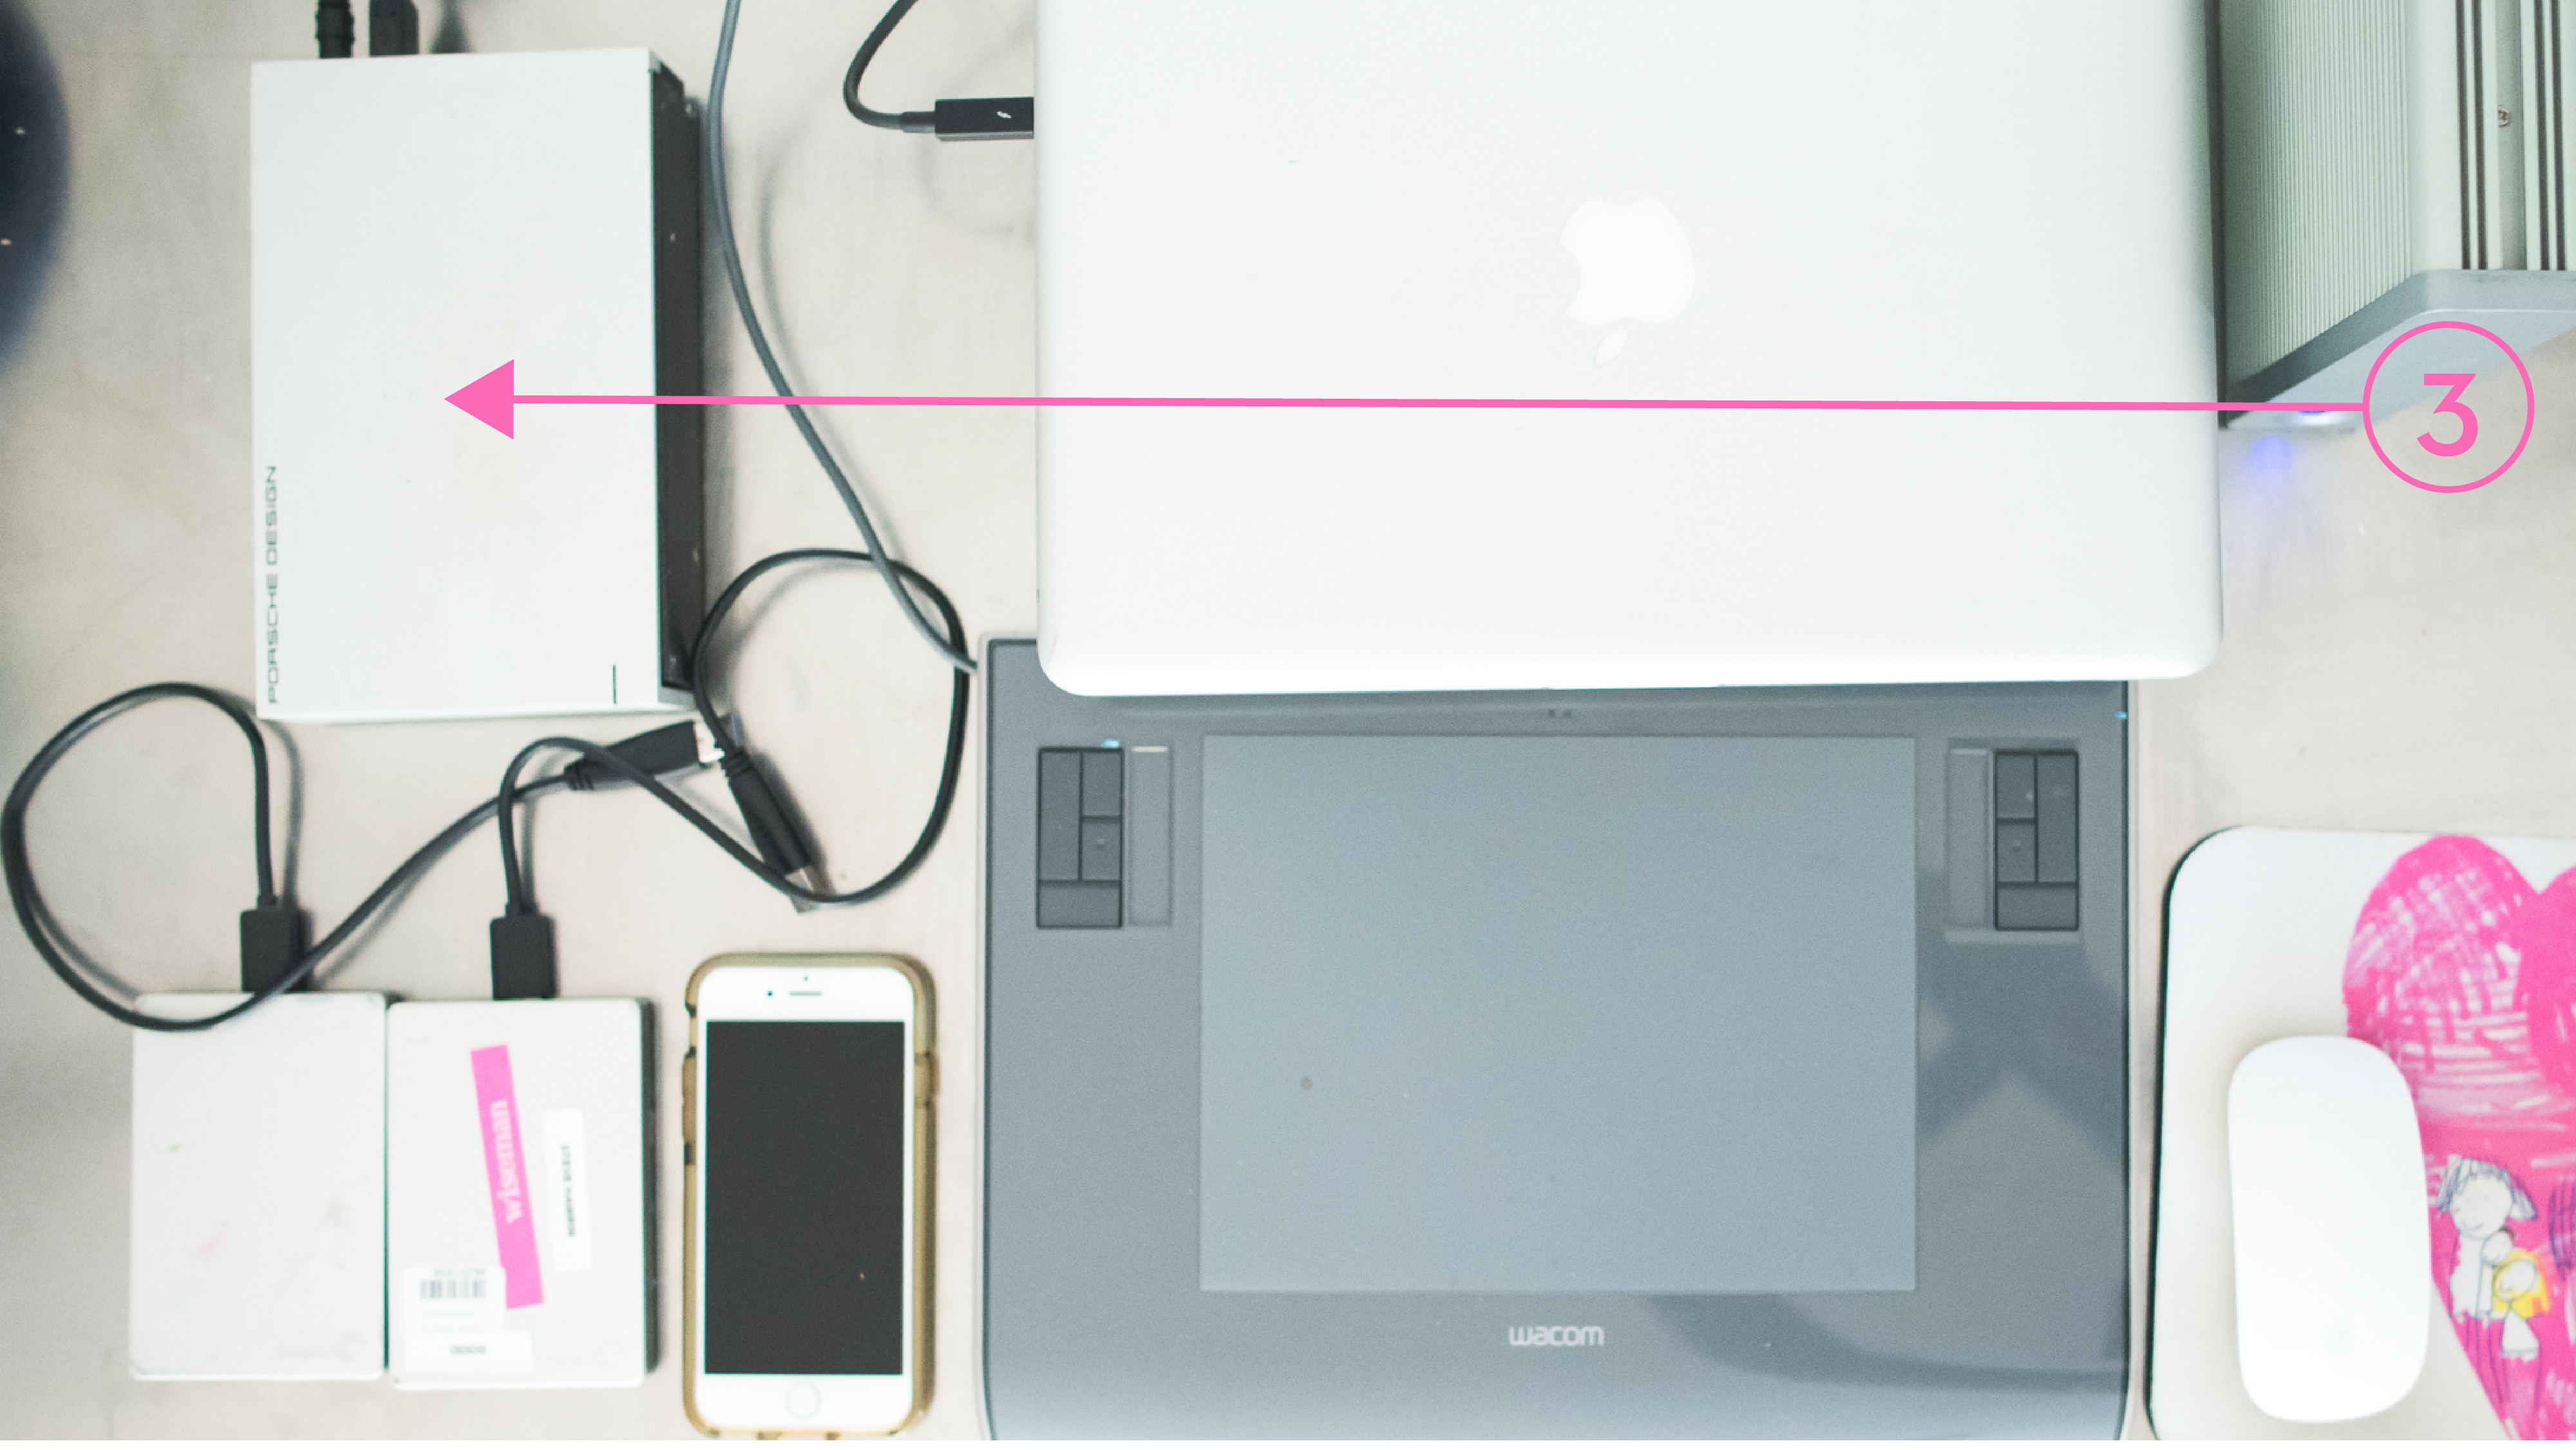
3. Back-Up my photos and videos to a separate external hard drive. Add new content every month.
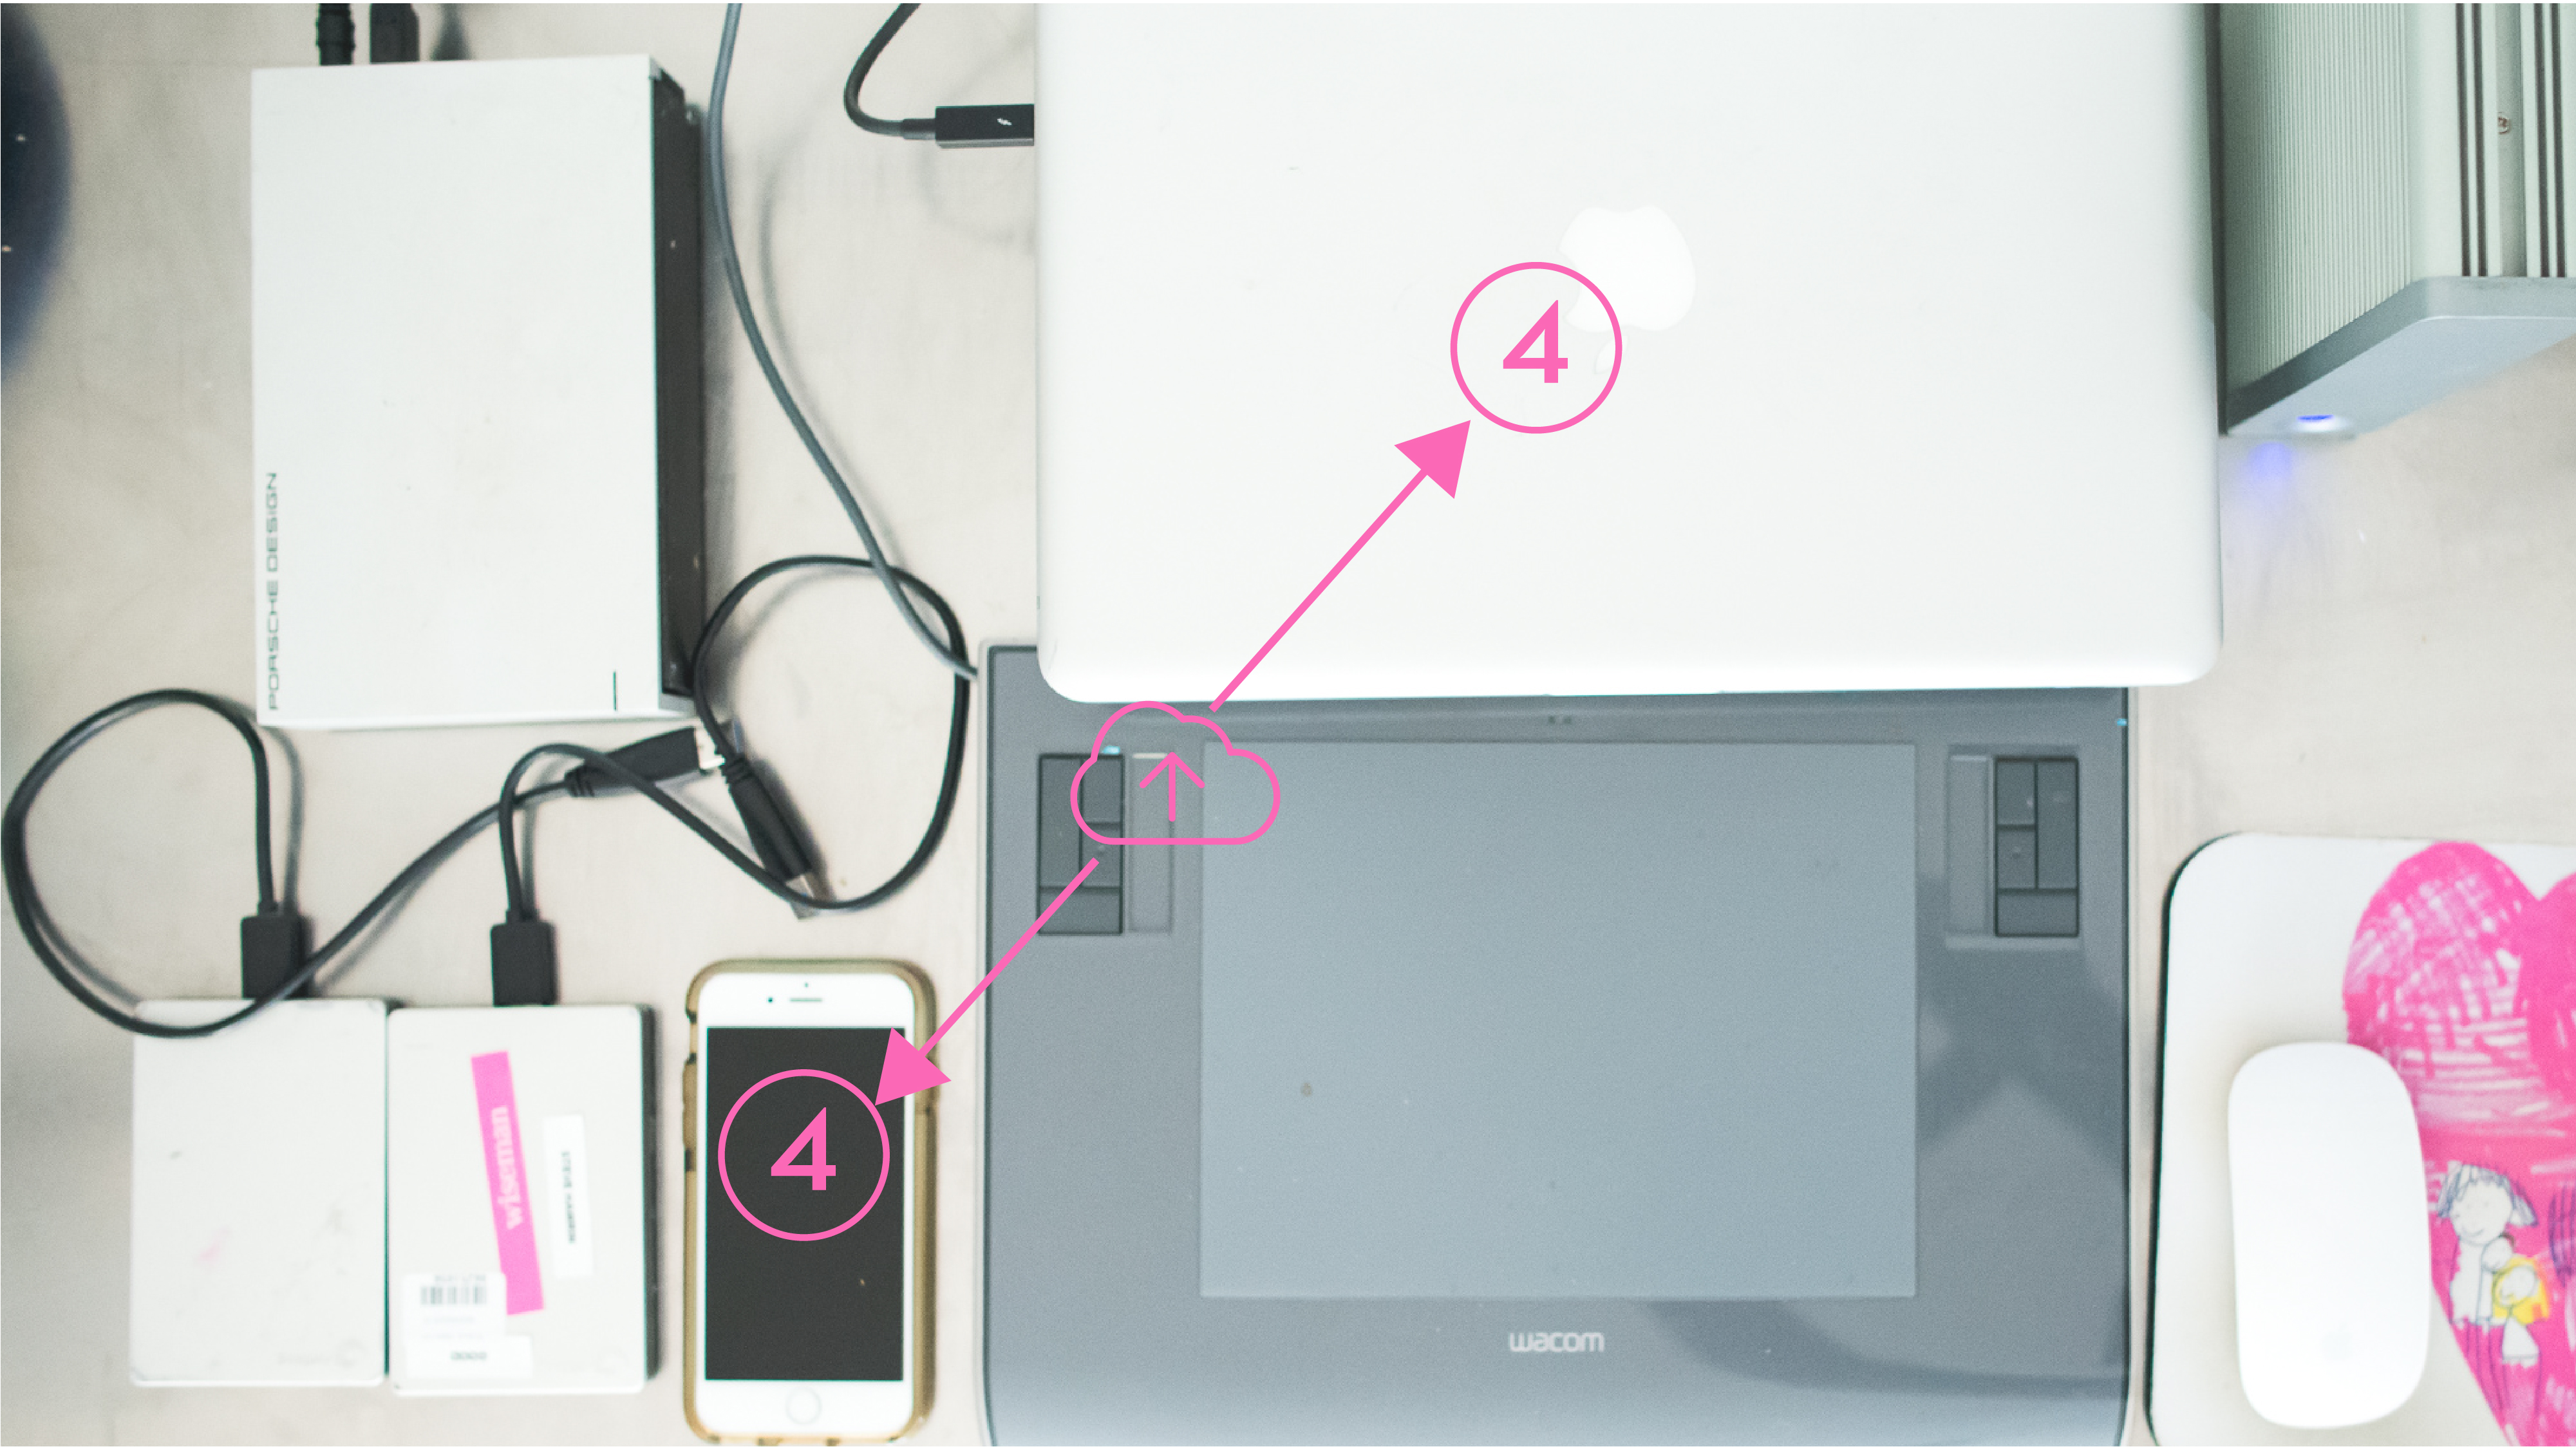
4. Use a cloud-based system, such as dropbox, google drive and adobe creative cloud to store files and photos that I want to access anywhere.
5. No longer use my smaller 1TB external hard drive for long-term storage or important files. Only used for triplicate file storage.