Getting in the frame is challenging to accomplish but can be so rewarding. Often times, we are so busy practicing our photography or documenting out kids’ lives that we forget to get in the frame so your kids’ have memories of you as well.
One of the reasons I love designing photo books is to step back and shoot with a purpose – take photographs specifically to go in your photo book.
And this is the perfect opportunity. Plan to photograph with the intention of this going in your photo book.
Here are some of my suggestions.
– 1 –
Set up the tripod.
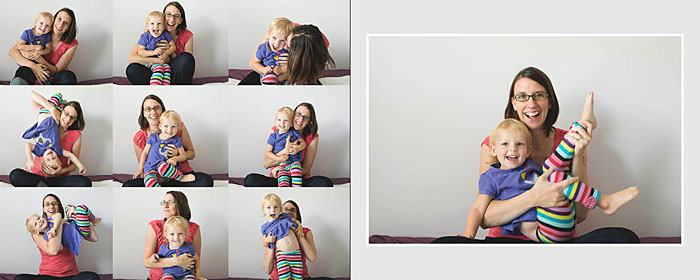
Set up the tripod, the remote, the timer or get a friend/husband/relative to take the photographs for you. For this layout, my design was to feature several ‘outtakes’ so I was okay with multiplicity and imperfection.
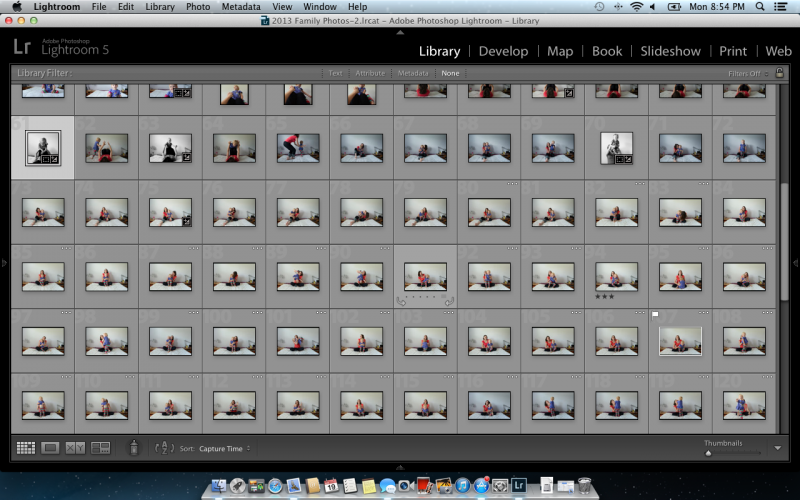
I set up the timer with 10 consecutive shots to be taken every 2 seconds. My daughter would push the button and then run towards me.
– 2 –
Take the photos.
Take plenty of photos to make sure you get a few photos that will work for your book. The goal is to get at least one photo that you really love.
[divider] – 3 –
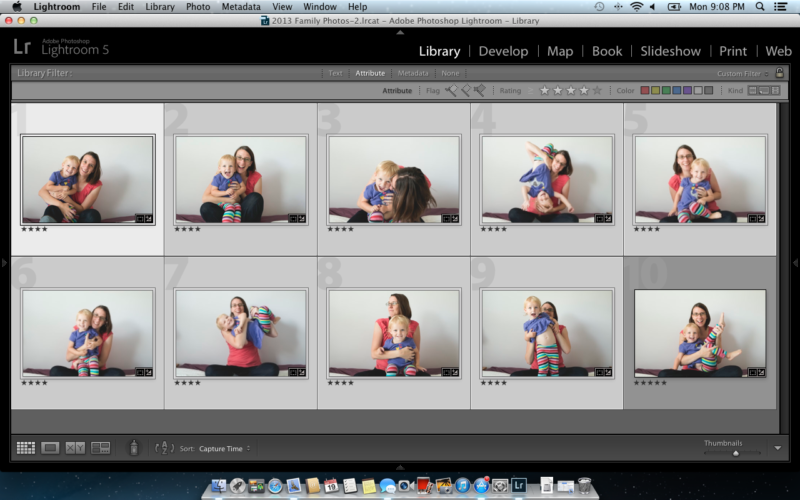
Select one.
Find your favorite photo, edit it as desired. Export to a larger size. For my photo book, I exported out at 9″ long by 6″ wide.
[divider] – 4 –
Select nine.
For this grouping, you don’t have to worry about perfect photos. This is mainly to get a sense of the fun that you were having with your little one. The key for editing this group is consistency. Export the photos at the same size. For my book, I exported with the short side set to 3″.
[divider] – 5 –
Design the layout.
Now it’s time to get the photos into your book. Select one layout with a grid of nine images and another layout with one photo box. If you had trouble narrowing your selection in step 4, create a grid with the appropriate number of photos. The key here is to create a grid of images. You decide if you want a margin or for it to bleed off the page. For the singular photo, decide if you want in the center or aligned to one side.
[divider] So make some time this week to get in the frame and design a spread for your photo book!


