fbq('track', 'PageView');
Taking Design Risks (with a safety net)

Taking Design Risks (with a safety net)

I’m not a risk taker.

Approaching unfamiliar situations or trying something physically risky causes a bit of anxiety for me. Usually I like to stick within my comfort zone and it’s only when I’m able to fully observe the situation and figure out if it’s something I can really do, that I finally take the first step in doing something new.

And I’ve realized that this is how I’m raising my kids. Both of my kids are somewhat cautious. They never climbed out of their crib; or climbed on the furniture. They’ve never broken a bone or had to have stitches (knock on wood). And it was only a couple of weeks ago when my son fell during a game of tag and skinned both of his knees that I realized that this was the first time we had a major cut to clean and cover with a large band-aid.

While my kids embrace new or different situations, they always do it carefully and recognize their boundaries and limitations. At the same time, they have a curiosity that pushes them to make sure they don’t remain too complacent.

And I’m the same way. While we are not adventure seekers, we like to approach new situations on terms that feel comfortable to us.

Design can be the same way.

Sometimes you want to break the mold of placing all of your photos in the center of a photo book layout. You want to try something different, unique, extraordinary. Yet you feel stuck trying to reach outside your comfort zone.

I totally get it.

Trying new things with your photo book can be a little scary without a safety net. Sometimes it takes seeing how it can be done, to feel confident to try it with your own photos.

That is exactly what I’ve done with my new photo book template: Catalog Collection.

I observed and studied my favorite catalogs then practiced a couple of different layouts to see what I thought would work best for an annual photo book. I wanted to create a sleek, modern look that feels refreshing to flip through.

Consider this template your safety net to try something new when it comes to design.

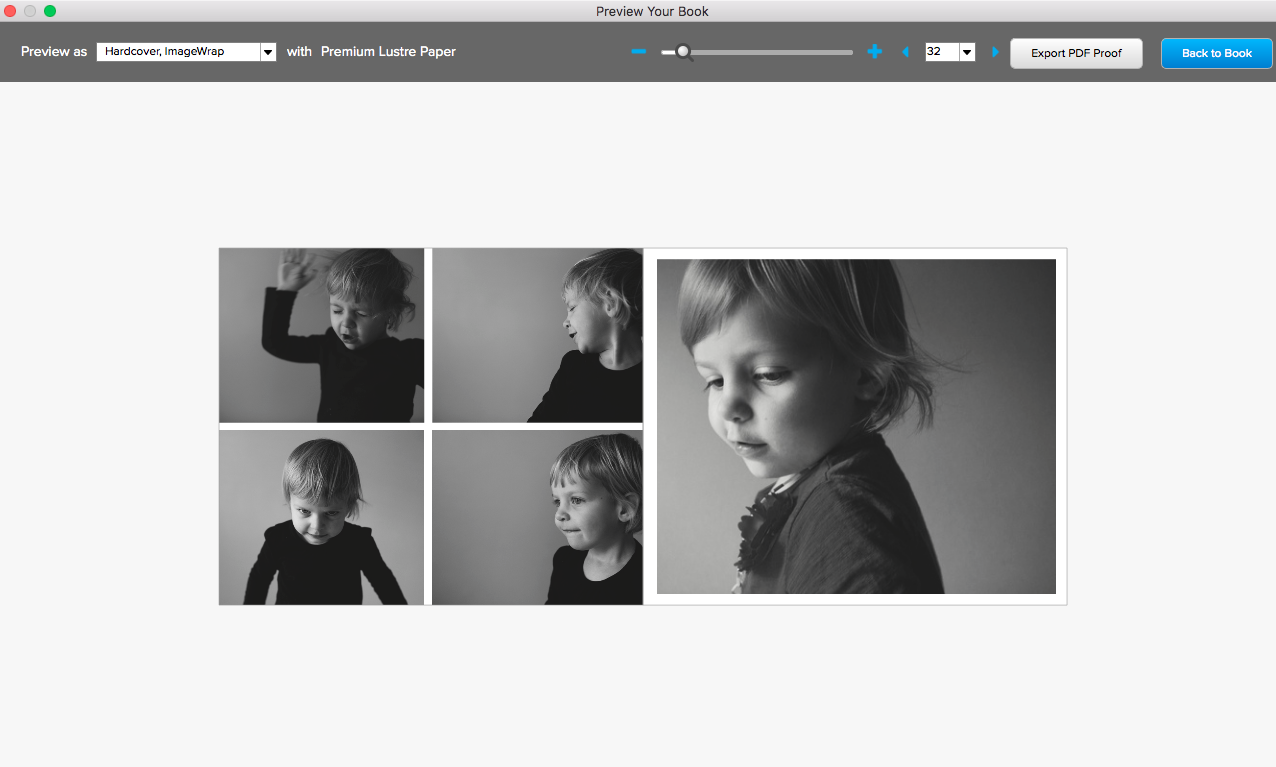
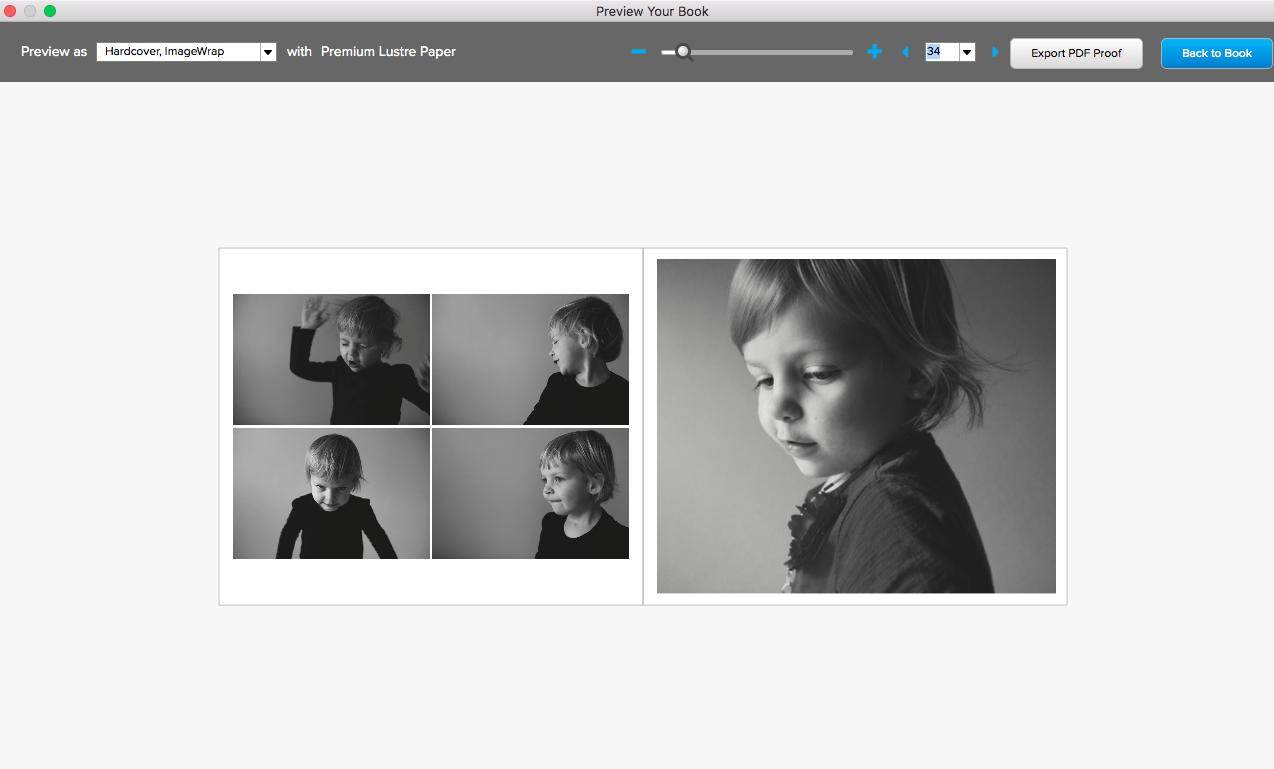
Here’s an example of a layout and how it looks with photos placed in it.
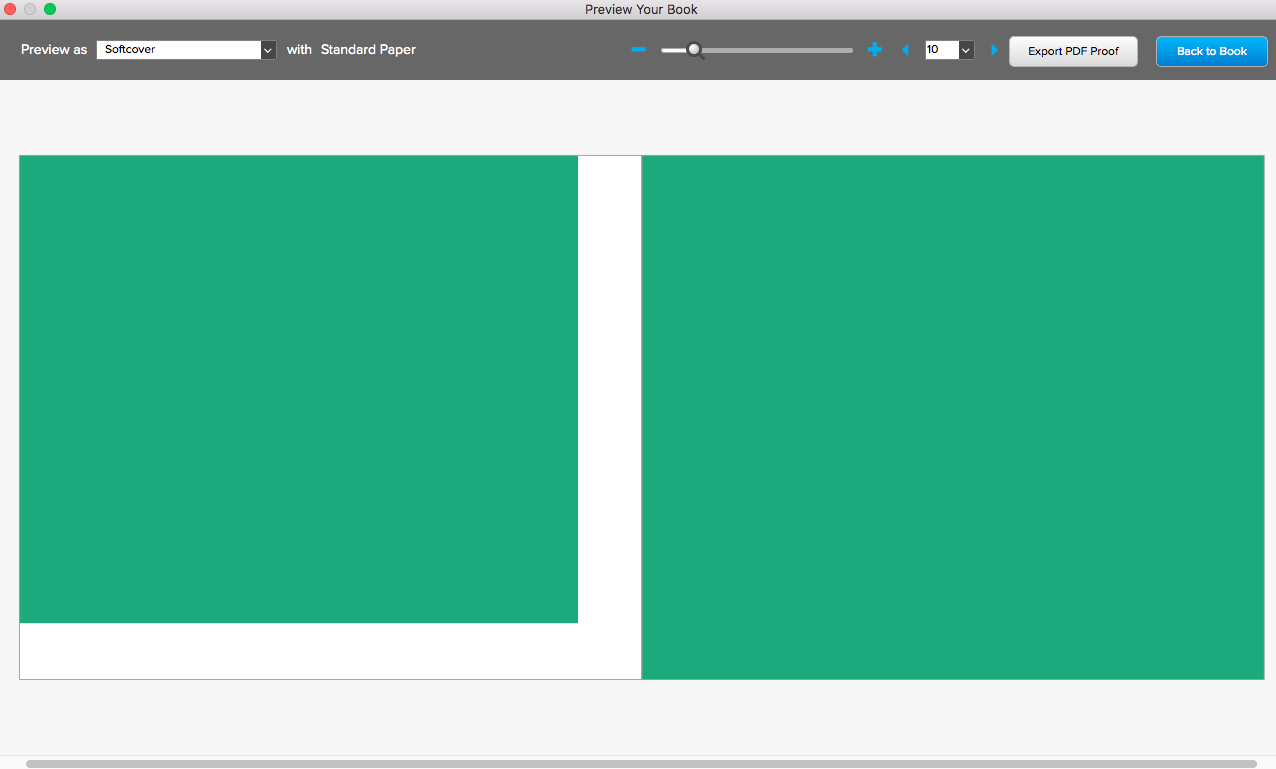
Plus, the template comes with unique layouts to share tell your family story in a fun way. The photo book template comes with a 36-page PDF instructions to help you customize the template to fit your vision.
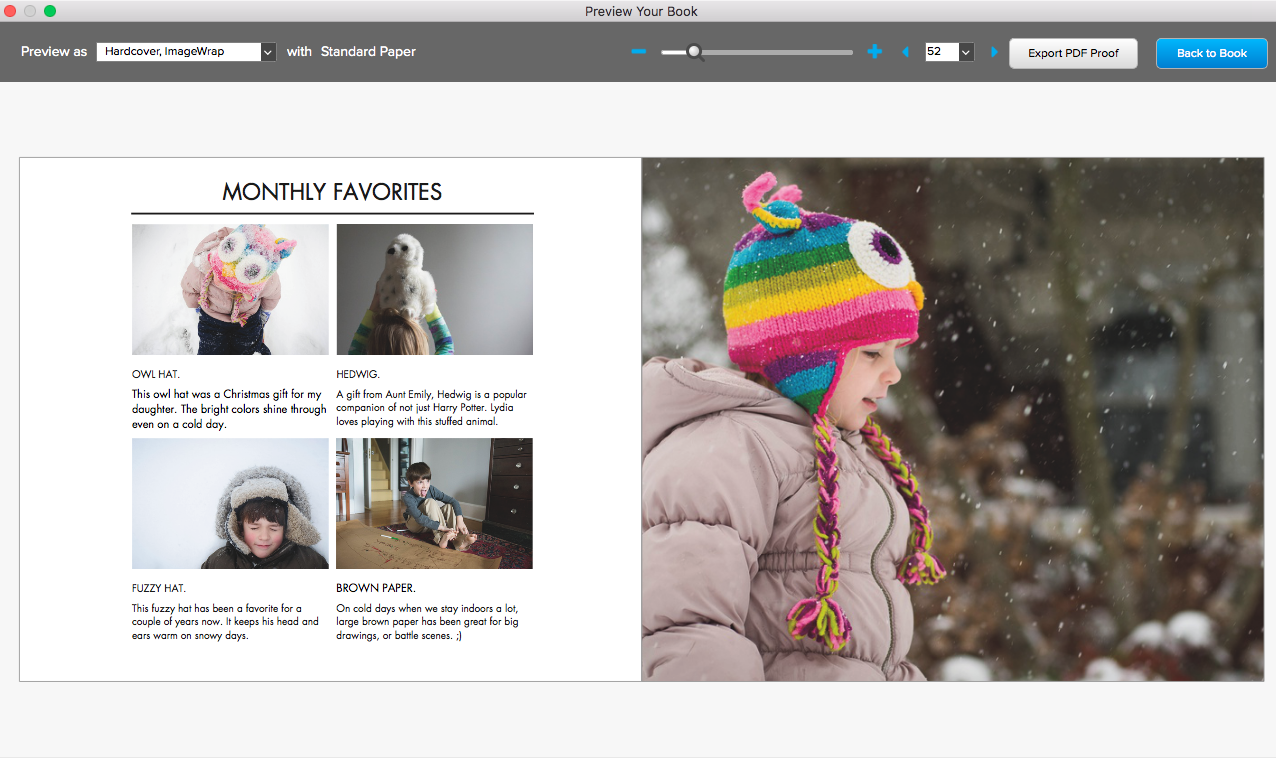
If you’re hoping to work on your family annual book this summer, start with this template to save you time and design a photo book with unique layouts that push design boundaries in a careful, thoughtful way.

Want to get this photo book template to save you time in creating a beautiful photo book for your family photos?

Purchase the template today to access my template file, favorite layouts and PDF guide on customizing the layouts to fit your photos.
Tips for Creating a Magazine-Style Layout

Tips for Creating a Magazine-Style Layout

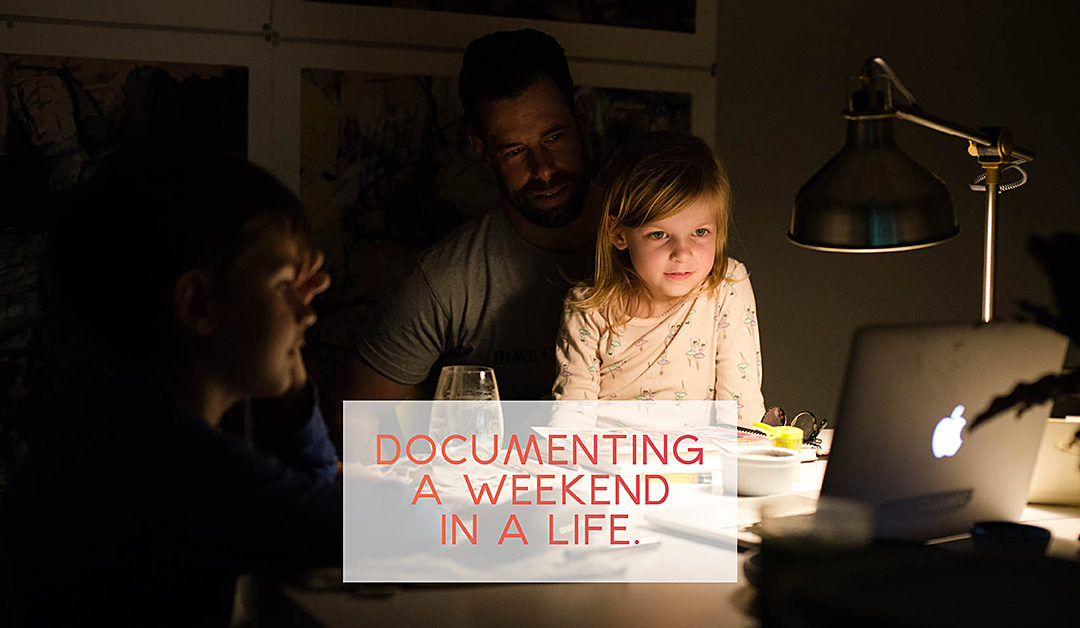
As I recently wrote, in my Photo Book Club, we are working on a special photo book project in 2017. I’m planning to document 2 weekends spaced over 6 months in 1 photo book.


With this project, the goal is to reduce the amount of photos – only use photos from a particular time period – in order to focus on the design. Fewer photos means less to select, edit, and decide how to incorporate in layouts. This opens up some time and energy to exploring design concepts you wouldn’t normally try.


When it comes to photo books, I tend to be more engaged and finish a project if I’m able to try something new that excites me.


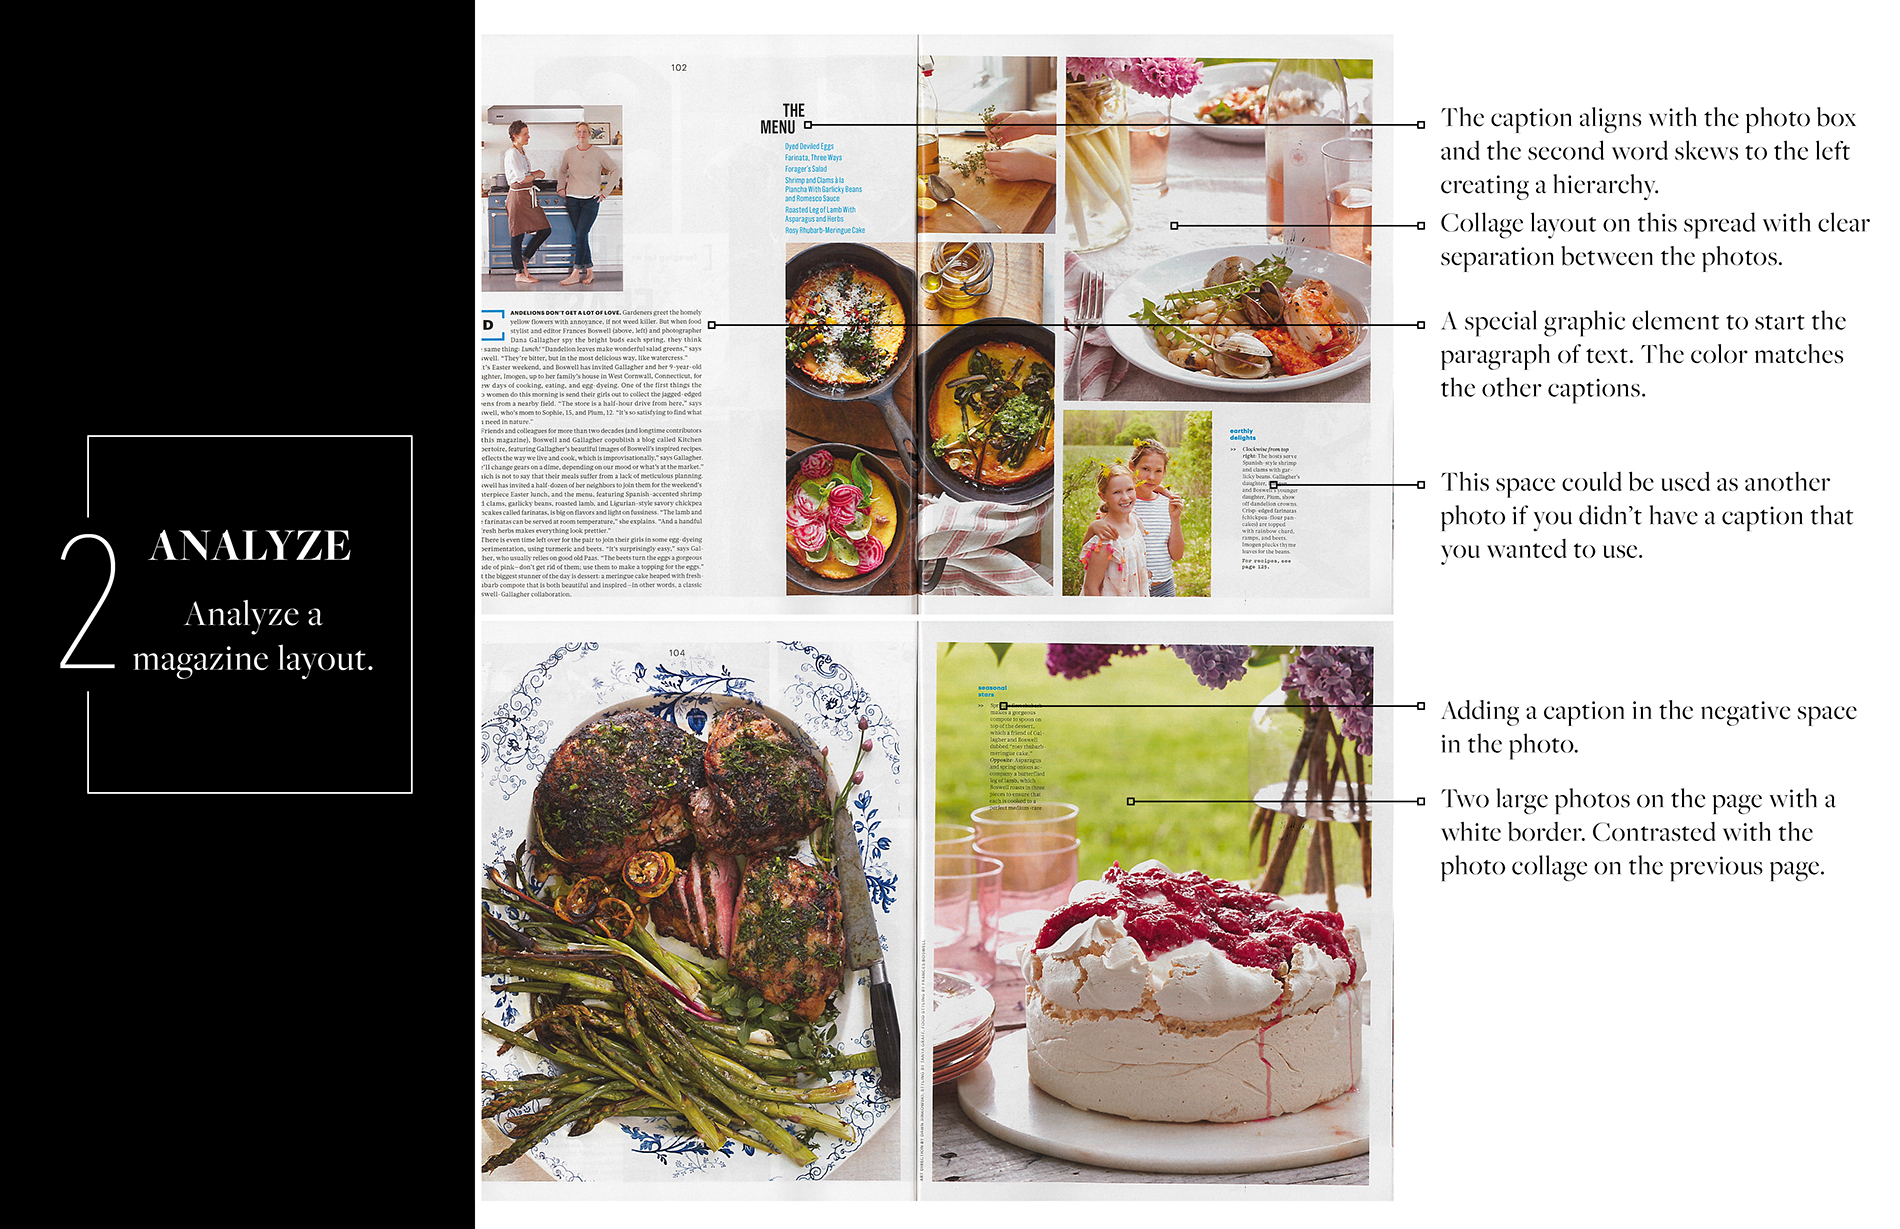
As I’ve been working with my photo book club members, a lot of the students are interested in trying a magazine-style layout. I wanted to share a few key points with you. If you want to go deeper, all photo book club members get access a PDF with more detail and my analysis of existing magazine layouts. And bonus – you’ll get a new inspiring PDF every month.


1: Orientation

Most of my workshop participants prefer to use the landscape orientation for their photo books. Either the standard size (similar to a size of paper) or the oversize version. This makes sense, particularly if you normally shoot in a landscape orientation.  However, magazine are almost always portrait (vertical) orientation. So the first easy step to achieving a magazine-style photo book is to flip the orientation and make a portrait book.


2: Text

I know, I know….adding text  to a photo book is another layer of work that people just don’t get it. I completely get it!  I’m the same way. After I get through the photos, and layout the pages, it’s hard for me to go back in and add a caption to the photos. However, if you’re looking to make a layout more magazine-like, it helps to have some amount of text on the spread. Whether it’s a title, a quote or a caption, find small ways you can add text.

 

3: Negative Space

While this may not be true for all magazines, I tend to notice negative space – either in the photos or the layouts. Having negative space gives a little extra room so the layouts don’t feel too overwhelming. For me, if I’m looking through a photo book or magazine crammed with a lot of photos, page after page, I start to get overwhelmed. Plus, incorporating negative space adds space for text, as I discussed in tip #2.


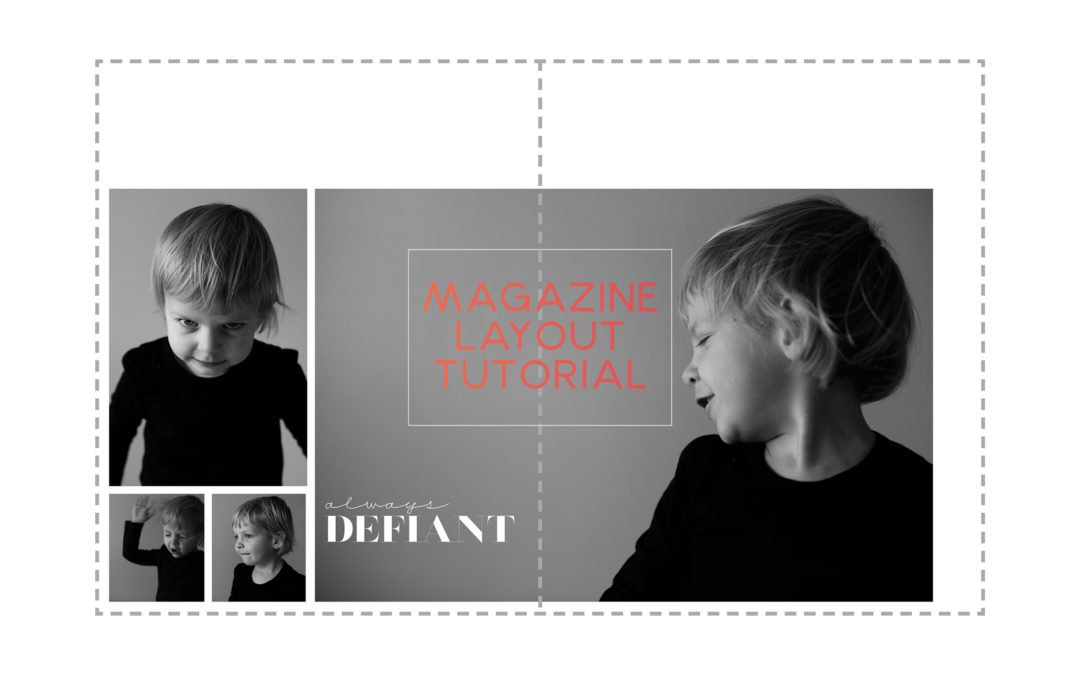
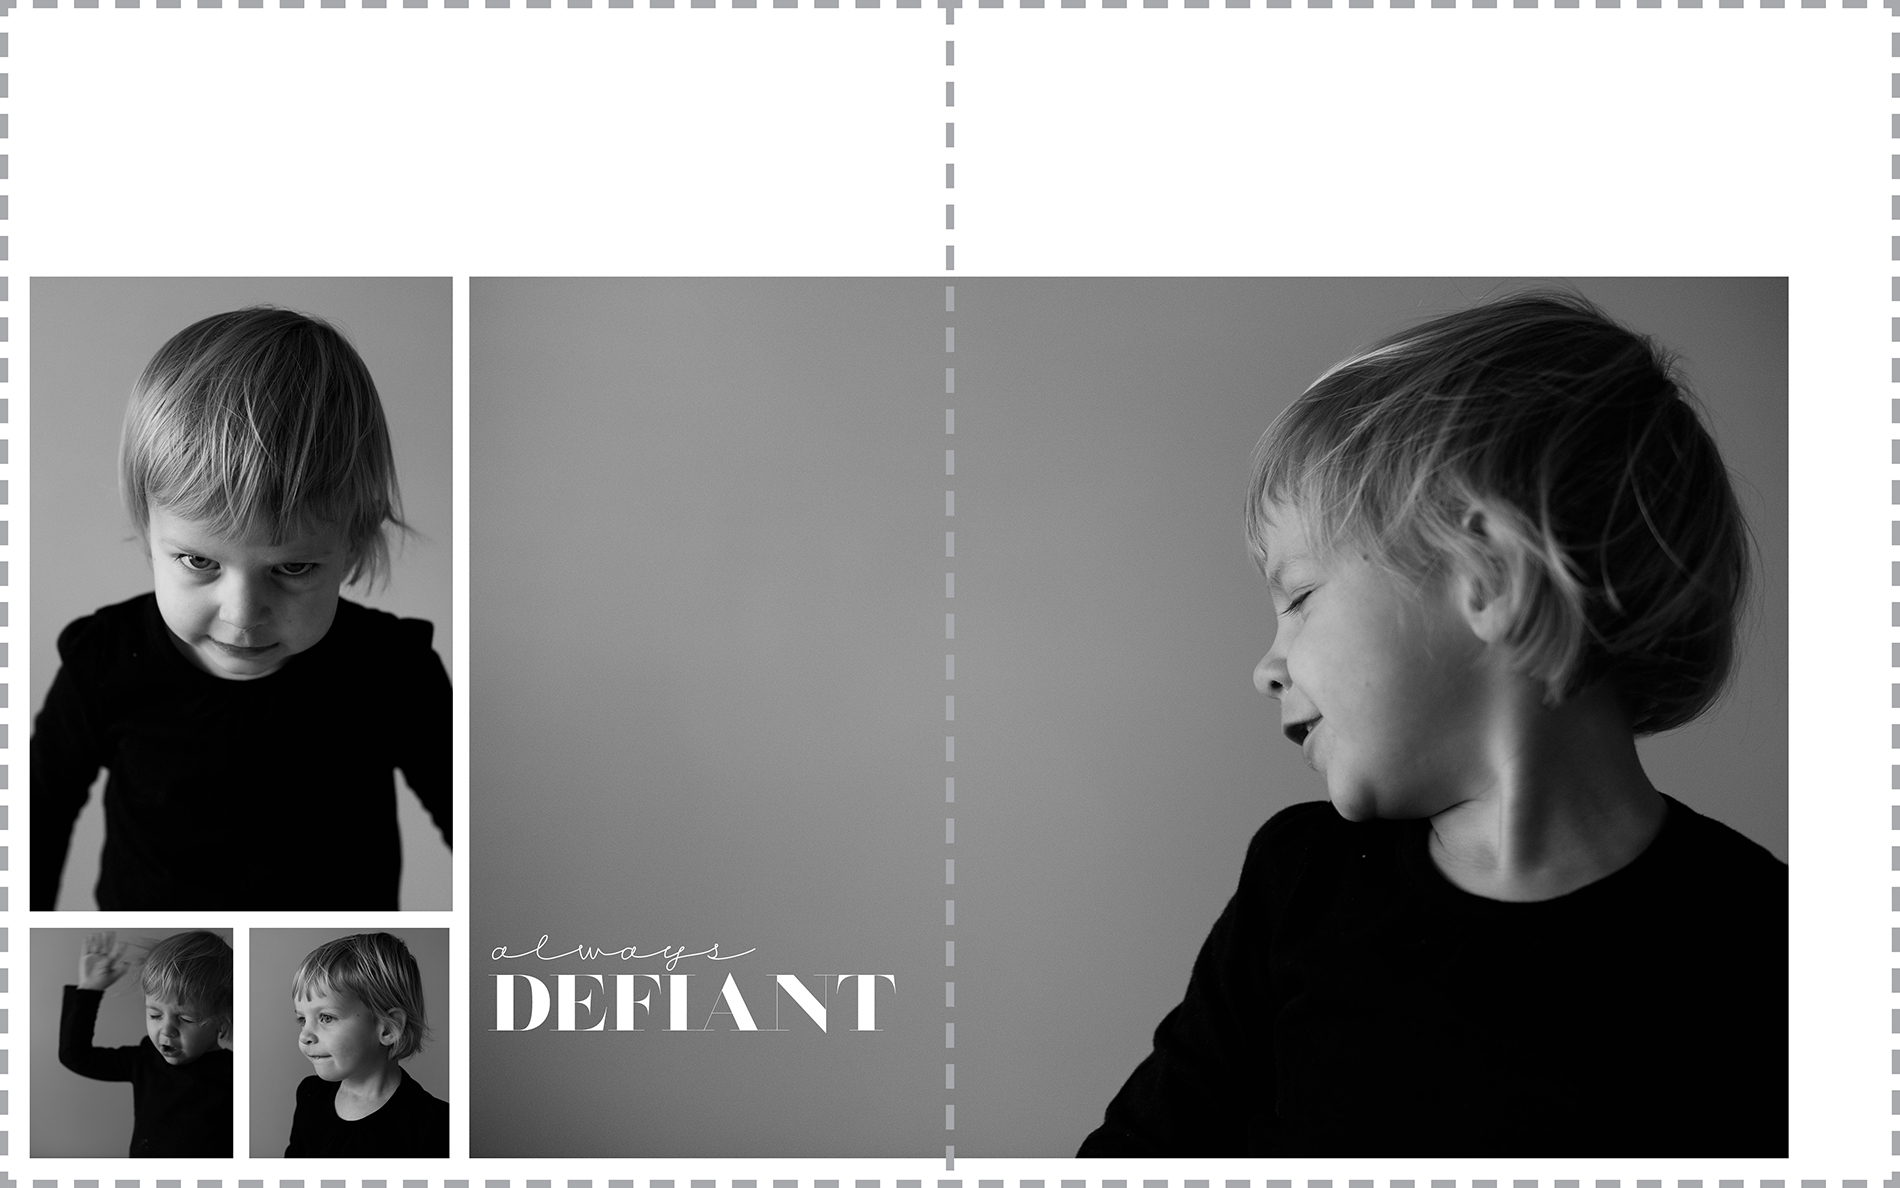
Here’s a sample of the first three tips in one layout:

4: Sketches

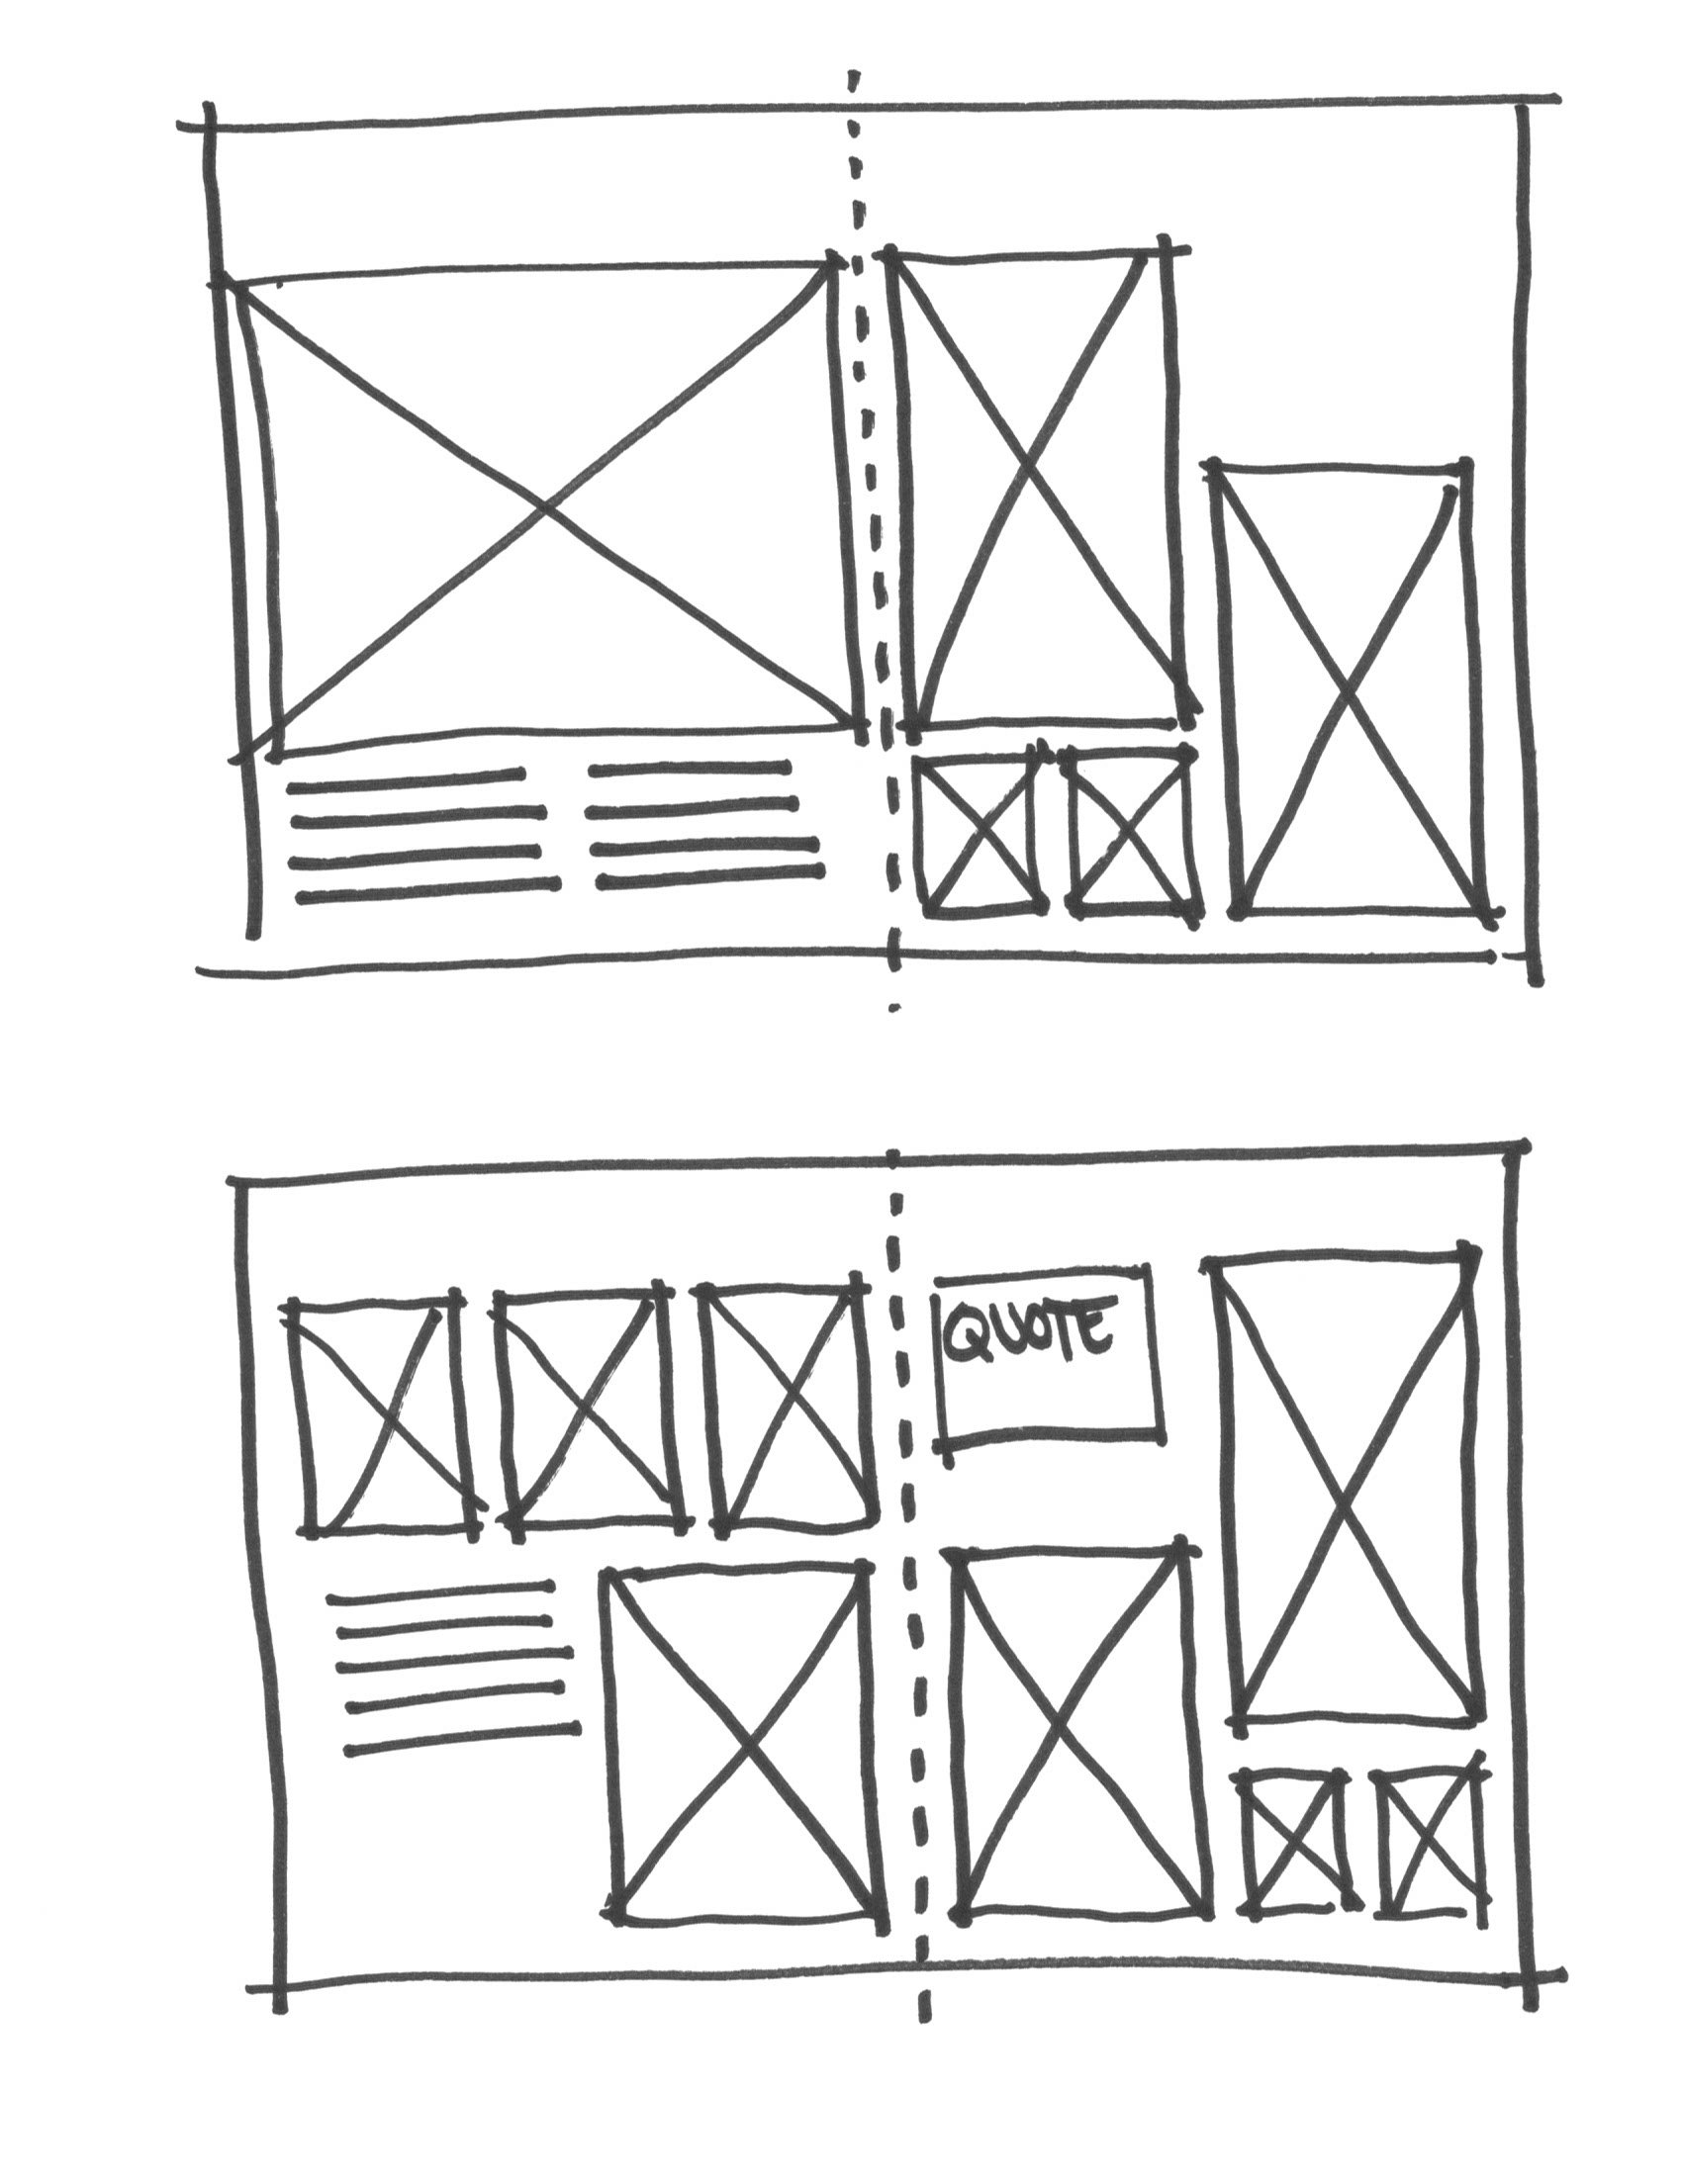
One of the best pieces of advice I can share to understanding a layout you love is to sketch it out. As silly as it sounds, I firmly believe that translating something from eye to hand provides a better knowledge of why something works. Next time you see a layout you really like, take out a piece of paper and sketch out the photo boxes and how the positioned on the spread. It may take several tries – but this all helps in the absorbing the mechanics of the layout.

If you want to sketch inspiring layouts, download my free sketch template that is proportional to 3 standard Blurb photo book sizes: Magazine, Portrait and Landscape. 

5: Photo Selection

It’s important to take and select photos that have your design vision in mind. In my latest Photo Book Club PDF, I share how to analyze photos used in magazines and examples on pinterest to help you align your photos with a concept. 

Here’s one page from my April Photo Book Club PDF.

The full lesson is included in my Photo Book Club Guide which you can check out here

Photos for a Special Photo Book Project

Photos for a Special Photo Book Project

Once I finished this photo book for my sister-in-law, I knew this was something I had to try for myself. While I do not have a major life-changing event, such as a having a baby, I still know that our lives change in subtle ways. And these shifts in our everyday routine become more apparent when they are documented in photos and printed in photo books. Once printed, the patterns of everyday life and how the evolve become more apparent after 6 months, 12 months, 2 years. 

By isolating your year to two days spaced out by 6 months, you have fewer photos to cull, edit, and export for a book. This makes it easier to focus on the design. To try something new with how to arrange the photos. To have more fun and experimentation with design elements.

I’ve set this up as a challenge to my Photo Book Club Members to work with me on documenting our life changes over time in a very unique photo book. The goal is to limit the type of photos – either by event or time span – in order to focus on the design vision and how to best represent the photographs. 

Now, some of the Photo Book Club members are using this as an opportunity to dig into their own archives to select photos that have repeated over time, such as frequent trips to Disney or Christmas mornings. Others are following  my goal to document a weekend in the life in the spring and again in the fall, six months later. 

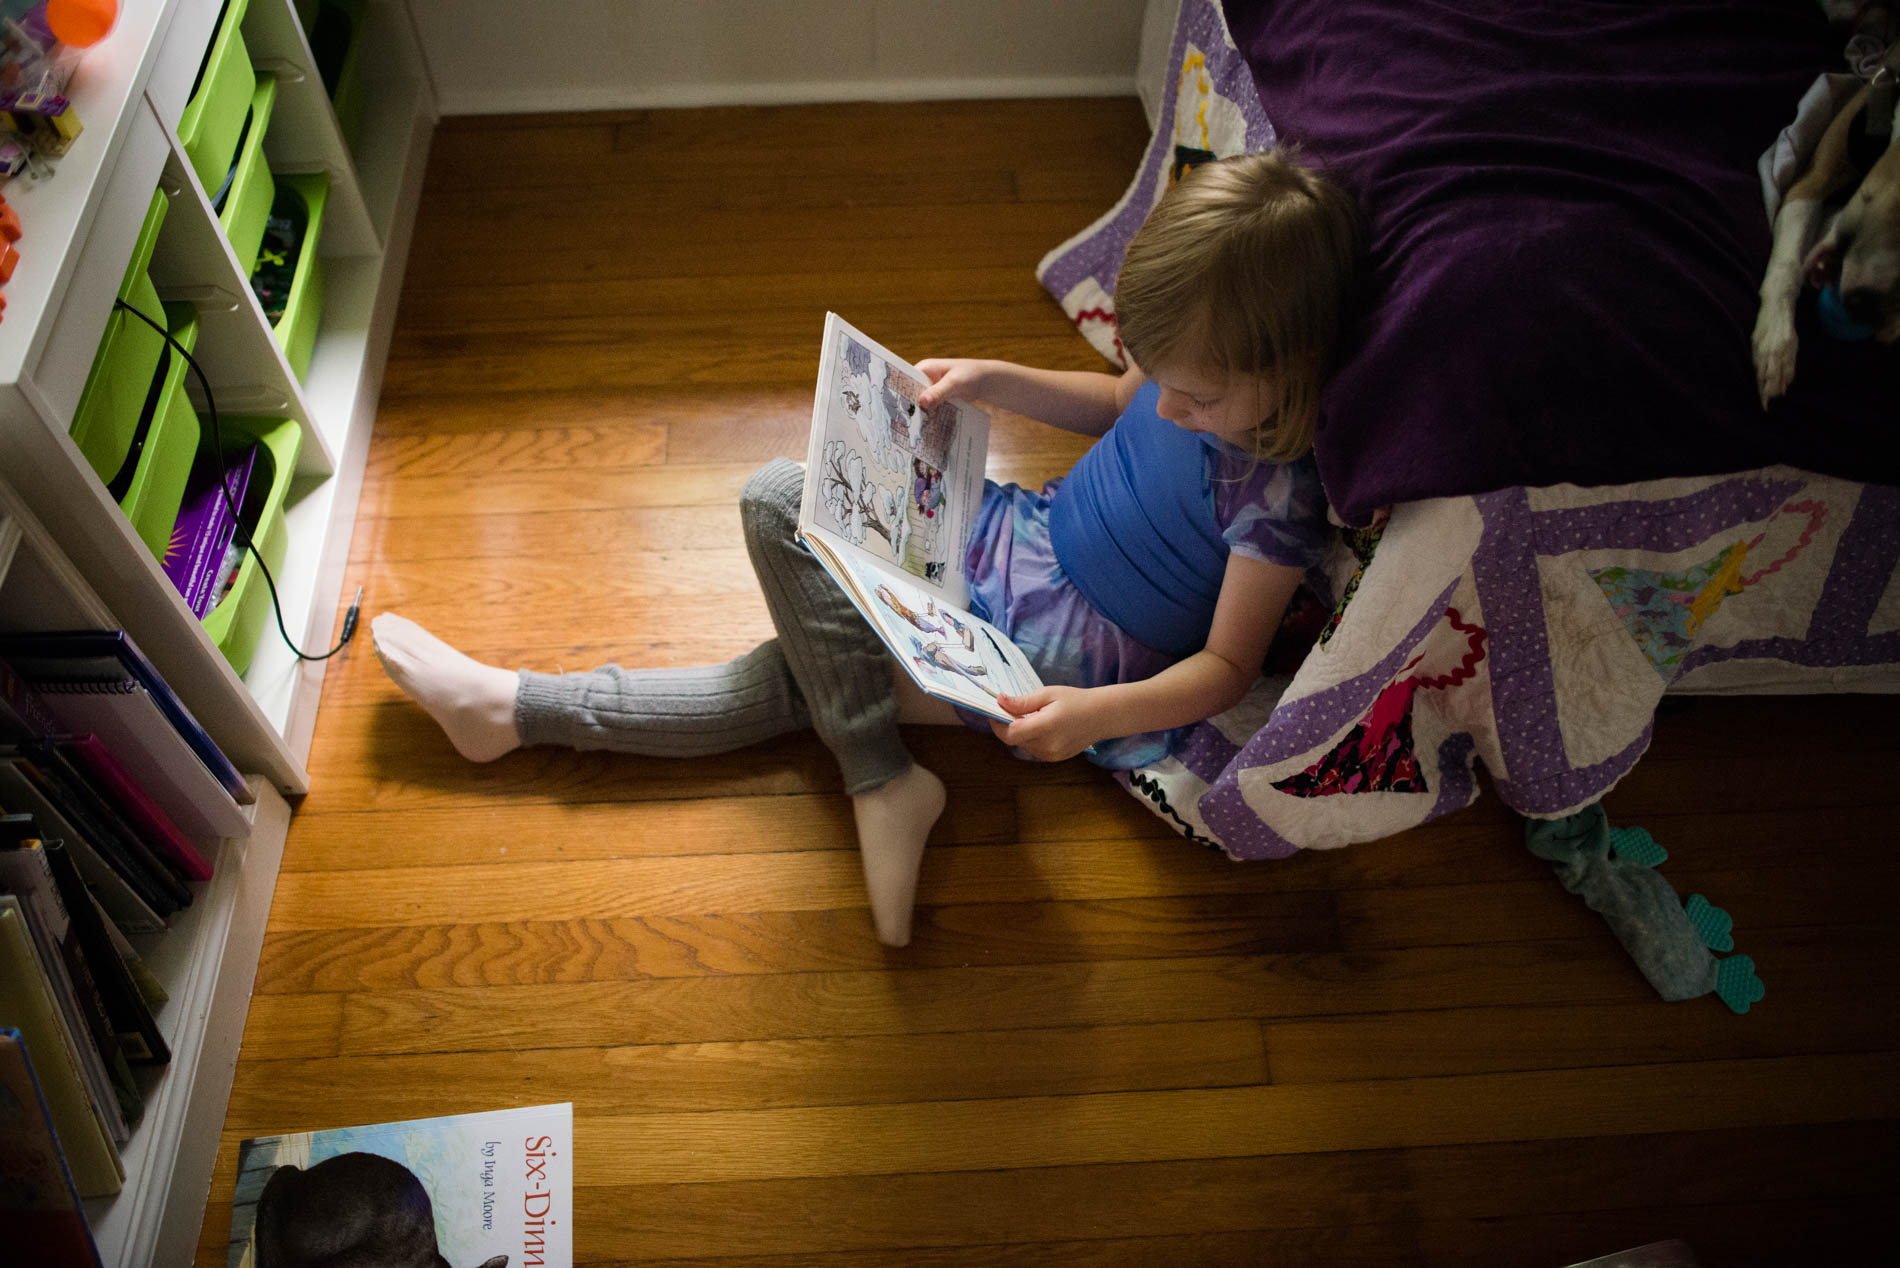
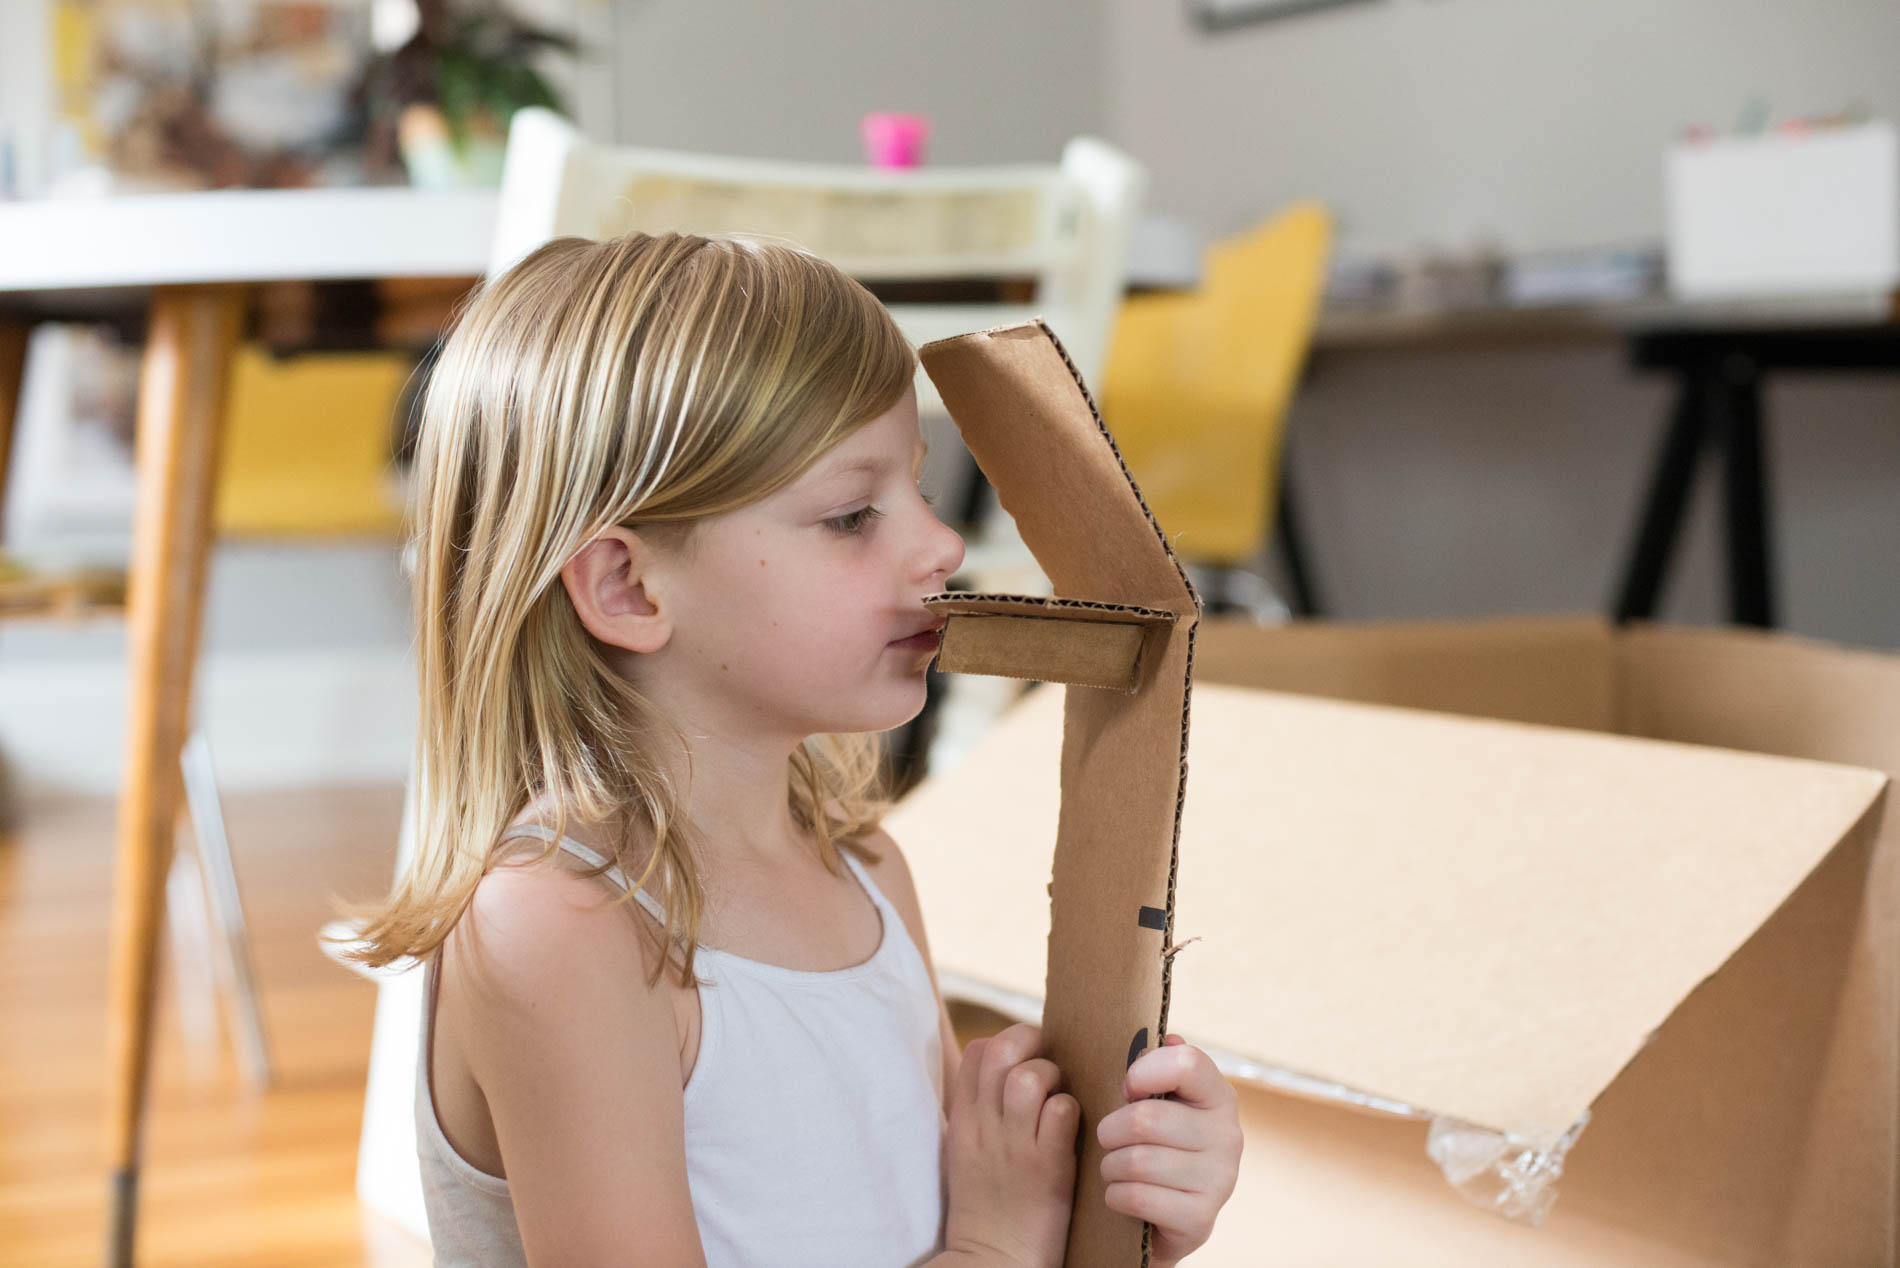
I just wrapped up shooting my first weekend and will wait until late October before I shoot the next round. I thought it would be fun to share some of my photos from my first weekend. It’s been a while since I’ve been consistently photographing my family….so it took a bit of energy to remind myself to pick up the camera. But I’m glad I did and can’t wait to see what our life looks like in October! 

Want to make your own Two Days in Six Months Photo Book? Click here for advice and help to make this special project for your family.

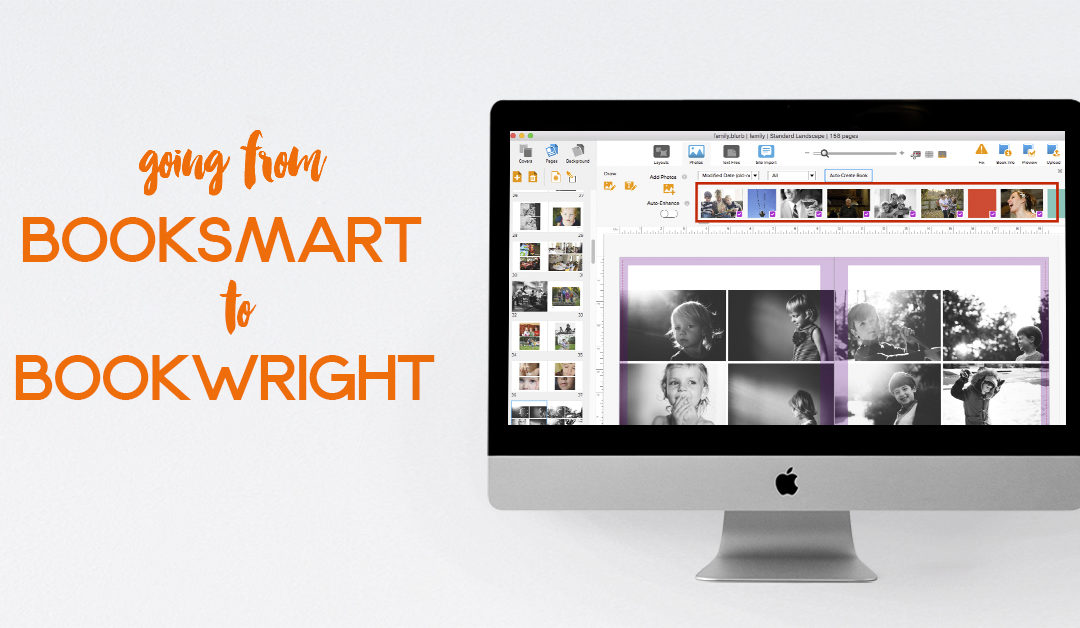
Going from BookSmart to BookWright

Going from BookSmart to BookWright

A while ago, I wrote about how Blurb is no longer offering BookSmart in their program offering. You may still be able to open and upload a book you’ve already started….but I’m not sure that will always be an option in the future. And I recommend testing out the upload process within BookSmart at the beginning before investing time in a photo book that can no longer be uploaded for printing.

But all is not lost! There’s a way to import your BookSmart photo book into BookWright – either to keep working on a book-in-progress or to use your favorite layouts for your next BookWright photo book.

I don’t have insider knowledge but BookWright definitely seems to be the direction Blurb is heading. It’s missing a few features I love (text styles and setting an aspect ratio to photo boxes) but there are great things about BookWright that were missing in BookSmart (ability to work in a spread format, auto alignment, and custom margin guides).

If you’re ready to take the plunge but don’t want to start completely from scratch, this tutorial will show you how to transfer your finished BookSmart photo book into BookWright.

01

First, you want to make sure you’ve downloaded the BookWright software from Blurb. It’s free and you can get the download from their website.

Once you’ve downloaded BookWright, launch the program.

You’ll want to select “BookSmart / Bookify Users Import”.

02

Next, you’ll need to sign in with your Blurb account. Since you are importing from an already completed and uploaded photo book created in BookSmart, you should already have an account.

03

A window will pop up with all of the books you’ve made with BookSmart or Bookify. If you only want to select from the books you’ve made in BookSmart, there is a pull down menu to narrow your choices.

Keep in mind, these are books that have already been uploaded from BookSmart to your online Blurb dashboard for print.

04

Next, your photo book is converting into a format that you can open from BookWright. Check your email (associated with your Blurb account) to find out when the conversion is ready.

05

The first photo book I tried, it did not work. You’ll notice in the email, the project is titled “null” not the name of the book I selected. And when I downloaded it, the file was a text file, not a BookWright file. If this happens to you and you really need this particular book, I recommend you contact Blurb customer support. In my example, I selected another photo book with my favorite layouts to convert.

06

The second book project downloaded perfectly. In this email, there is the appropriate book name and when I clicked the link, a BookWright file downloaded. Once the file has fully downloaded, all you have to do is double click and it will open within BookWright.

07

First, it has to update to get ready for BookWright.

08

Then it finally opens!

09

This warning lets you know that there might be slight adjustments to the layouts based on updated photo book sizes. This could be a very minimal (read: unnoticeable) changes. My guess is that it may affect the centering of layouts but is most likely not anything you need to worry about. To be safe, I recommend flipping through the layouts before you save or print just to make sure.

10

All of the photos that were included in BookSmart project automatically carry over into the BookWright program. This is great if you had a few adjustments to make and wanted to finish a book in BookWright.

11

One thing that did not carry over was the text style. The font switches to a standard font within BookWright. This is an easy adjustment….if you don’t have a lot of text in your photo book project.

12

In this example, I simply changed the title in the text box and updated the font style to something I wanted.

13

One of the best reasons to open up a BookSmart project into BookWright is to save your favorite layouts and structure for your next photo book. To accomplish this, simply delete the photos from the boxes to create a blank layout. Then click “Save Layout”.

14

Finally, select if you want to save the left page, right page or the entire layout as a spread. This will place this layout into your “My Layouts” pull down menu. Go through the entire book and save your favorite layouts that  you’ll want to use again.

After you have saved your layouts, delete the pages you no longer need and delete the photos from from the Photos tab.

Now you are ready to start your next book project, in BookWright, with your favorite layouts at the ready!

Learn how to be more creative with your BookWright layouts. Get 5 ideas to go from blah to exciting with your photo book layouts.

Creating a 4-Photo Custom Photo Book Layout

Creating a 4-Photo Custom Photo Book Layout

You may have noticed that Blurb no longer offers BookSmart as part of the free software options. It’s now officially been replaced by BookWright.

While I’ll miss being able to create text styles and having a grid to help with design, there are a few aspects that I love about BookWright:

  • being able to design as a spread (instead of customizing a single page at a time)
  • setting up grid lines to create a custom margins for a photo book
  • a more user-friendly interface

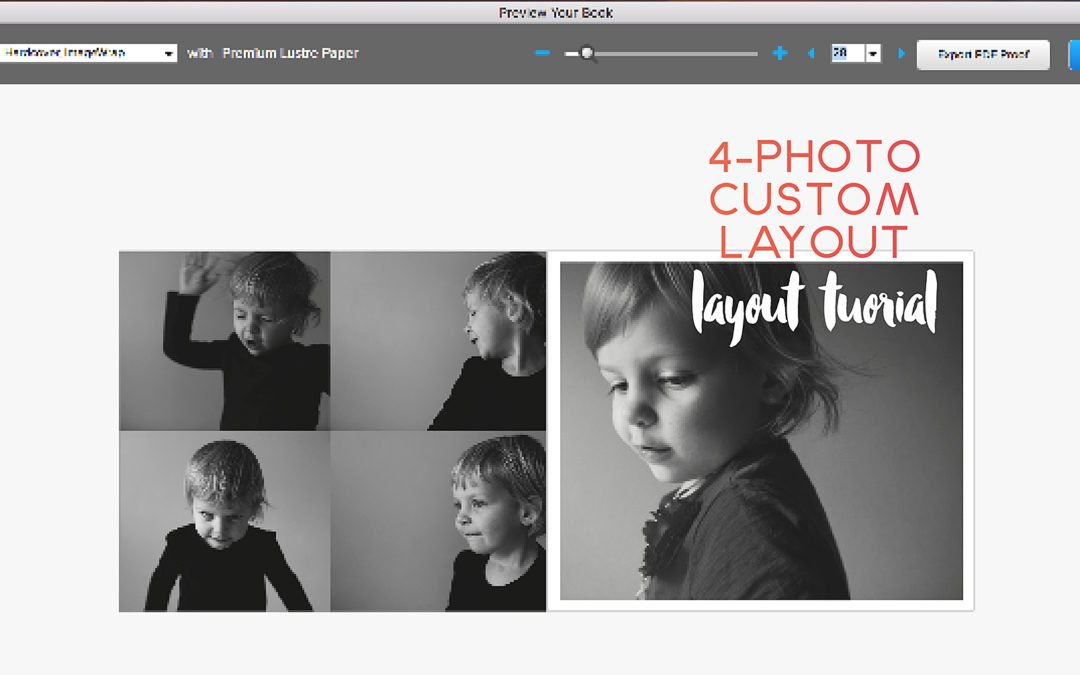
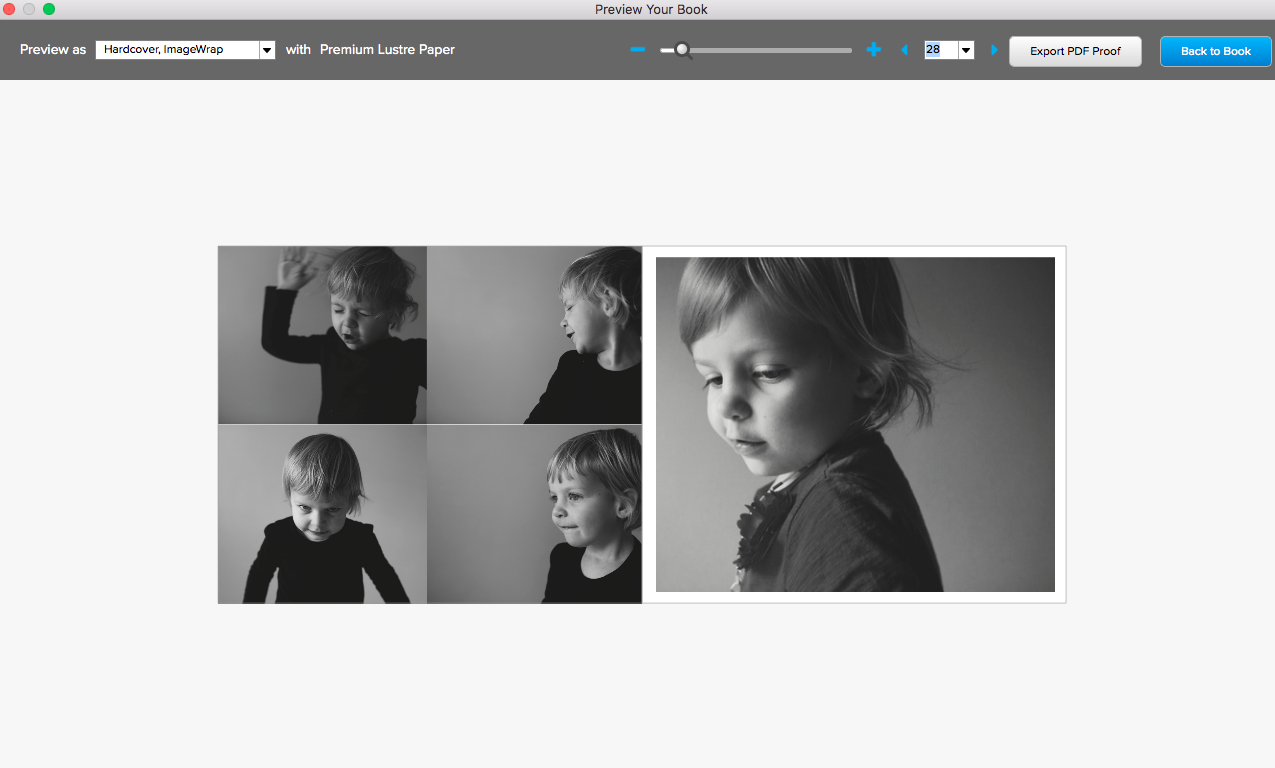
In this month’s tutorial, I’m explaining how you can make a small adjustment to Blurb’s 4-photo layouts to customize it to your photos.

Plus, if you’re starting to get a little frustrated with BookWright and ready to go all in with designing photo books, I’ll share how easy it is to design a 4-photo layout with InDesign.

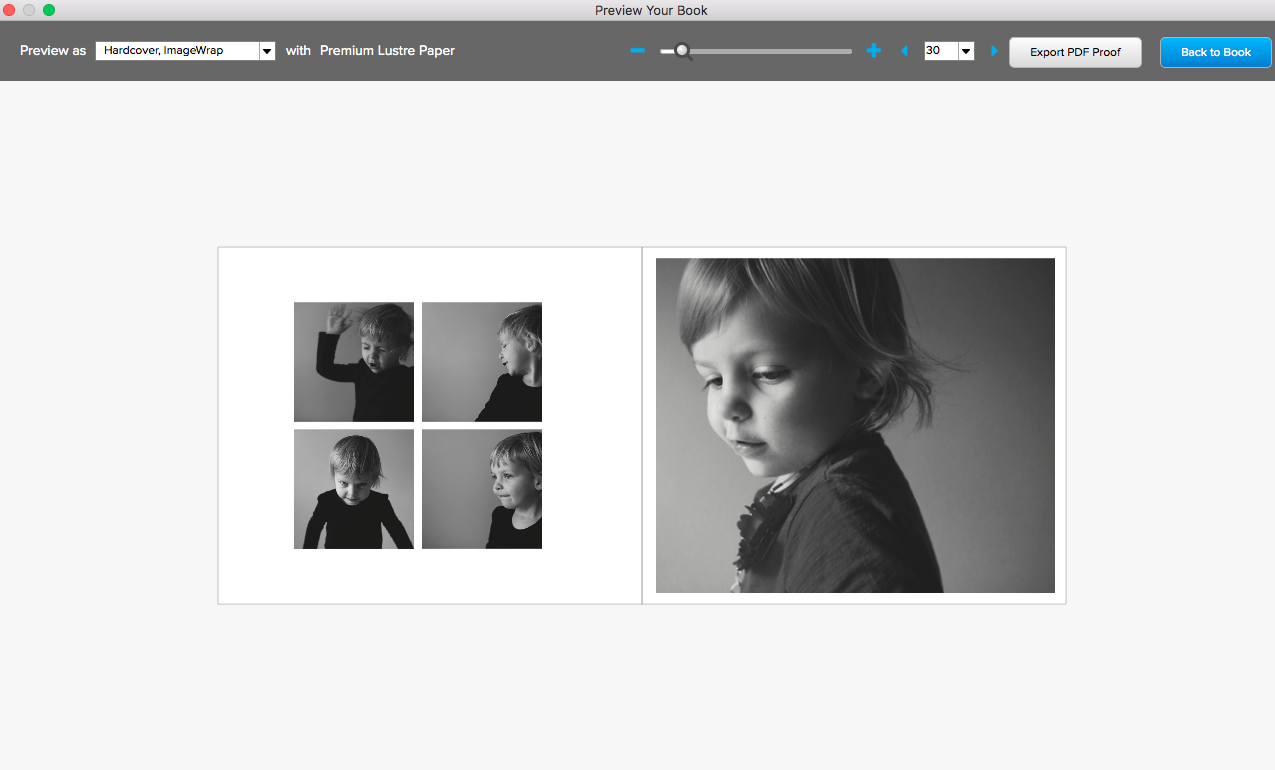
Out of the box, here are the 4-photo grid layouts included in Blurb’s standard layouts:

It’s true, these layouts are centered and will work for a photo book, however, it’s important to recognize that these boxes don’t fit the standard proportions of a photo – creating more work for you later. You’ll have to adjust your photos if you don’t want them perfectly centered in the photo box.

And for some layouts, you may want more space around the photos without using a square box.

Here’s the finished layout I created in BookWright. It’s still centered but in this layout there is extra space at the top and bottom and the entire photo is shown on the page.

To see how I skipped the standard layouts and created my own 4-photo layout, watch this video:

Want to learn more? Sign up for my Photo Book Design Workshops. Registration is open now and workshop starts on March 20, 2017.

6 Reasons You’re Not Making a Photo Book

6 Reasons You’re Not Making a Photo Book

Do you get pangs of guilt when you see a friend or fellow photographer post about their newly finished photo book and wonder why you can never finish a photo book?


This is a very common feeling because it’s hard to find the time to actually start and finish a photo book. The process is longer than taking a photo where you can experience the joy later in the day when you import your photos from your card to your computer.

While it takes a little more effort and time, making a photo book is definitely worth it in the end. You’re printing your photos to last a lifetime. You’re giving your kids a photo book documenting the big and small moments of their lives.


Today, I’m sharing 6 reasons why people have a hard time finishing their photo book….and how to overcome them.

1. Too Time Consuming.

No doubt about it, making a photo book takes some time. Particularly when you want to create an intentional photo book documenting your year. And if you’re not constantly making photo books, it’s hard to remember all of the ins and outs of the design program, increasing the time it takes to finish.

Overcome the Obstacle: Develop a workflow. Recognize that it doesn’t have to be daily or weekly, yet finding time to include making a photo book into your overall photography process, makes it more likely for you to stay on top of it and establish a rhythm.

While you may not recognize it, I’m guessing you already have a workflow for your photographs. There’s a specific way you import your photos, the program you use, and when you edit. If you like to post your photos on facebook or your blog, you have an export process as well. You may also be tagging or rating your photos.

That’s your workflow.

Now imagine adding one or two more steps to incorporate making a photo book. Perhaps it’s tagging photos when you edit them to identify what photos would work well in a book. Maybe it’s finding a Saturday afternoon where you edit photos and immediately export them to a folder for a photo book.

By adding photo book related tasks to your existing workflow, you’re making it easier for when you’re finally ready to sit down to place those photos onto photo book layouts.


2. It’s a Chore.

Making a photo book feels like a chore. It’s hard to find time to work on a photo book because it feels like sweeping up cereal crumbs on the floor – you know it’s important to do but it’s not exactly the most enjoyable task to complete.

Overcome the Obstacle: You need to reconnect with your why. I have a great exercise in my free fresh start workshop about clearly defining why you want to print your photos. And not just because you know you should. It’s important to recognize a deeper why.

When you have a deeper why, it creates a sense of urgency and passion for printing your photos, elevating it beyond a chore. If you want to hear how I worked through defining my why, make sure you join my free fresh start workshop.

3. Your Photos are an Unorganized Mess.

Every time you go to Lightroom (or whatever program you use) to select photos, you realize that they are an unorganized mess. You started tagging photos in the beginning of the year but didn’t keep it up and now you can’t remember where you left off. Plus you have so many photos that you want to include in a book that have yet to be edited.

When you think about selecting photos for a book, you realize it’s going to take hours, days, weeks or months to get your photo library organized before you can even start the photo book process.

Overcome the Obstacle: Relax. Realize that it’s never going to be perfect and that it’s better to find a way to quickly select and edit photos so you can print them….then always leaving them in a chaotic mess that no one will sift through and enjoy.

Instead of trying to do it all – organize, edit, select, tag, export for your entire library – find a way to quickly sort through your photos and break up the editing and exporting into small chunks.

One suggestion is to look at a month or year of photos as small thumbnails. This way you see photos in their context and don’t pay attention to the details. Find photos that you love or capture an important event and rate them, tag them or give them a color designation. Then group these photos together, edit them in small batches and immediately export them when finished.

Remember, it’s more important that you quickly select and print 100-200 photos than endlessly sift through and organize thousands of photos so that you never find time to print. Don’t set yourself up for an impossible-to-finish task. Instead focus on the most meaningful photos and, at a minimum, print those.

4. Don’t Like the Templates.

Whenever you get into the design software program, you’re unhappy with the results. The layouts feel cluttered and it’s difficult to work with the tools to create the modern, sophisticated look you want.

Overcome the Obstacle: Always find ways to simplify your design and the layouts you prefer. I recommend spending time up-front designing a couple of core layouts that you can use for a majority of the pages in your book. It’s always better to rely on a few layouts that represent the look you want than re-invent the wheel on every page.

Also, realize it takes practice to get acquainted with the design software and the more you work in the program, the more it will feel like second nature to achieve what you want.

If you are interested in crafting a vision, defining your core layouts and learning how to make the most of the Blurb software or InDesign, check out my photo book design workshops which will be opening up for registration soon!


5. You’re Working Alone.

When you are first learning photography, it helps to be surrounded by other people learning as well as more experienced photographers sharing their work. Seeing other photographs motivates you to keep working on your craft and attempting new things. It also helps to be apart of a community where you can ask questions when you struggle, post examples for feedback, and share when you’ve finally achieved a goal.

When it comes to making photo books, it’s harder to find that motivation and inspiration around you.


Overcome the Obstacle: There are two great ways to get over this isolating feeling. First, find a friend or fellow photographer with a similar goal of printing their photos. Set up a specific goal with a timeframe and stick with it. Motivate each other by sharing progress. Jackie and Daniela co-wrote this blog post sharing exactly how they worked together to achieve their printing successes.

Another option is to join my Photo Book Club. This is a community of women who share the desire to print their photos. This group includes monthly PDF downloads, a quarterly call to check in with your progress, and a private facebook group to ask questions and share examples. It’s a perfect way to connect and share with others who have a similar goal.


6. Excuses are Easy.

Life is busy. And when there is so much to do and watch and read, it’s hard to make time for everything. It’s important to prioritize and yes, that means making trade-offs. But it’s also easy to make excuses for things that you really want to do.


For me, this is exercise. I’m not one to prioritize exercise. It’s not what I immediately and easily make time for each day. I don’t experience the runner’s high motivating me to get out there and workout when it’s raining or cold. I look for excuses. I find ways to rationalize why I can’t exercise today. But I also know, it’s really important for me to do. It is cathartic, stimulating and an important part of self-care. It takes mental work for me to overcome the easy excuses and make exercising part of my daily routine but I do it in order to achieve results.


Perhaps this is how making photo book is for you. You recongnize it’s something you want but it’s much easier to find ways to put this task off.


Overcome the Obstacle: First of all, it’s comletely ok to feel this way and to give into the excuses every once in a while. It’s true, making photo books is not always a top priority. But if it’s really something you want to accomplish in a year, it’s also important to realize it can’t fall prey to excuses every time. At some point, you have to find a way to work it into your monthly or annual routine.


If you’re constantly discouraged that you never find time to work on your photo book – and it’s something you really want to accomplish – schedule 2 hours on a Saturday each month to work on your book. Edit and export your photos in the first hour and spend the second hour designing the pages. Blocking out the time and not settling for excuses, helps you make small incremental steps toward achieiving your goal.

Now I’d love to hear from you – what keeps you from making a photo book? 

Purge and Prune to set your Photo Book Goals

Happy January! Also known as the month of setting goals!

I’m a planner through and through. I get extremely excited about setting intentions and outlining the strategy to go from concept to reality. I usually get in the goal setting mood in January and also August, as my kids are heading back to school and I’m trying to figure out what I want to accomplish by the end of the year.

January is really the time of reflection and assessment and big goal setting. I love the process of looking at what happened in the previous year as well as dreaming about what I want for the upcoming year. It’s also a time to embrace possibility and expand my horizons for what I hope to accomplish.

As I wrote last year, I’m a big fan of SMART goals. But this only helps what you know you want to focus on. One of the biggest mistakes I see people make – with all goals, but particularly when it comes to photo book goals – is the desire to take on too many projects. And SMART goals won’t help when you’re trying to tackle 5 photo books at one time.

Your should start with the Purge and Prune Method. Inspired by this Marie Forleo video, I’ve created an exercise to help you apply this to your own photo book goals. In fact, I’ve created an entire free workshop – fresh start – to kickstart your 2017 printing goals.

So let’s get started!

Step 1: Purge

This first step is all about the brain dump. I want you to get every project you hope to accomplish out of your head and onto a piece of paper. Include everything. The practical projects, the necessary projects and the wouldn’t it be nice someday projects. Write them all down.

Immediately you should feel some relief.

Step 2: Prune

Now it’s time to look over your list and determine what one project you want to pour your energy into first. The goal is to narrow your project down to a select few and I really recommend honing in on one project that you will start and finish, no matter what.

This does not mean that you will forget about your other projects. It’s merely setting your intentions to see at least one project all the way through.

How to decide what to select? Think about what you know about this project, all the steps it will take to get you from point A to point Z and how much you really want a particular book.

Once you’ve selected your one project, I’ve outlined six other steps to help clarify what comes next. Here’s a quick summary but if you want to go deeper into each topic, I’d love to have you join my free workshop, fresh start, where we’ll tackle all steps in great detail. 

Step 3: Identify what has worked for you in the past and consider why you were successful.

Step 4: List all roadblocks that stand in your way.

Step 5: Determine why you want to print your photos.

Step 6: Find tools, tips and strategies to help you work faster, smarter and easier.

Step 7: Create a game plan for your project.

Step 8: Get started!

Grab my Purge and Prune Worksheet and get started with my free fresh start workshop.

The One Thing that Really Matters

The One Thing that Really Matters

In the spring of 2014, the New Jersey band Real Estate released a new album, Atlas. Pitchfork described it as their most forlorn album and their most beautiful. That summer, it was our go-to album

I was particularly inspired by the song, Talking Backwards. Although it’s about a guy having a hard time telling his girlfriend he loves her, I couldn’t help but find other parallels to things that, for whatever reason, hold us back.

Talking Backwards became my theme song for creating In One Hundred Pages. I wanted to help creative moms who can’t seem to find the time to print their photos even though they know how important it is.

You pick up your camera and take pictures to capture fleeting moments.

You take photos because you love your kids and want to remember them at this moment.

You capture real moments – the smiles, tears, tantrums, laughter.

But for so many of us, when it comes to printing our photos, it’s the one thing that’s so hard to do.

Years from now, do you want to huddle around your computer, phone, Facebook or whatever other digital device/network that’s around to reminisce?

Instead, imagine looking through a photo book.

Flipping page by page, remembering your family’s big and small moments.

Imagine seeing your favorite photos from the year in one place.

If you love the idea of an annual photo book…..but never find time to make one….In One Hundred Pages is for you.

It’s my version of the faster-to-do, must-have annual photo book.

It’s one thing that really matters.

If there’s one photo book you make this year, tell your family story In One Hundred Pages.

Join me today.


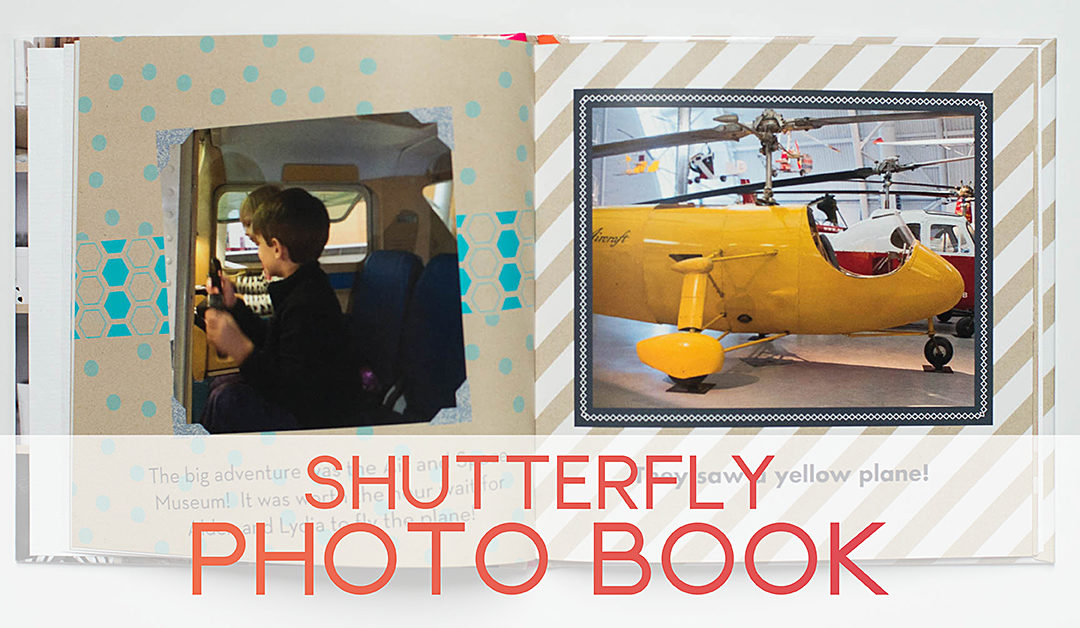
A Shutterfly Photo Book for Grandkids

A Shutterfly Photo Book for Grandkids

Even though most of my photo book examples include young children, I want my inspirational lessons to motivate everyone to print their photos. 

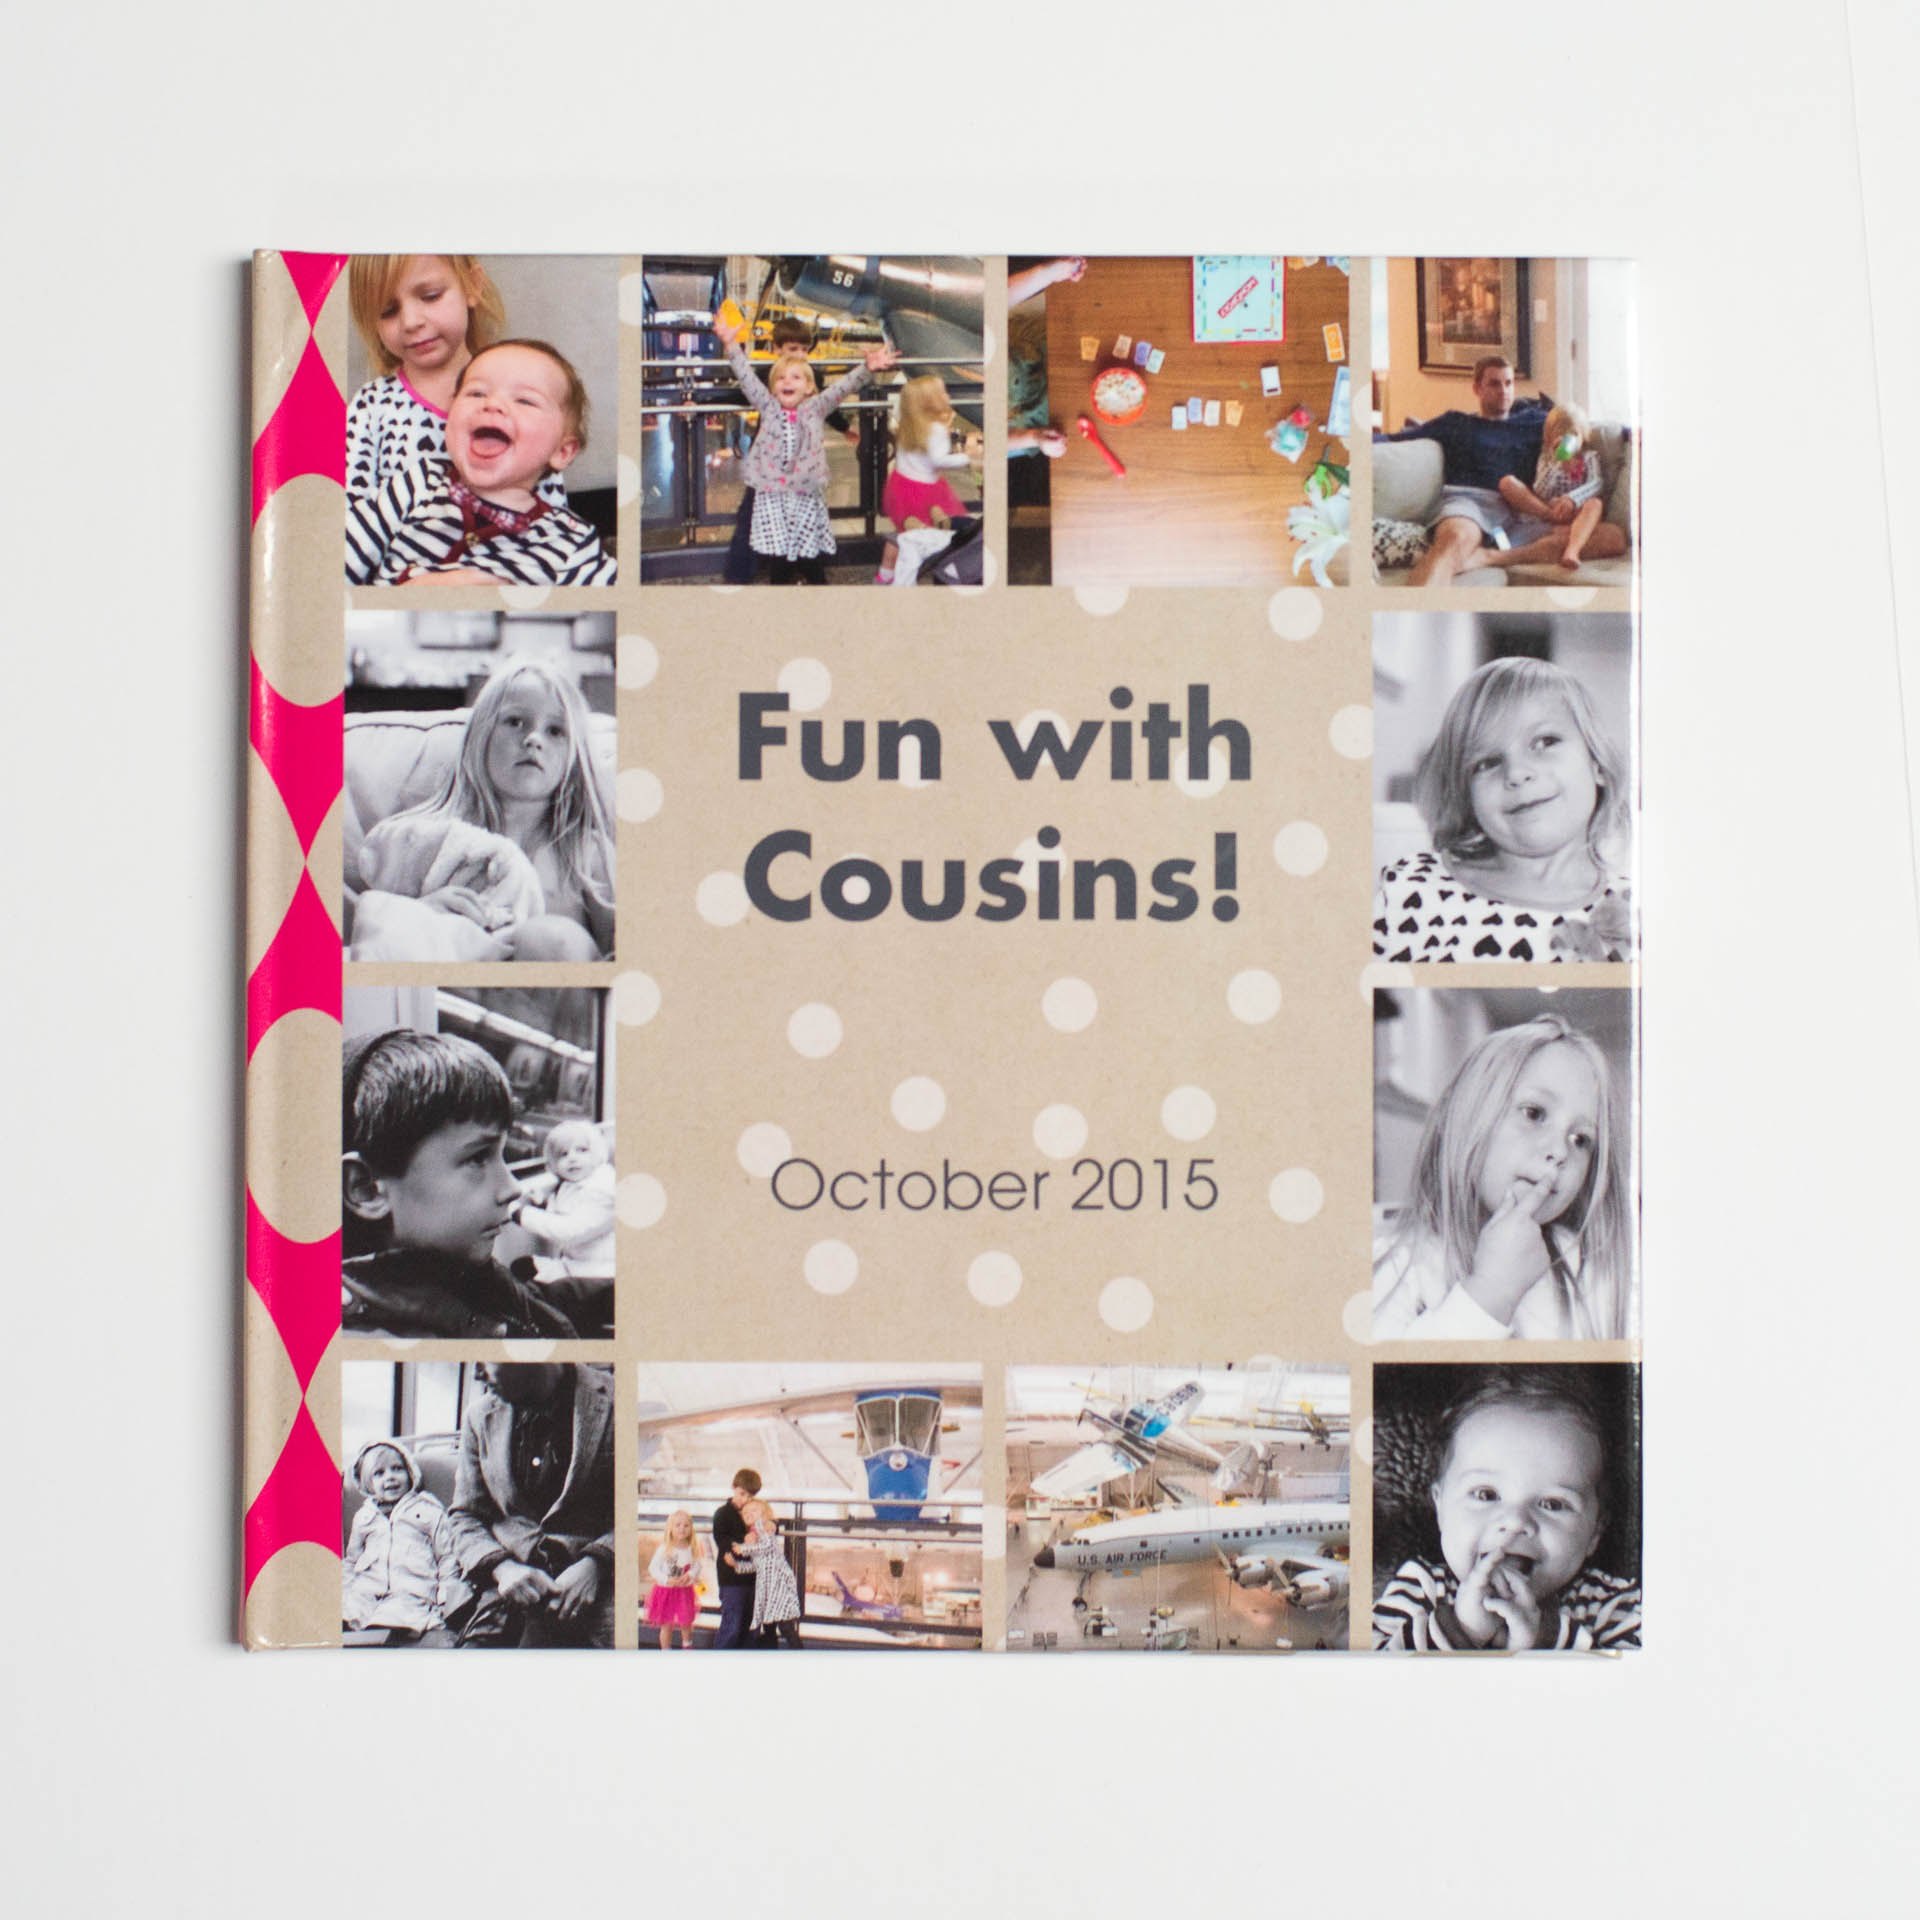
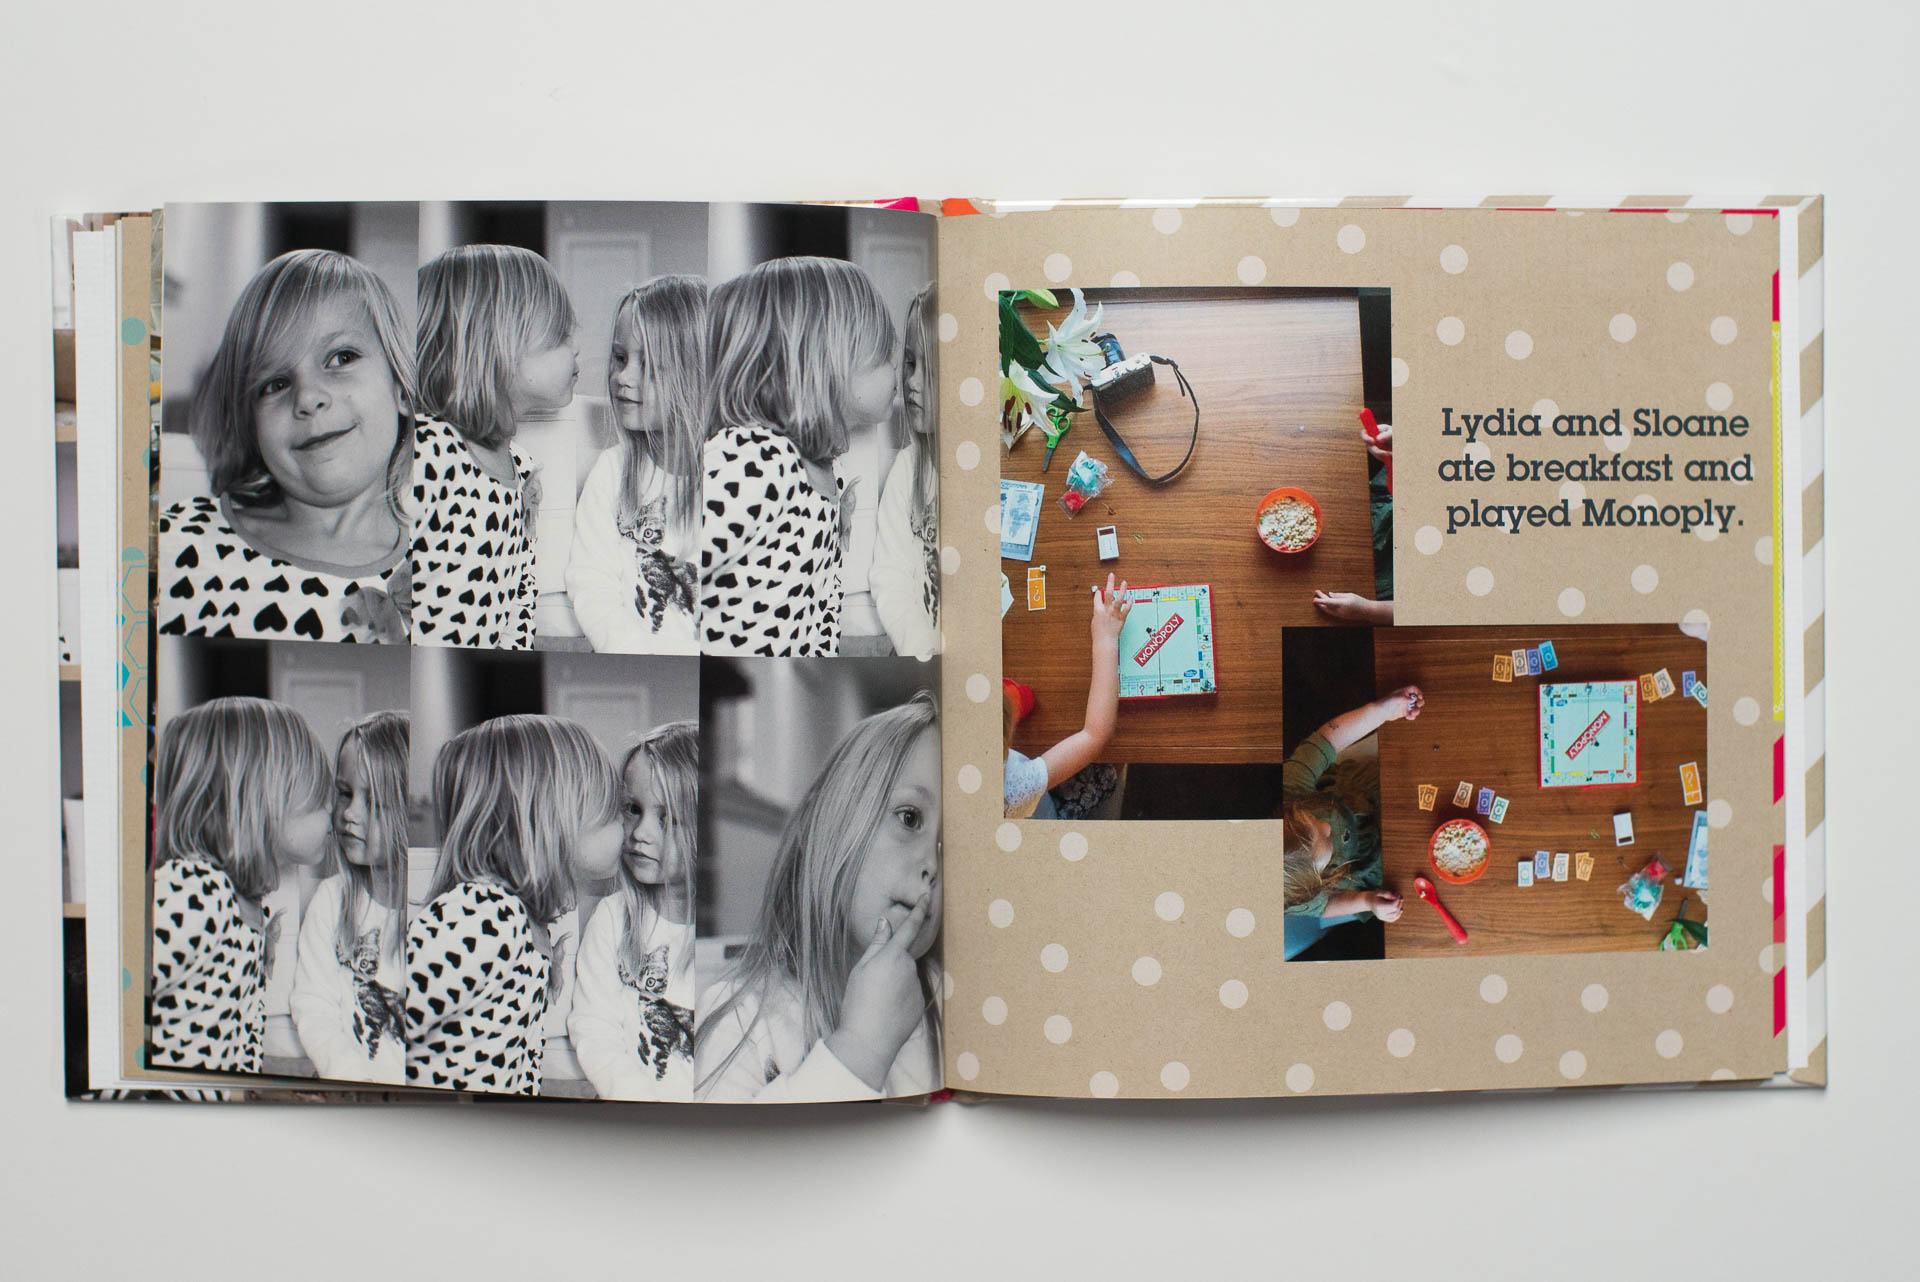
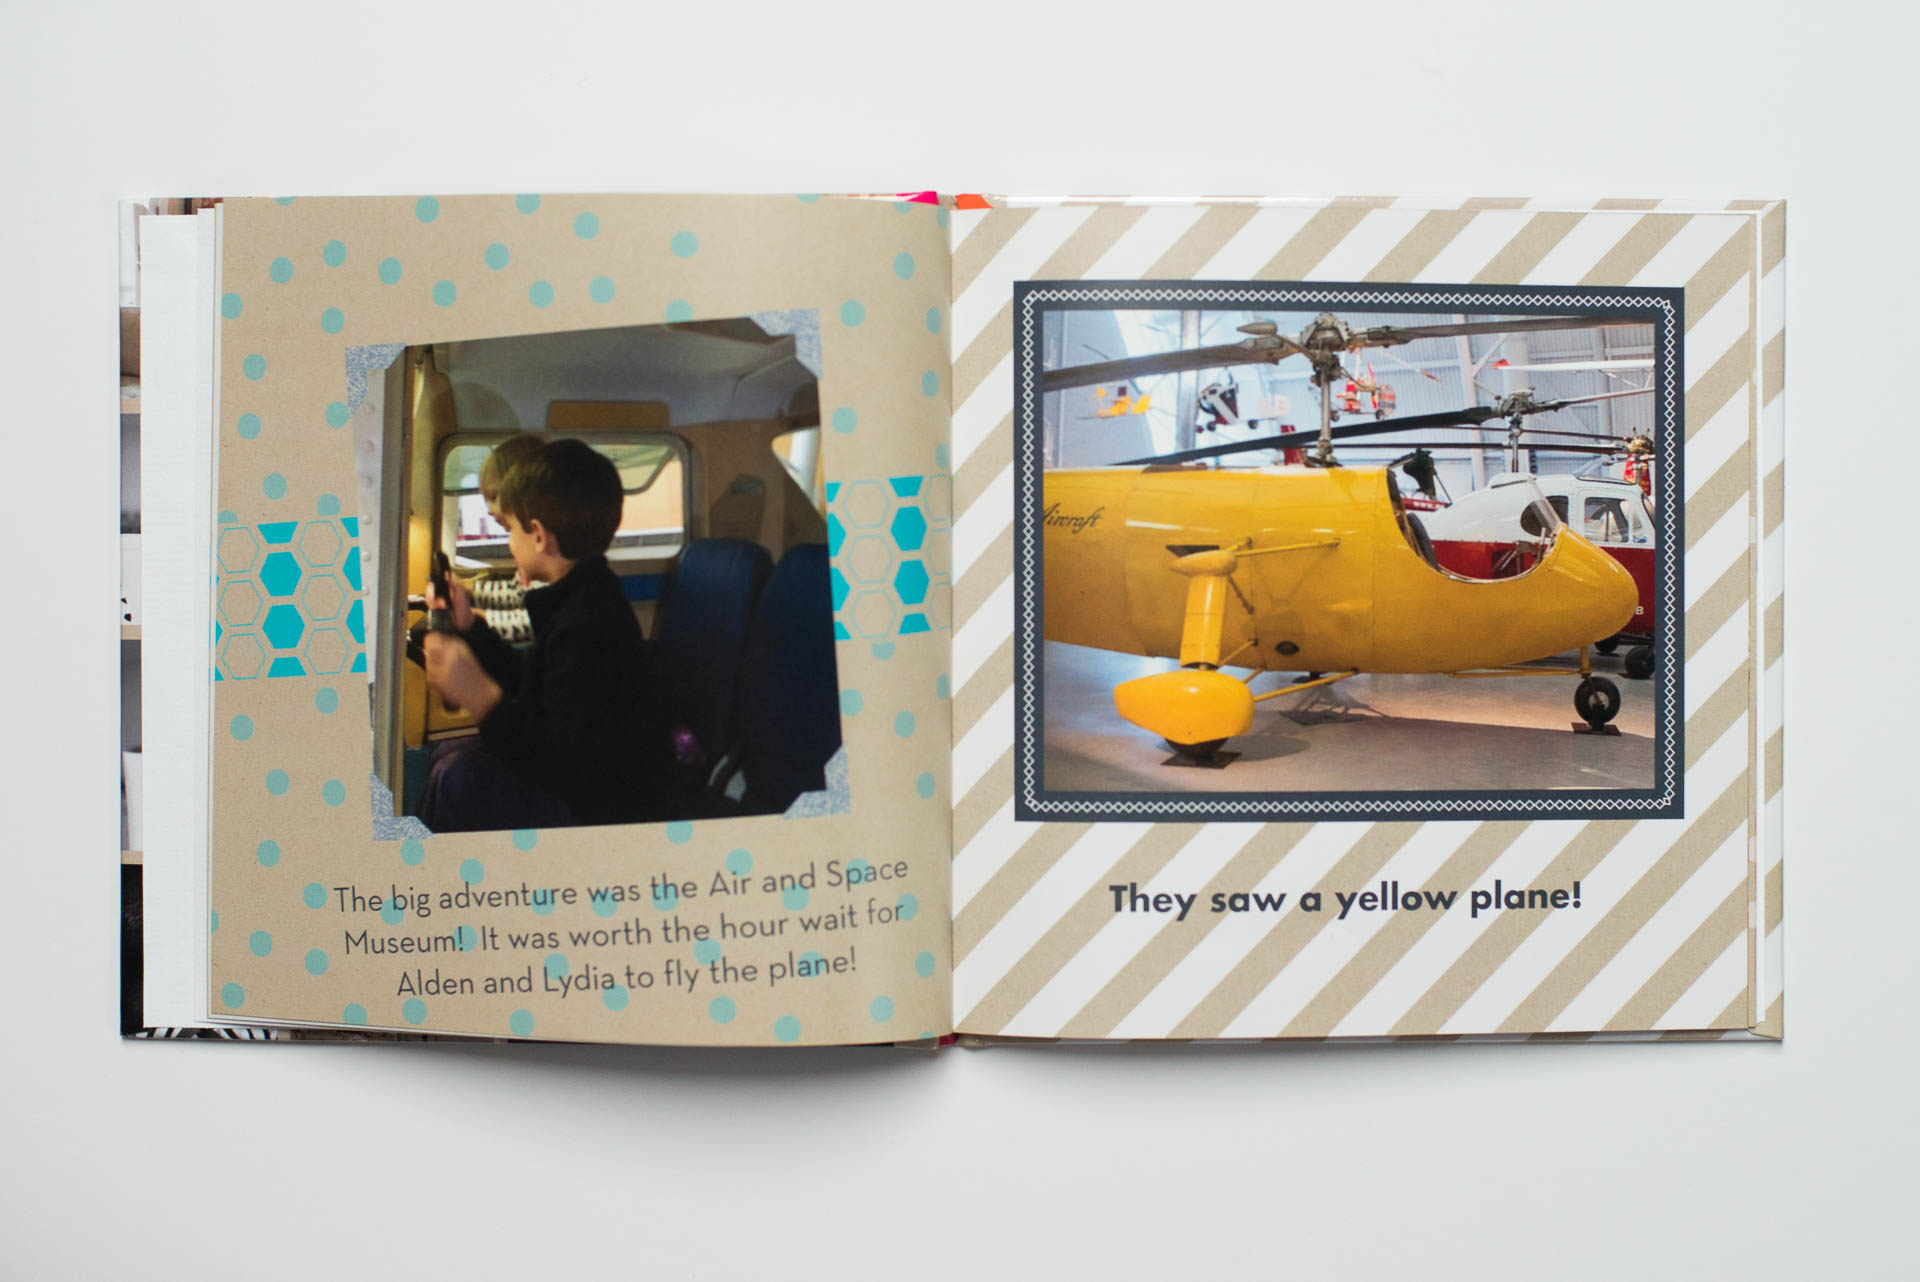
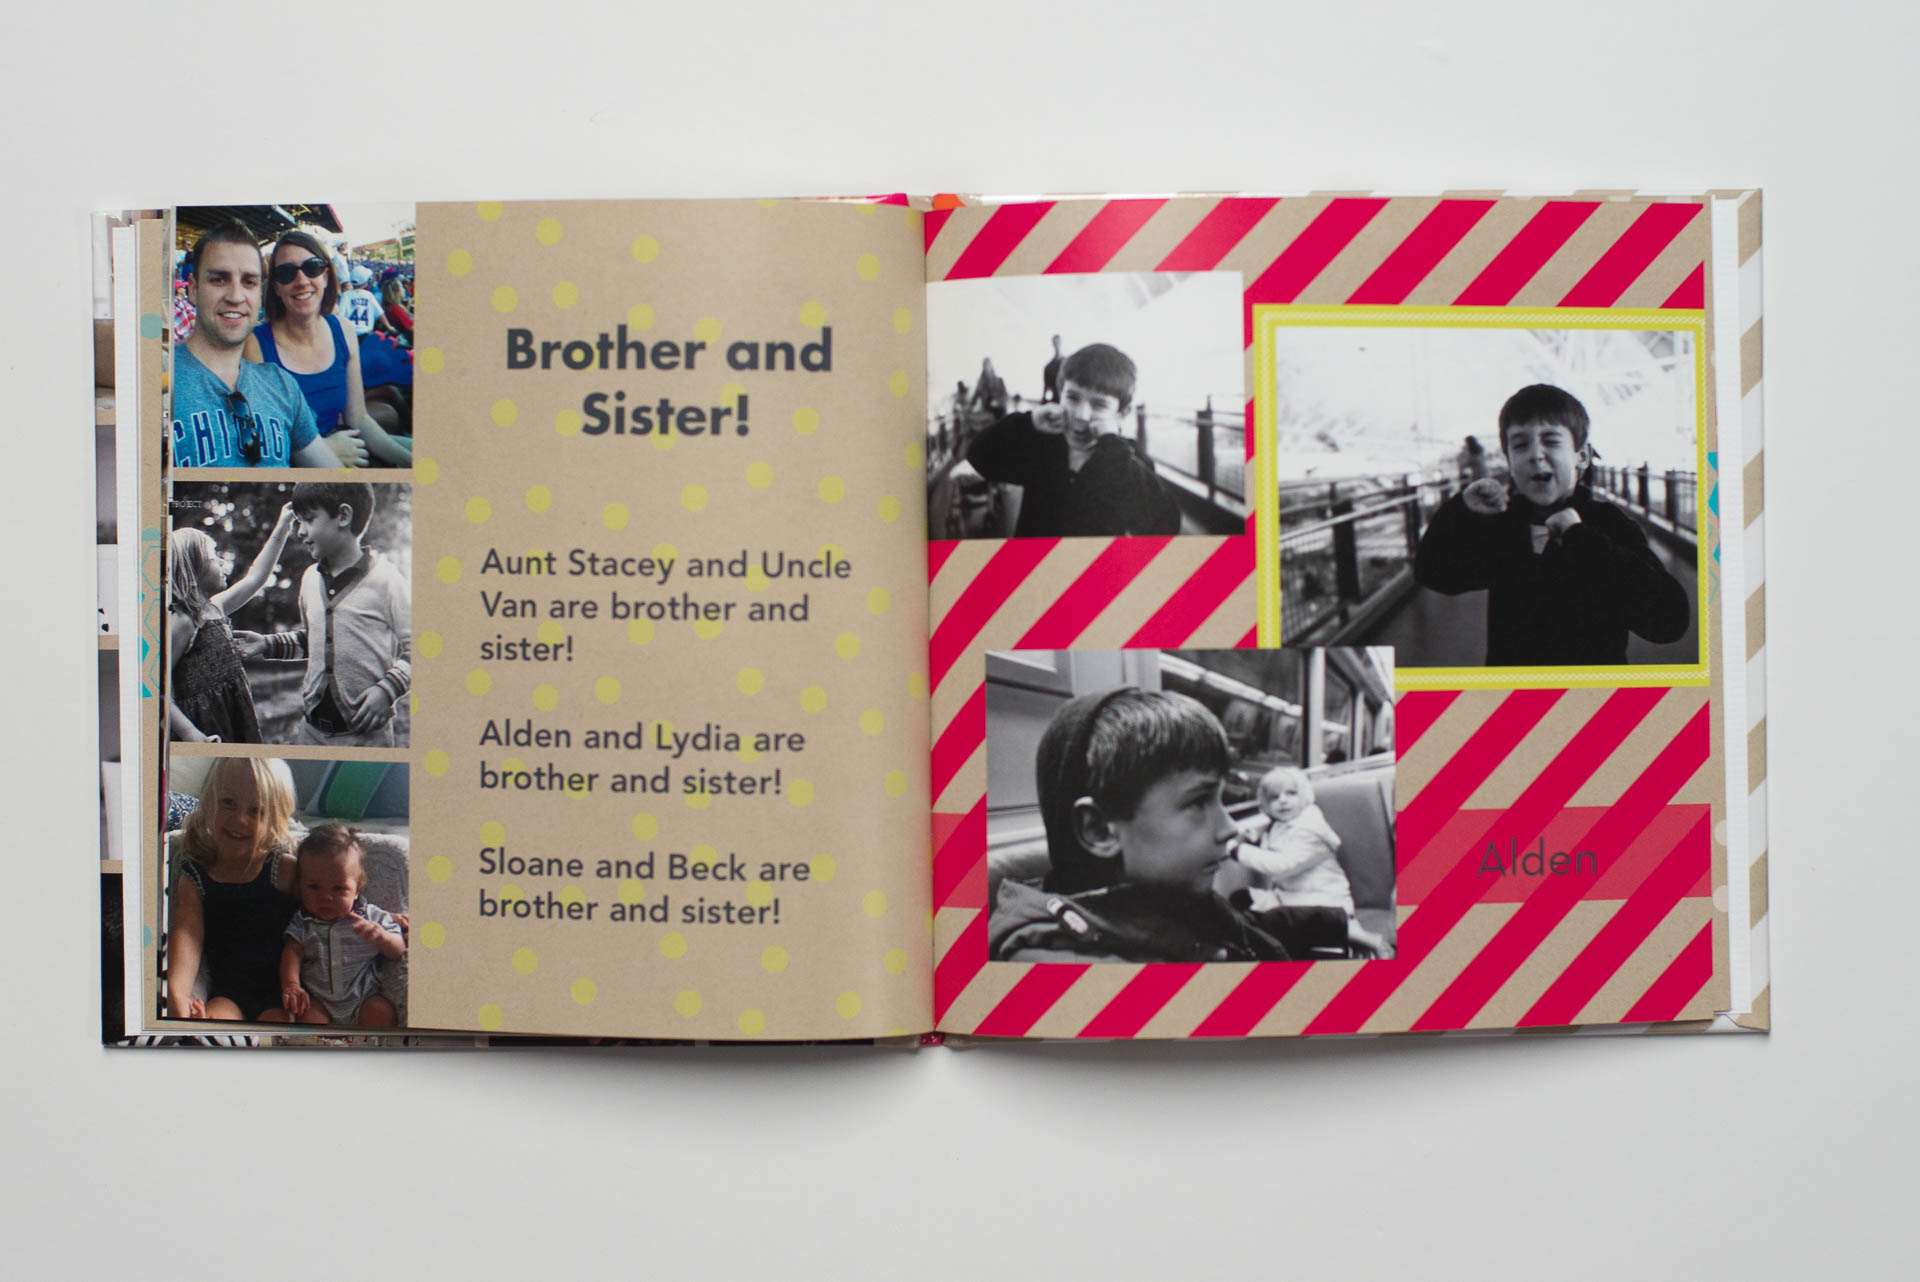
Earlier this summer my kids received a package from GG (their grandmother). When they opened it up, it was a photo book of their visit to see their cousins. My mom used photos from our trip and made a really fun photo book so my kids could remember the fun they had. 

I asked my mom if she’d be willing to share her insight into making a photo book for her grandkids. I hope you enjoy this post and realize that photo books do not have to be all encompassing, documenting every part of your year. It can also document a family weekend get-away! 

I started making very simple photo books just with phone camera pictures and other pictures.  My advice to others is…start small!  I started with my granddaughter. I gathered pictures from various sources.  Some were pictures that I had and then I ventured to Facebook posts of others that knew her. Then I used these family pictures to create a memory of family moments.
I’ve created several picture books for my grandchildren. What I’ve learned is that I find more tools with each book that I make.  In my most recent photo book, I learned how to edit photos within the design program, crop photos and change the font on the page. With each book they are just a little more sophisticated.
It’s so much fun creating moments!  Jump in!!

Ready to make a Shutterfly Photo Book?

Click here to see their latest discounts.

*The link above is an affiliate link and I will earn a commission if you purchase an item from Shutterfly.

Have you been inspired by my blog or emails to make a photo book?

I’d love to feature your book. Simply fill out the contact form and I’ll be in touch!

Photo Book Feature