by Stacey Wiseman | Sep 30, 2015 | Design Series
I’m really excited to kick off a new free series all about organizing your photo library.
If you are anything like me, you take thousands of photos every year. And staying on top of your library, well, it’s not always as organized as you want it to be.
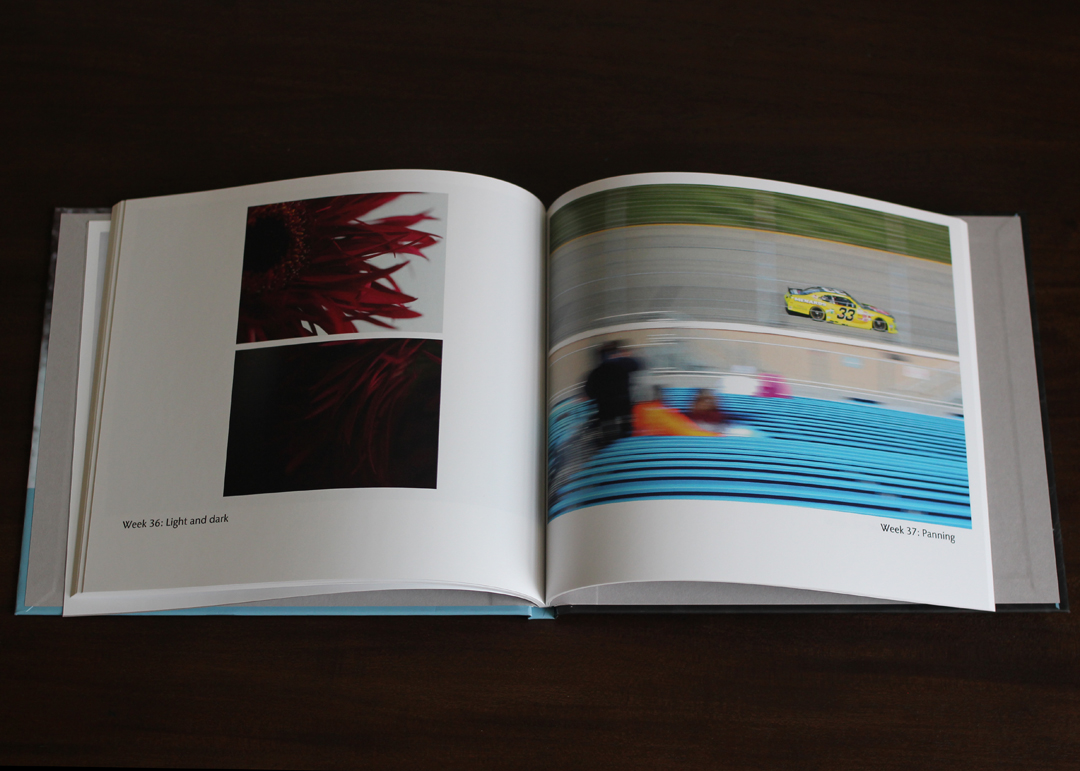
At the end of the year, I love making a smaller, very specific annual photo book. But before I even think about getting started, I spend a few weeks getting my library organized and streamlined which saves me time in selecting photos and making a book.
For my next 3 blog posts, I’ll share how I organize my library. At the end of this series, I hope you’ll have a more organized library and take part, with me, as I design one of my favorite books of the year.

The first challenge is to gather all of your 2015 photos in one place.
If you take photos with your dslr, a film camera, a mirrorless, and/or your phone, take the time this week to make sure they are all in the same program, catalog, library, or digital album.
My favorite way to organize my photos is with Adobe Lightroom. I can import my photos, organize them, rate them, edit them and export them. All in one place.
But it doesn’t matter what program you use. The important thing is that you have a program – a place – to see all of your photos together.
Once you’ve organized your 2015 photos in one place, leave a comment on this post with the number of 2015 photos you’ve taken this year. And I’m only focusing on this year only. Don’t worry – no number is too low or high. It’s just important that you see where you stand today. 😉
Right now my 2015 library includes 9,230 photos. What’s your number? Leave a comment with your number.
Want to participate in my free challenge? Make sure to sign up for my emails.
by Stacey Wiseman | Sep 8, 2015 | Inspiration, Motivation, Uncategorized
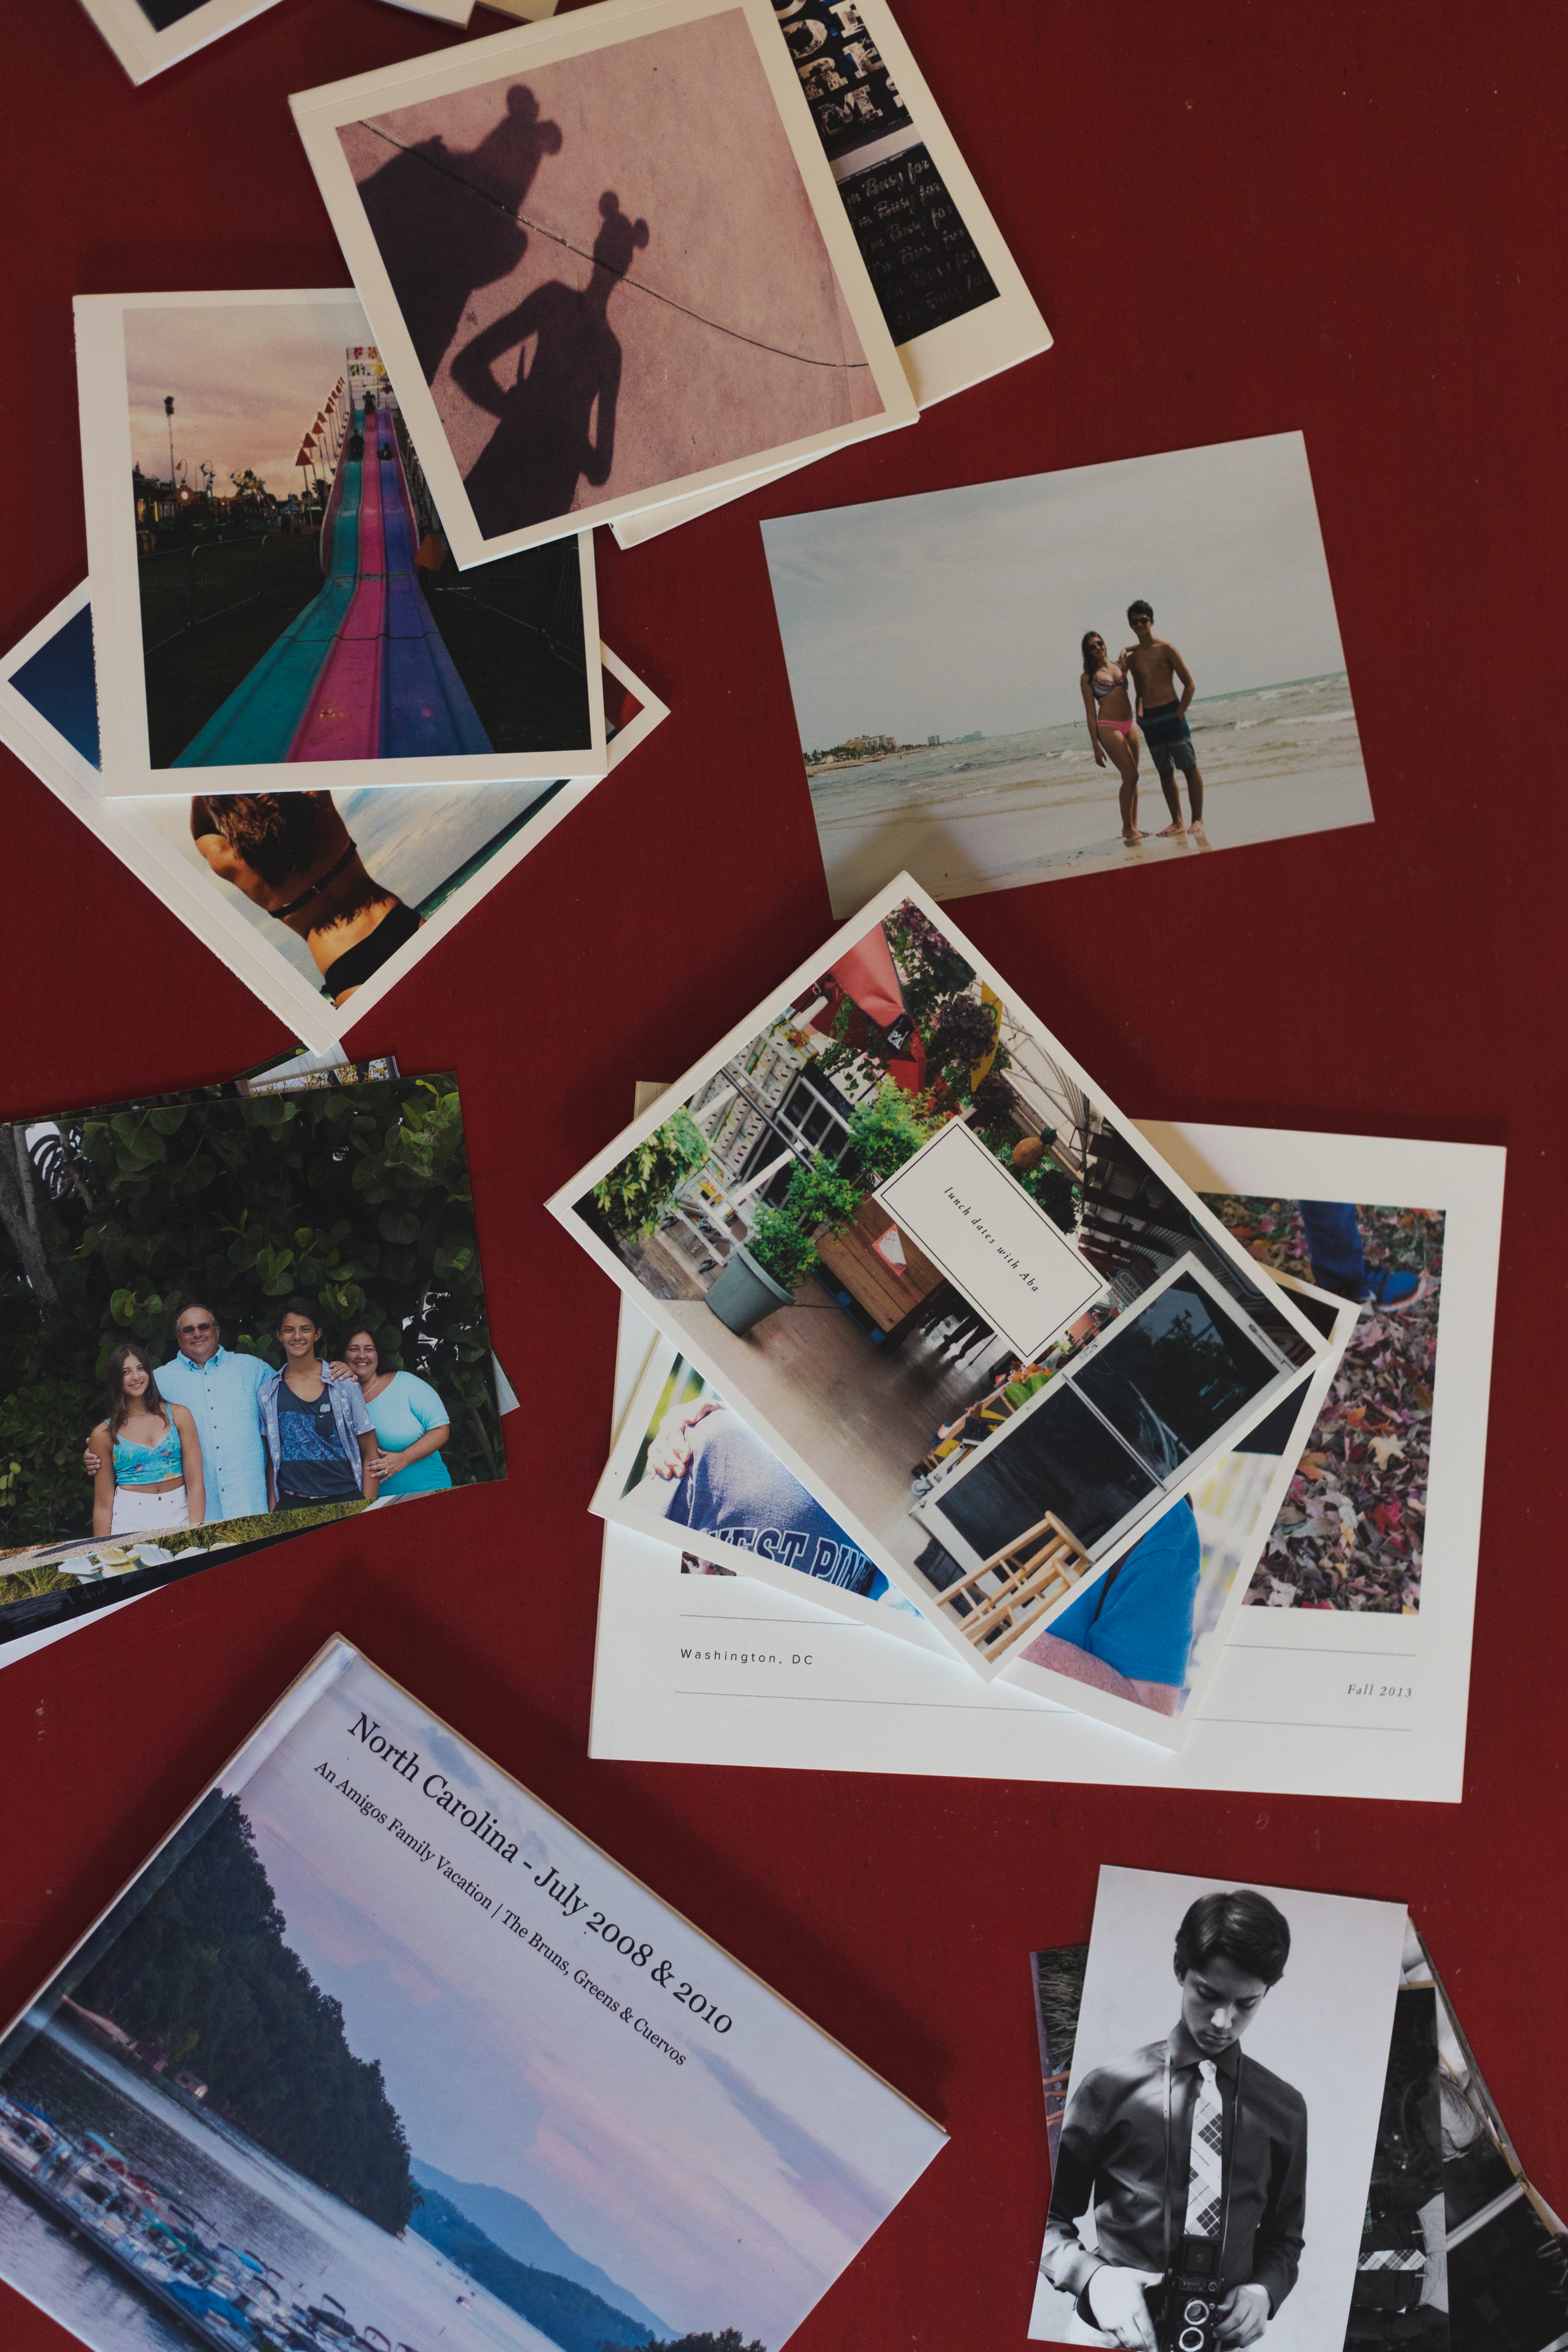
We started 2015 adding one goal to our long list of photography related projects: printing our images. We had either printed books or loose prints sporadically before but we wanted to commit to one print project per month and getting in the habit of printing our images.
Pros: How we motivated each other with making the books
- Discussing ideas for books
- Finding clarity to fine tune vision for book***
- Pushing each other to set a goal for the month
- Updating each other on progress throughout the month to keep each other motivated
***For me (Jackie), this has been the most beneficial because having the vision makes creating the book easy. It is much faster to get it done when you have clear goal with specifics. In the past getting stuck on this step is what held up my progress on a book or even starting one.
How: What we found successful
- Keeping the rules loose – minimum one print goal per month
- Printing goal could be anything from printing loose images, vacation books, project 365, project 52, mother’s day books, gift books,
- Checking in at the beginning of the month to decide on personal print goal
- Sharing our progress during the month
- Sharing finished product
- Working through challenges, bouncing off ideas
- Readjusting or refocusing when we got stuck
- Talking out loud: Why am I making this book? Who is the audience? What is the objective?
We motivated each other by being present, listening, ideating together. Also by being open regarding the print goals, not every month was a book, some were prints or smaller IG books. Knowing that the other person was working on their print goal also served as motivation to choose a monthly goal and work towards it.
For me (Daniela) the individual prints were done for those images that had a specific use in mind, whether it is a wall gallery, a frame or an album. Also images that were made on film, I printed those for a gift for my dad and some to frame for my office. The books I did were for projects that cover an event, like a vacation, or a project like P52 or Top 10 images per month.
After watching many of Stacey’s free tutorials, we understood that having a clear vision was very important to achieving our print goals. By discussing our vision together we helped each other find clarity and move forward on our book project. The simple act of putting our monthly goal in writing and sharing it served as a commitment to getting it done.
For me (Jackie) questions like why am I making this book, who is the intended audience, will I included both digital and film scans in the book, what aesthetic do I want for the book would come up and having someone to work through them was instrumental in getting it done. Some months I found myself paralyzed with indecision and after talking with Daniela, I was able to move on. The biggest advantage besides having a friend and sounding board to share ideas and questions, was having an open mind regarding prints, the goal was to have a physical proof of an otherwise digital only image. Being opened allowed us to explore a variety of ways to accomplish our print goals: books (Blurb, Artifact Uprising and Adorama Pix), loose prints (Mpix and local Lab), and IG books (Chatbooks and Artifact Uprising).
What we have accomplished between January -July 2015:
- Project 52 Book
- Macro prints for office
- 1st Half of a Project 365
- Prints for home
- Mother’s Day Books
- Top 10 images per month of 2014 book
- Prints from Film images for Father’s Day
- Chatbooks as a Thank you, Instagram series of summer vacation, Instagram subscription
- Travel books of family summer vacation and weekend trips
- Grandmother and grandchild books
- Prints for husband’s office
We plan to continue this Project during the rest of 2015 and most likely beyond. Printing our images has brought great satisfaction and joy, not only to us but also to our families. It is a great feeling to see your images in a book or on the wall.
This blog post was graciously written by two great friends, Jackie and Daniela.
Jackie is a hobbyist photographer and like most of us my passion lies in documenting my family. I am a South Florida native, mom of two – a high school freshman and college senior (yikes). Check out her website and be sure to follow her on instagram: @jackiecuervo
by Stacey Wiseman | Aug 20, 2015 | Family Photographs, Inspiration, Photo Book Design Layout, Uncategorized
It’s Back-To-School Time!!!!!
Of course, you’re well aware if you have a kid starting school….or have opened up your facebook feed lately.
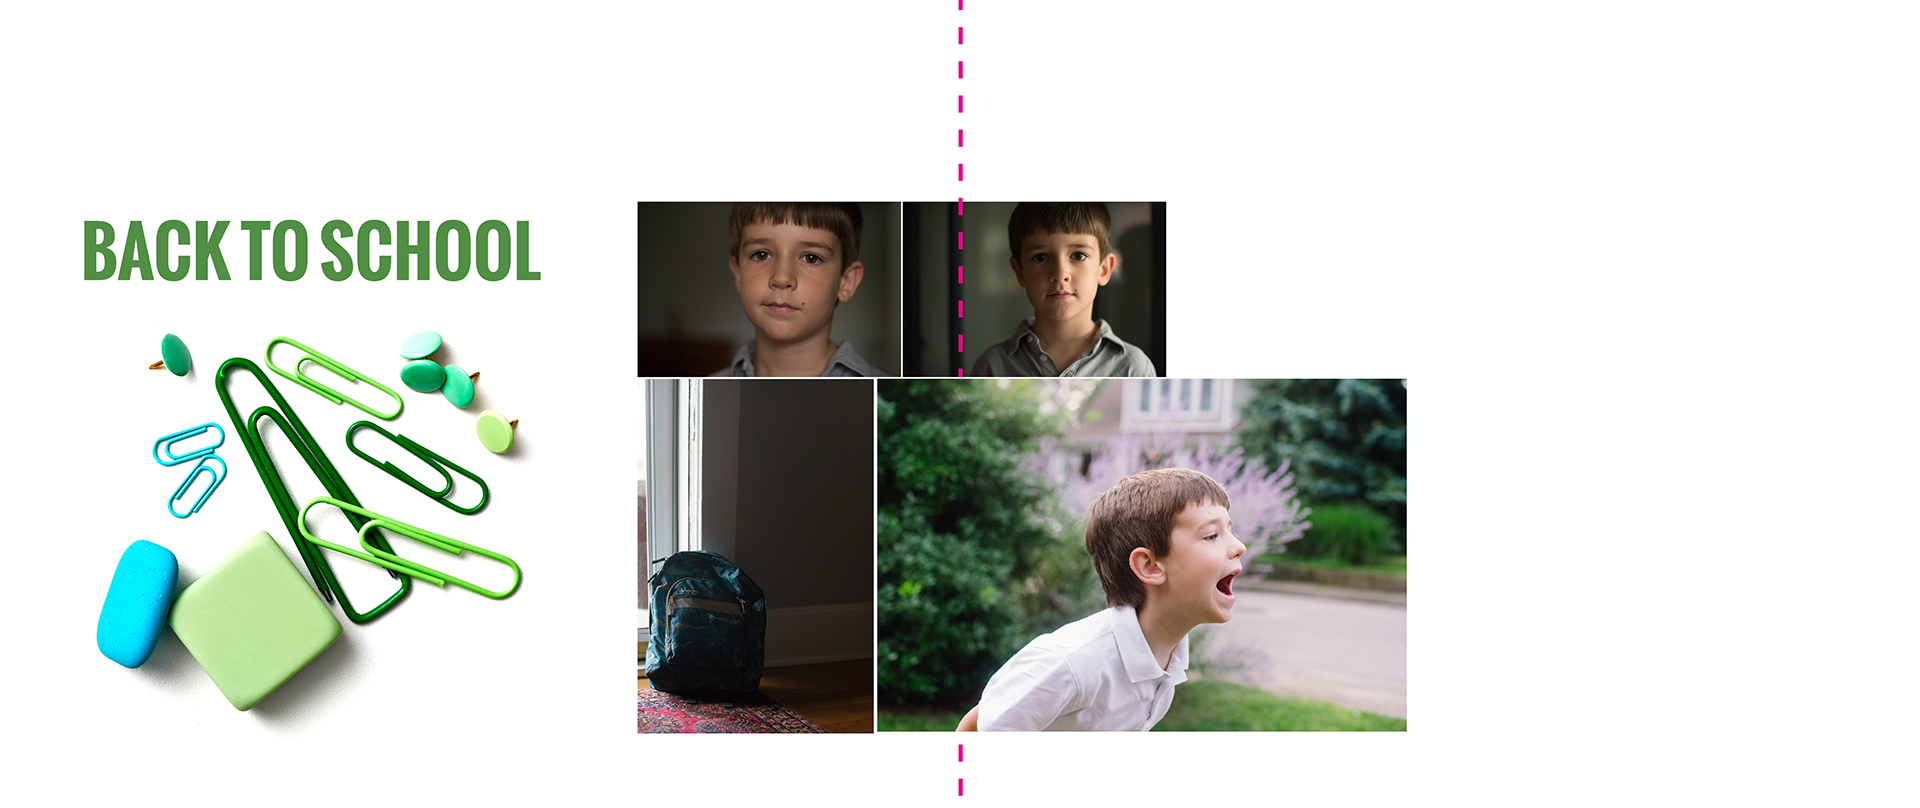
My oldest started first grade last week. And since I’ve already given advice to moms with their oldest heading off to kindergarten, I thought I’d share how moms with kids of any age can turn those back-to-school photos into a really fun layout for their annual photo book.
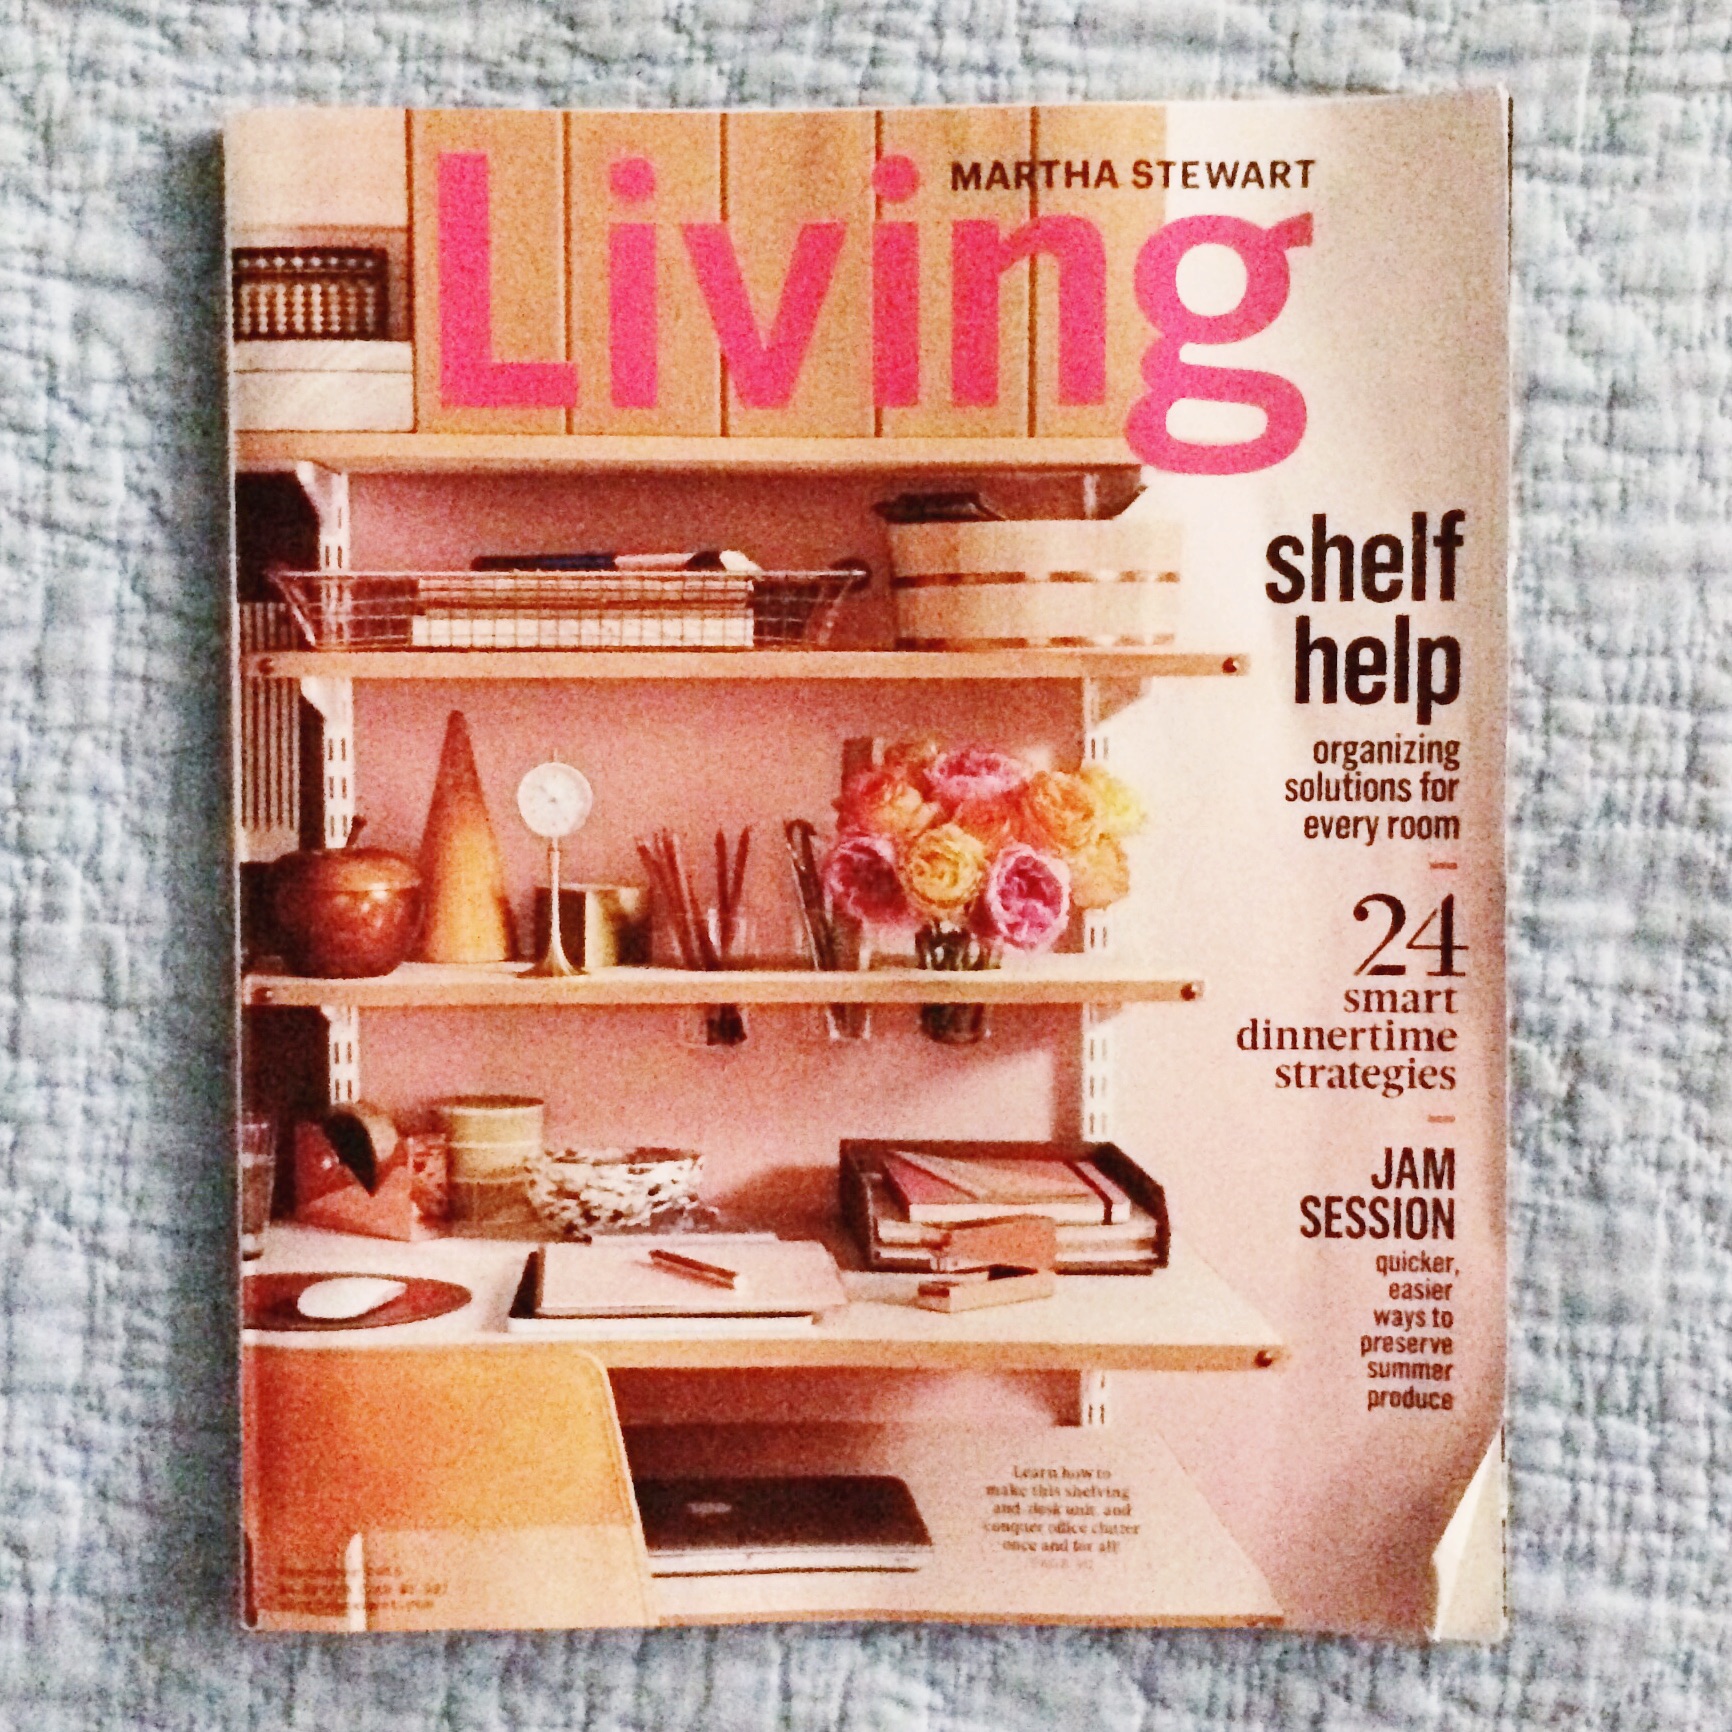
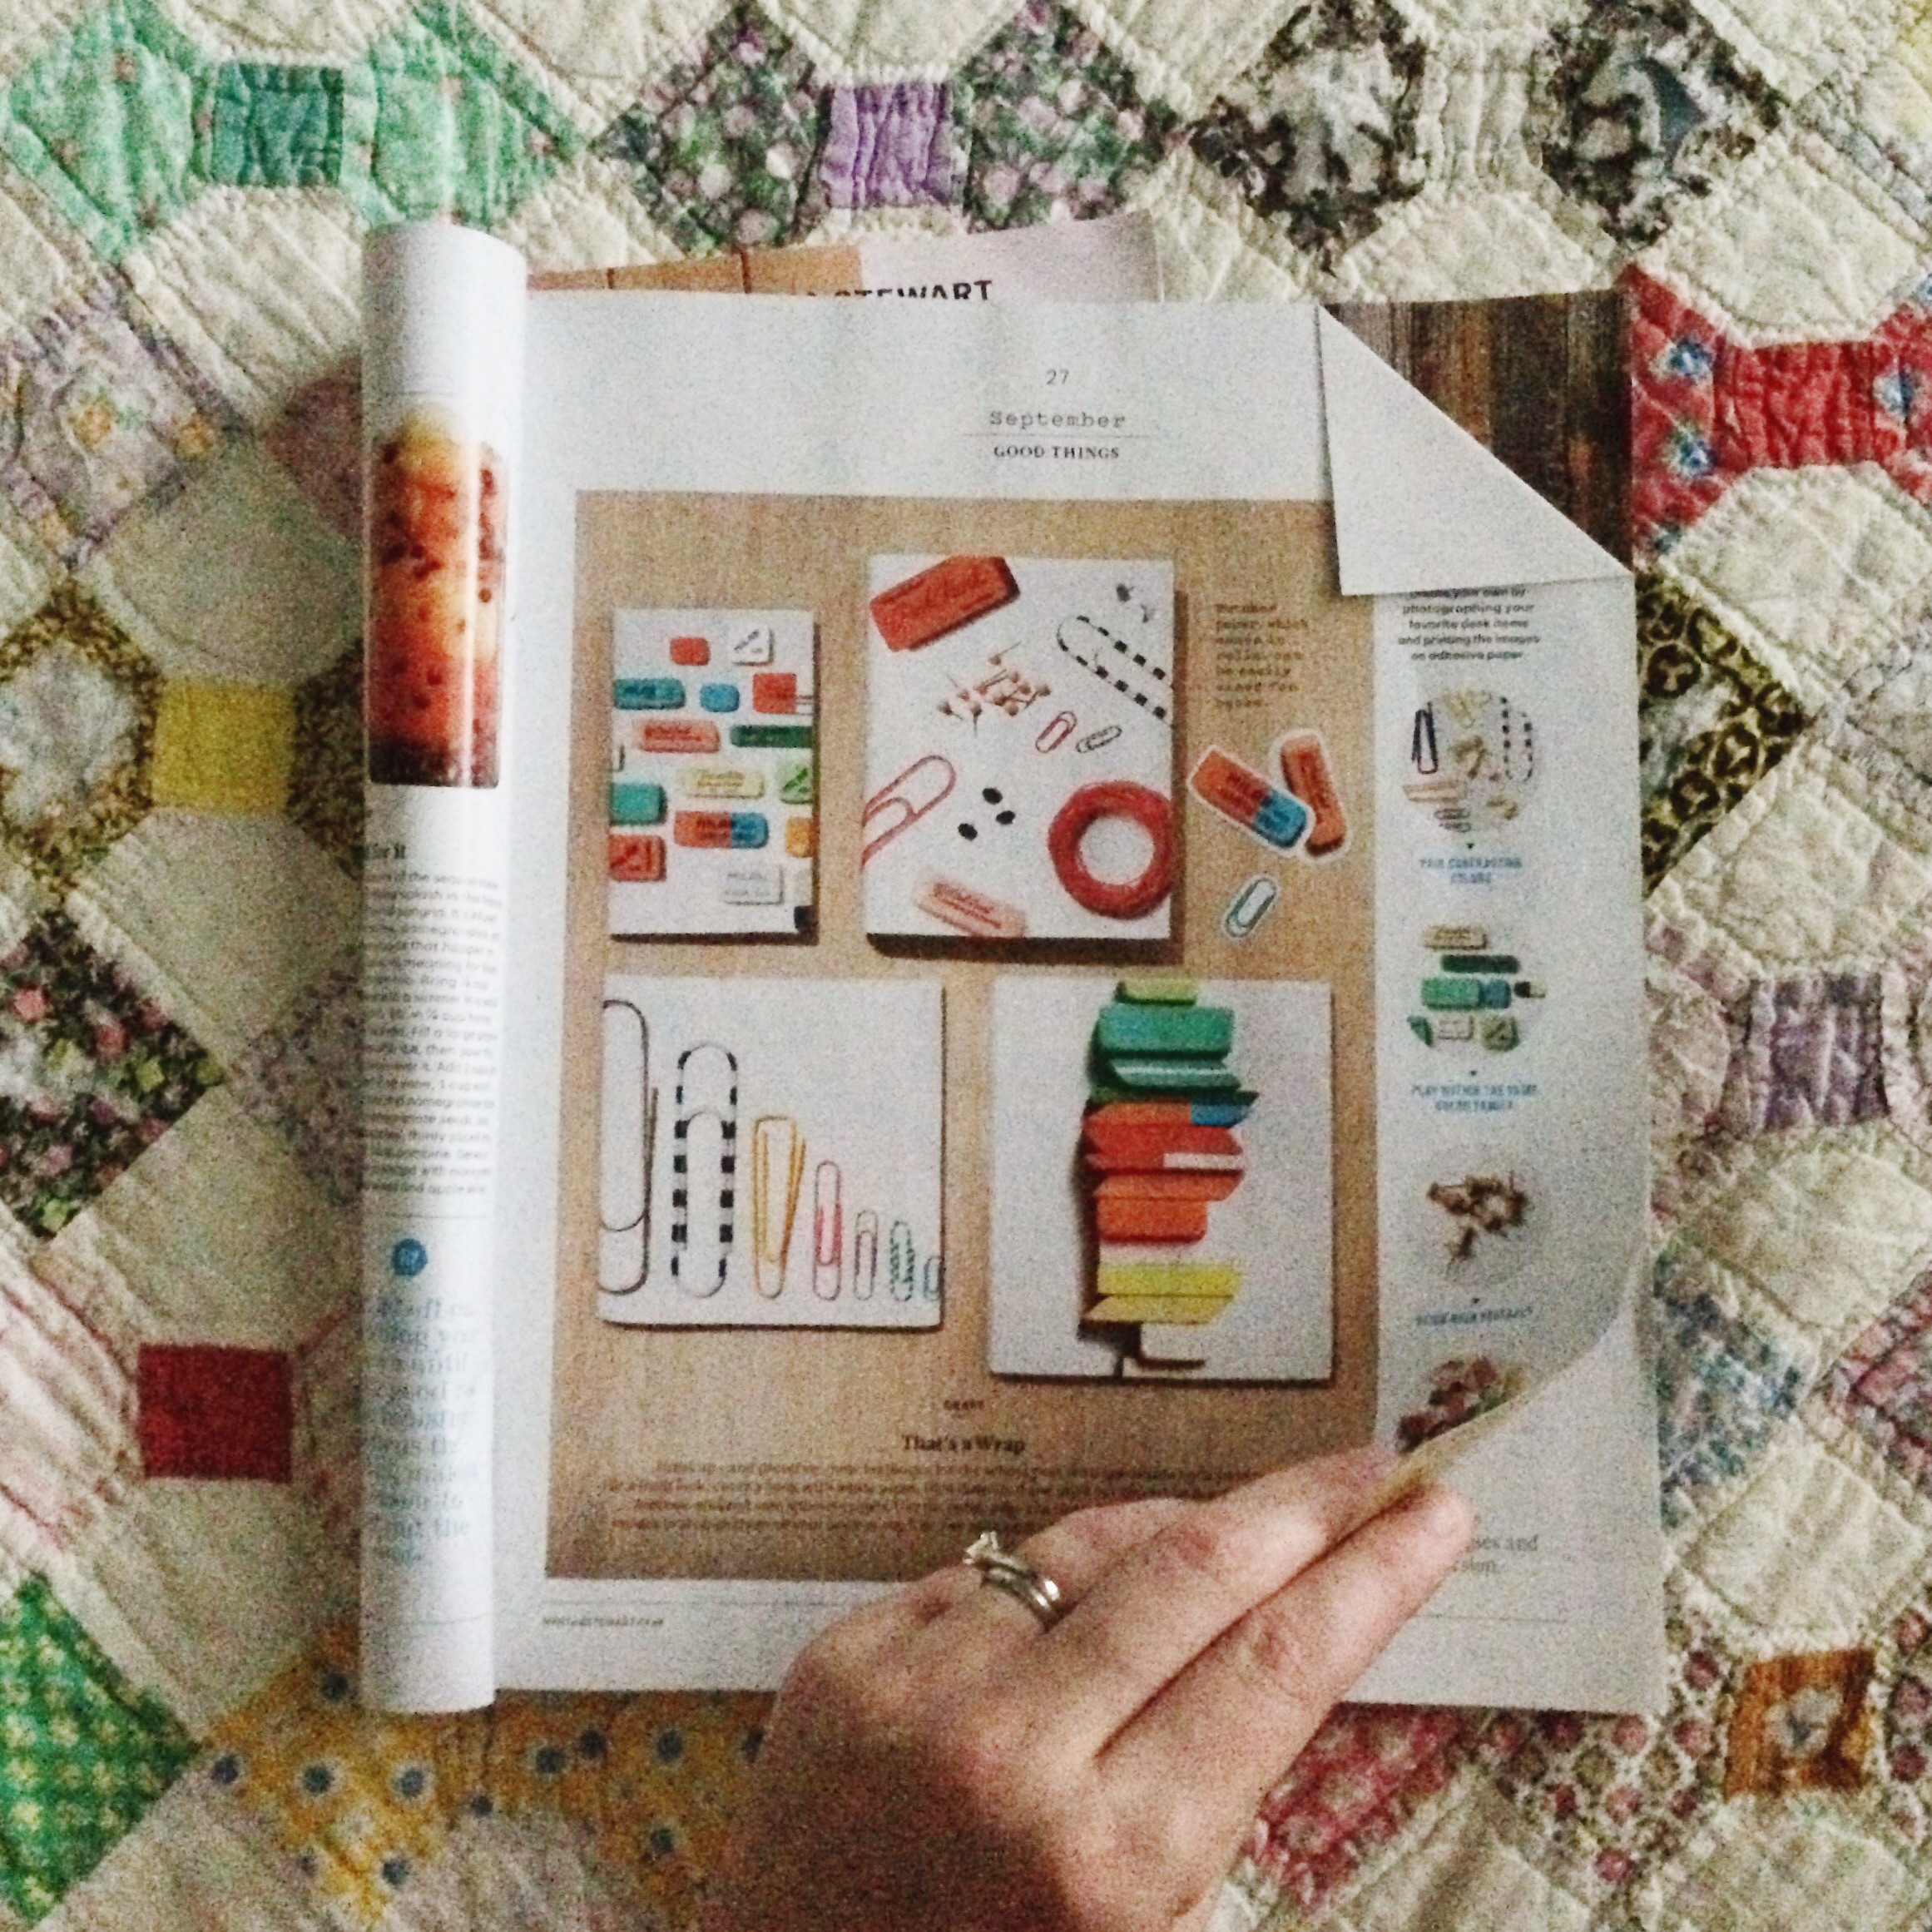
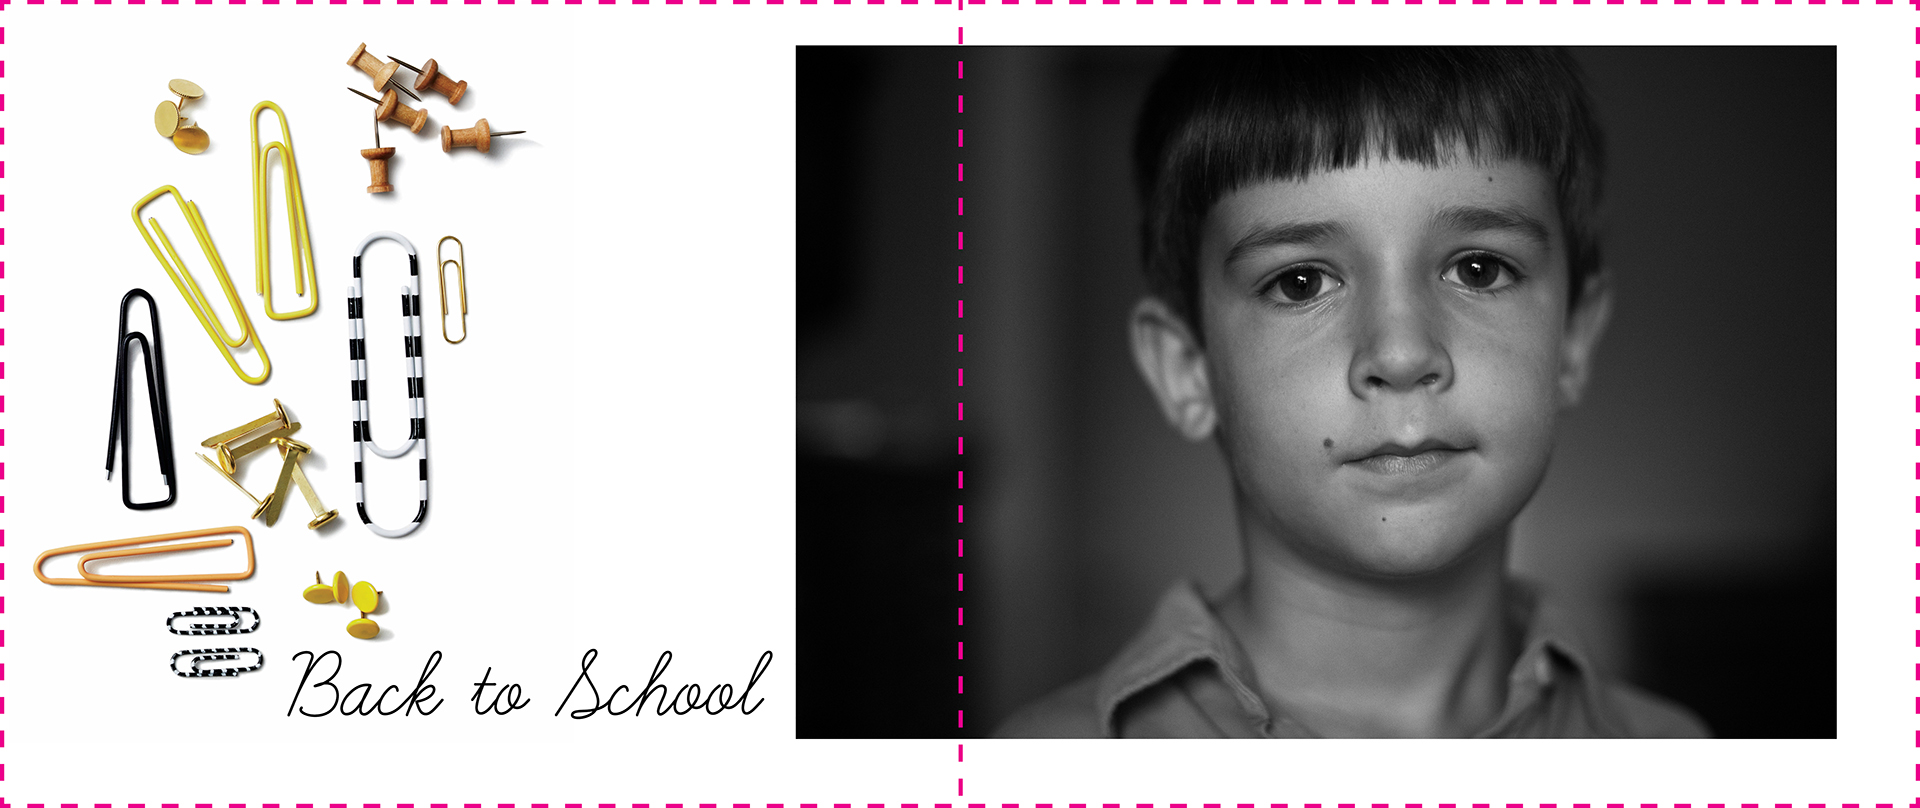
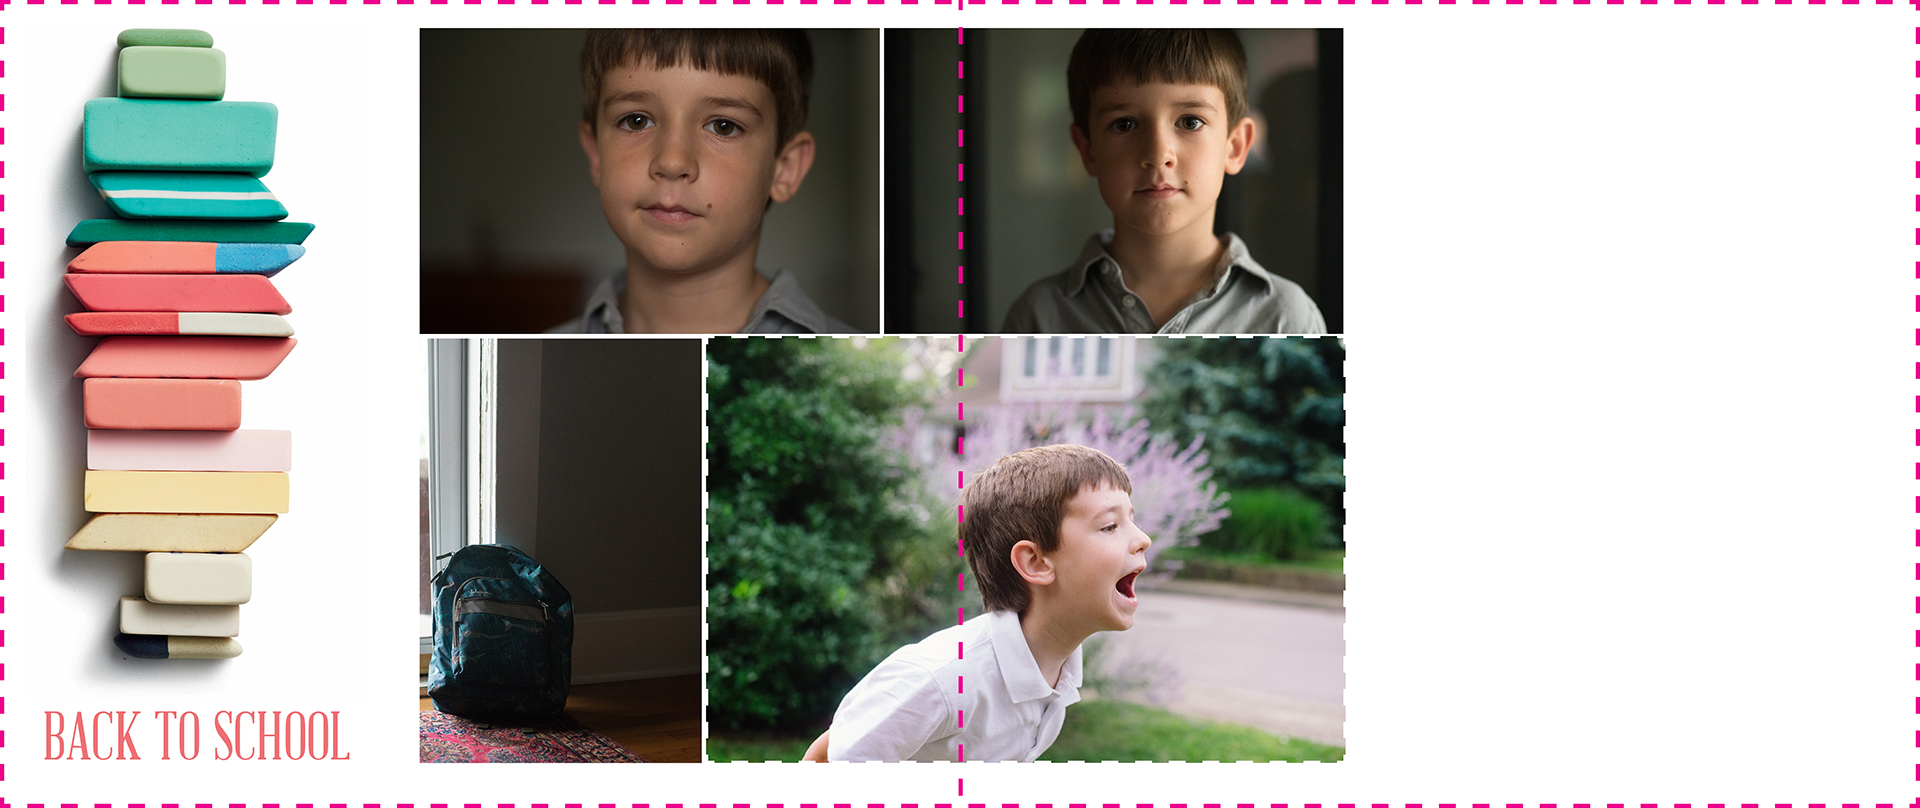
When the most recent issue of Martha Stewart Magazine landed in my mailbox, I noticed a really fun “Good Thing”. The magazine featured clip art of familiar and retro back to school items, like paper clips, erasers, and pins. They recommended downloading their free graphic to use them for school book covers.
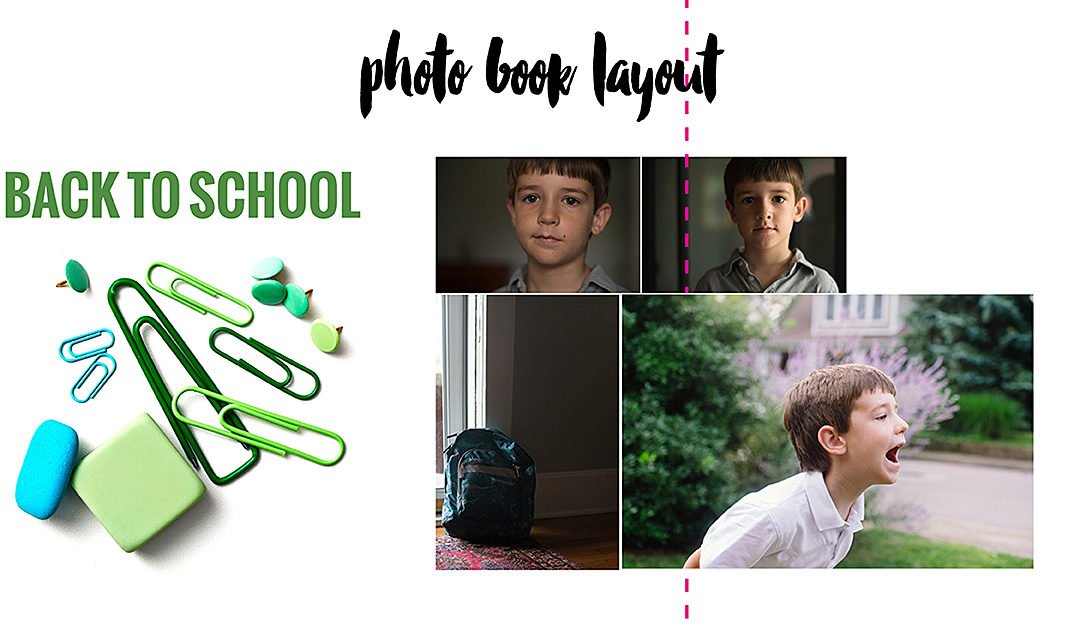
Since my mind is always thinking about photo books….I wondered how it would look to use these in my personal photo book alongside my son’s obligatory Back-to-School photo.
To be honest, these photos are never my favorite. They always feel forced and my son always has really, really puffy eyes in the morning. I liked the idea of using a graphic to liven up the page and make this milestone event a little more fun in its presentation.
Instructions:
If you like my layout examples below, follow my simple instructions to add a little extra somethin’ to your photo book!
1| First, buy a copy of Martha Stewart Living and turn to page 27 for the free download link.
I highly recommend this magazine, not only for the great advice and the free downloadable items they provide each month….but it’s also beautifully laid out and a source of design inspiration. If you don’t already have a subscription, pick up a copy during your next grocery store trip.
2| Go to the website to access the free downloadable graphics.
3| Once you’ve downloaded the graphic, determine which one you would like to use. Open up that particular PDF page in photoshop. Use the rectangle tool to select the area you want to include.
A simple {open apple} +C, {open apple} +N, and {open apple} +V is all it takes to copy and paste into a new file.
4| Save the file as a jpeg into the folder where you keep all of your annual photo book photos. If you don’t have one yet….create one now. You may find other items you want to include in your book that are not from your camera.
5| Finally, insert this photo into your photo book as you would any other photo. Add your kids’ back-to-school photo plus any title or text you want to include and you’re finished!
Here are my examples:
by Stacey Wiseman | Aug 9, 2015 | Family Photographs
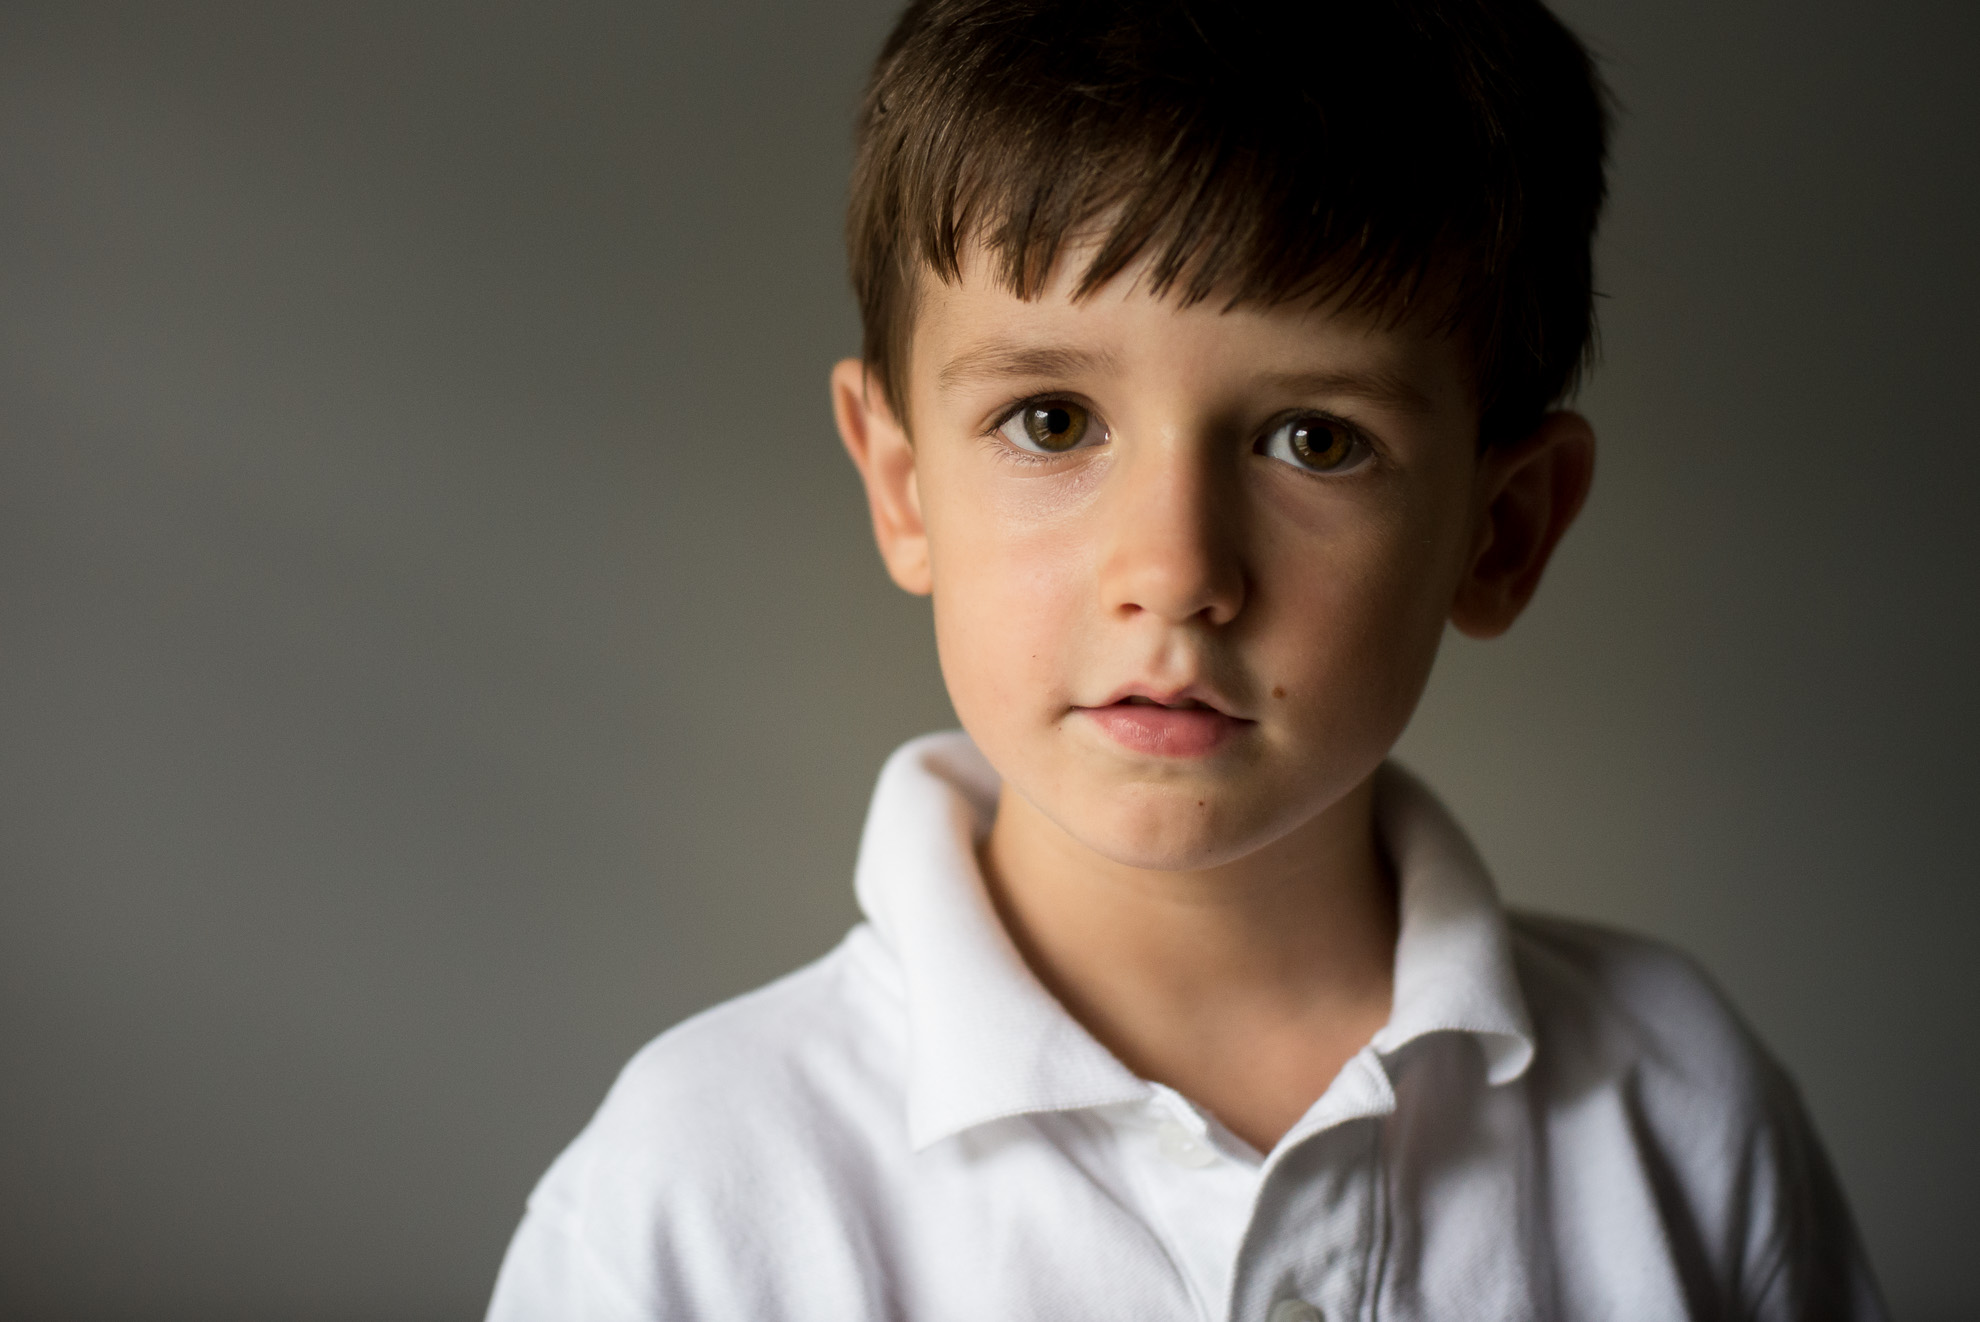
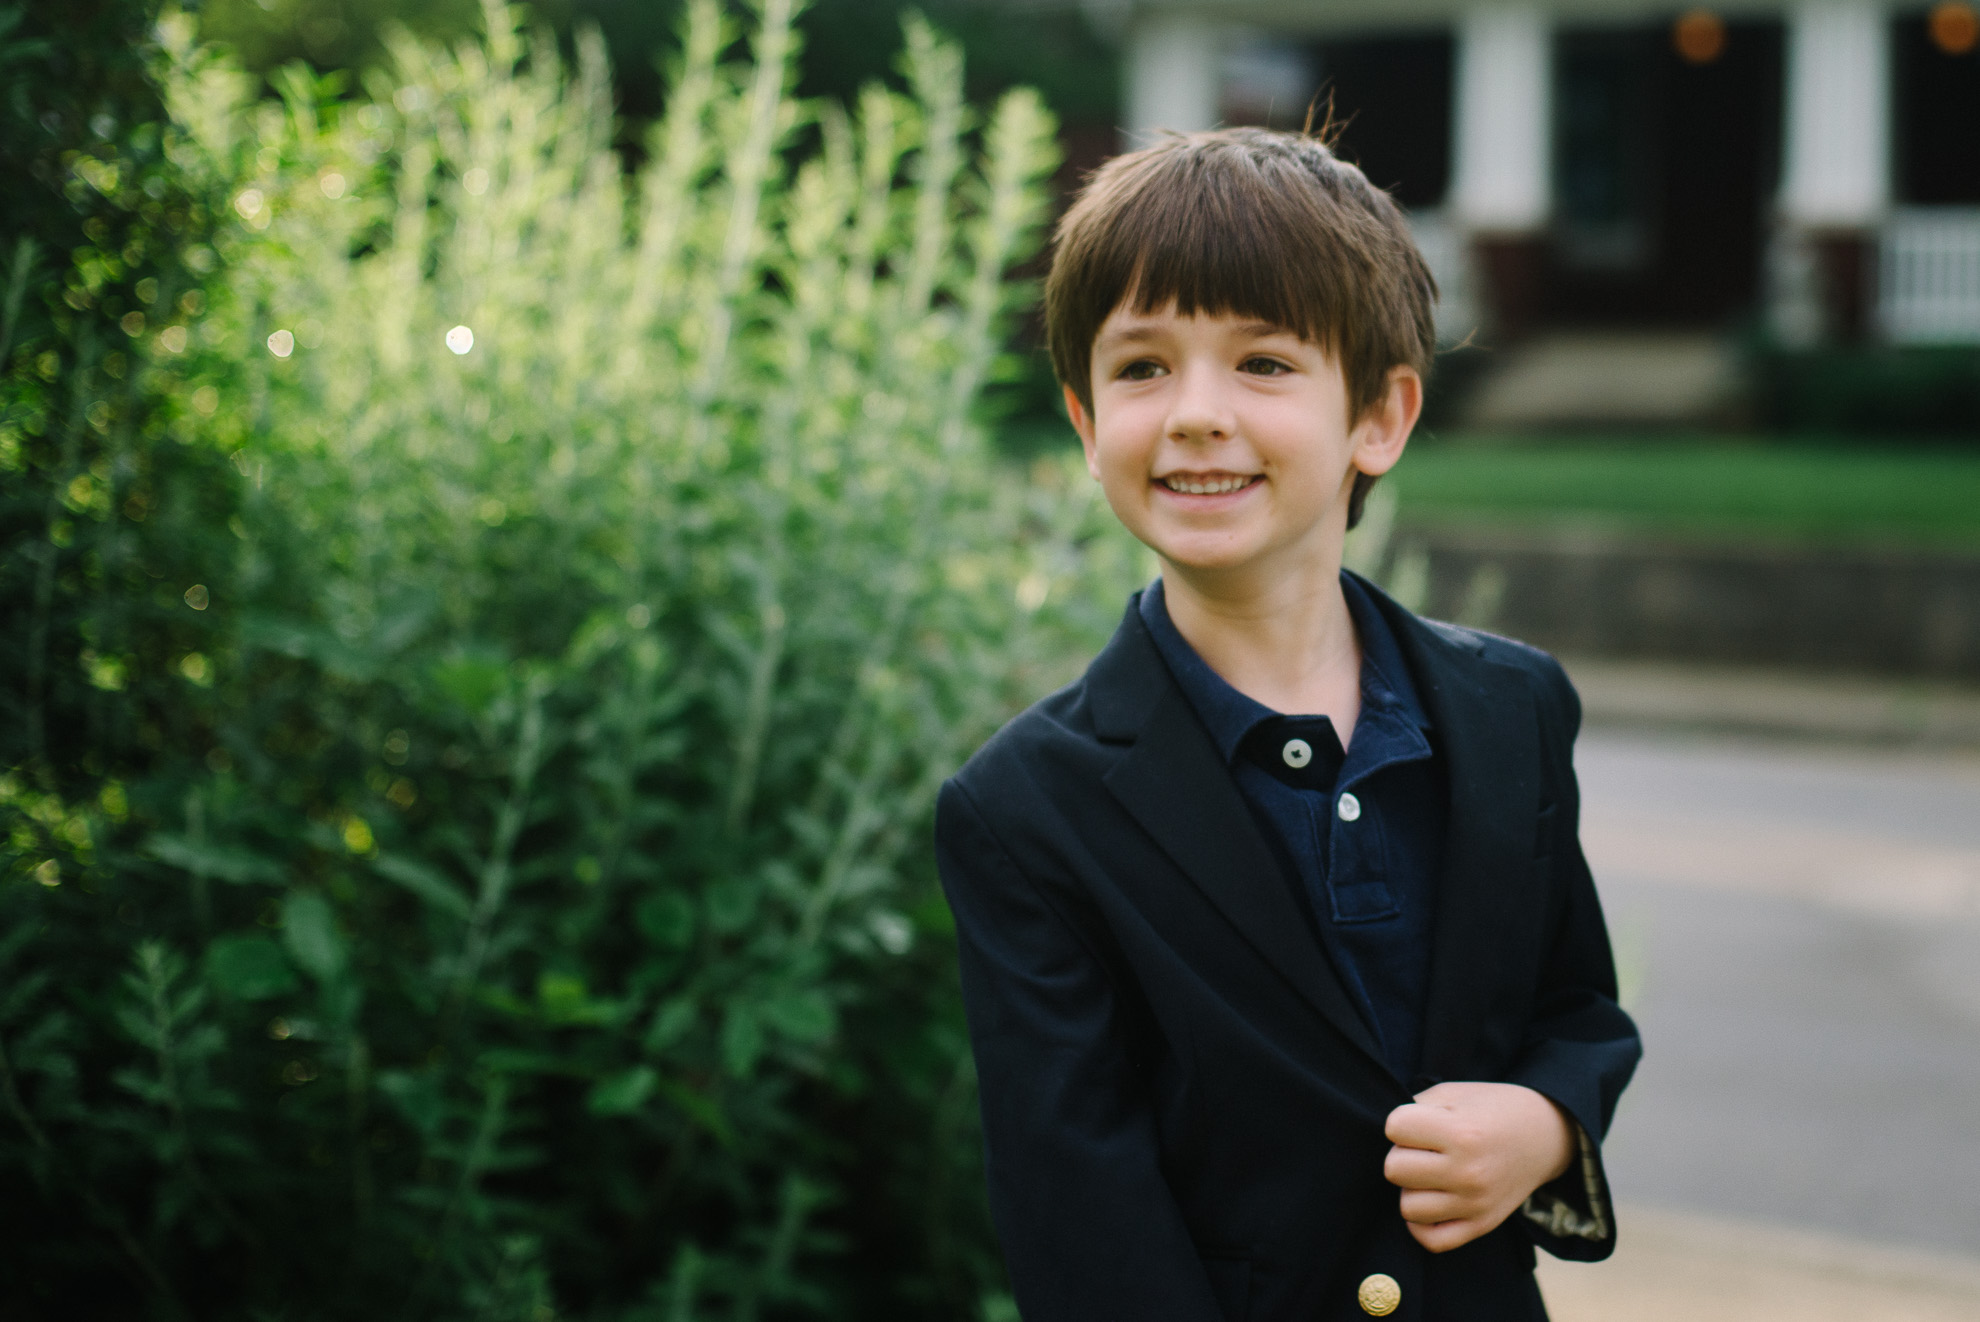
Around this time last year, I was sending my oldest kid off to kindergarten. It wasn’t something I was horribly emotional or stressed about. However, after about two weeks of him entering the imposing 3-story school, I realized this was a big event. He wasn’t adjusting as easily as I originally planned.
My oldest was the one who took every adjustment in stride. End of breastfeeding – no problem. Out of the crib into a convertible bed – easy. Full day preschool – of course. Kindergarten. I thought, done deal. But it took some adjusting. It wasn’t horrible…but required extra attention.
We made it few the first couple of weeks and all of the sudden, he got it. He understood the rhythm, the flow, the procedure. From then on, we were smooth sailing. It was remarkable to see him grow, make new friends, understand the dynamics of school – classes, lunchroom, gym, recess.
As with all parenting, in his new stage, my husband and I learned a new routine as well. I thought I would share a few things I learned during my oldest’s first year in kindergarten.
1. Capture a before and after.
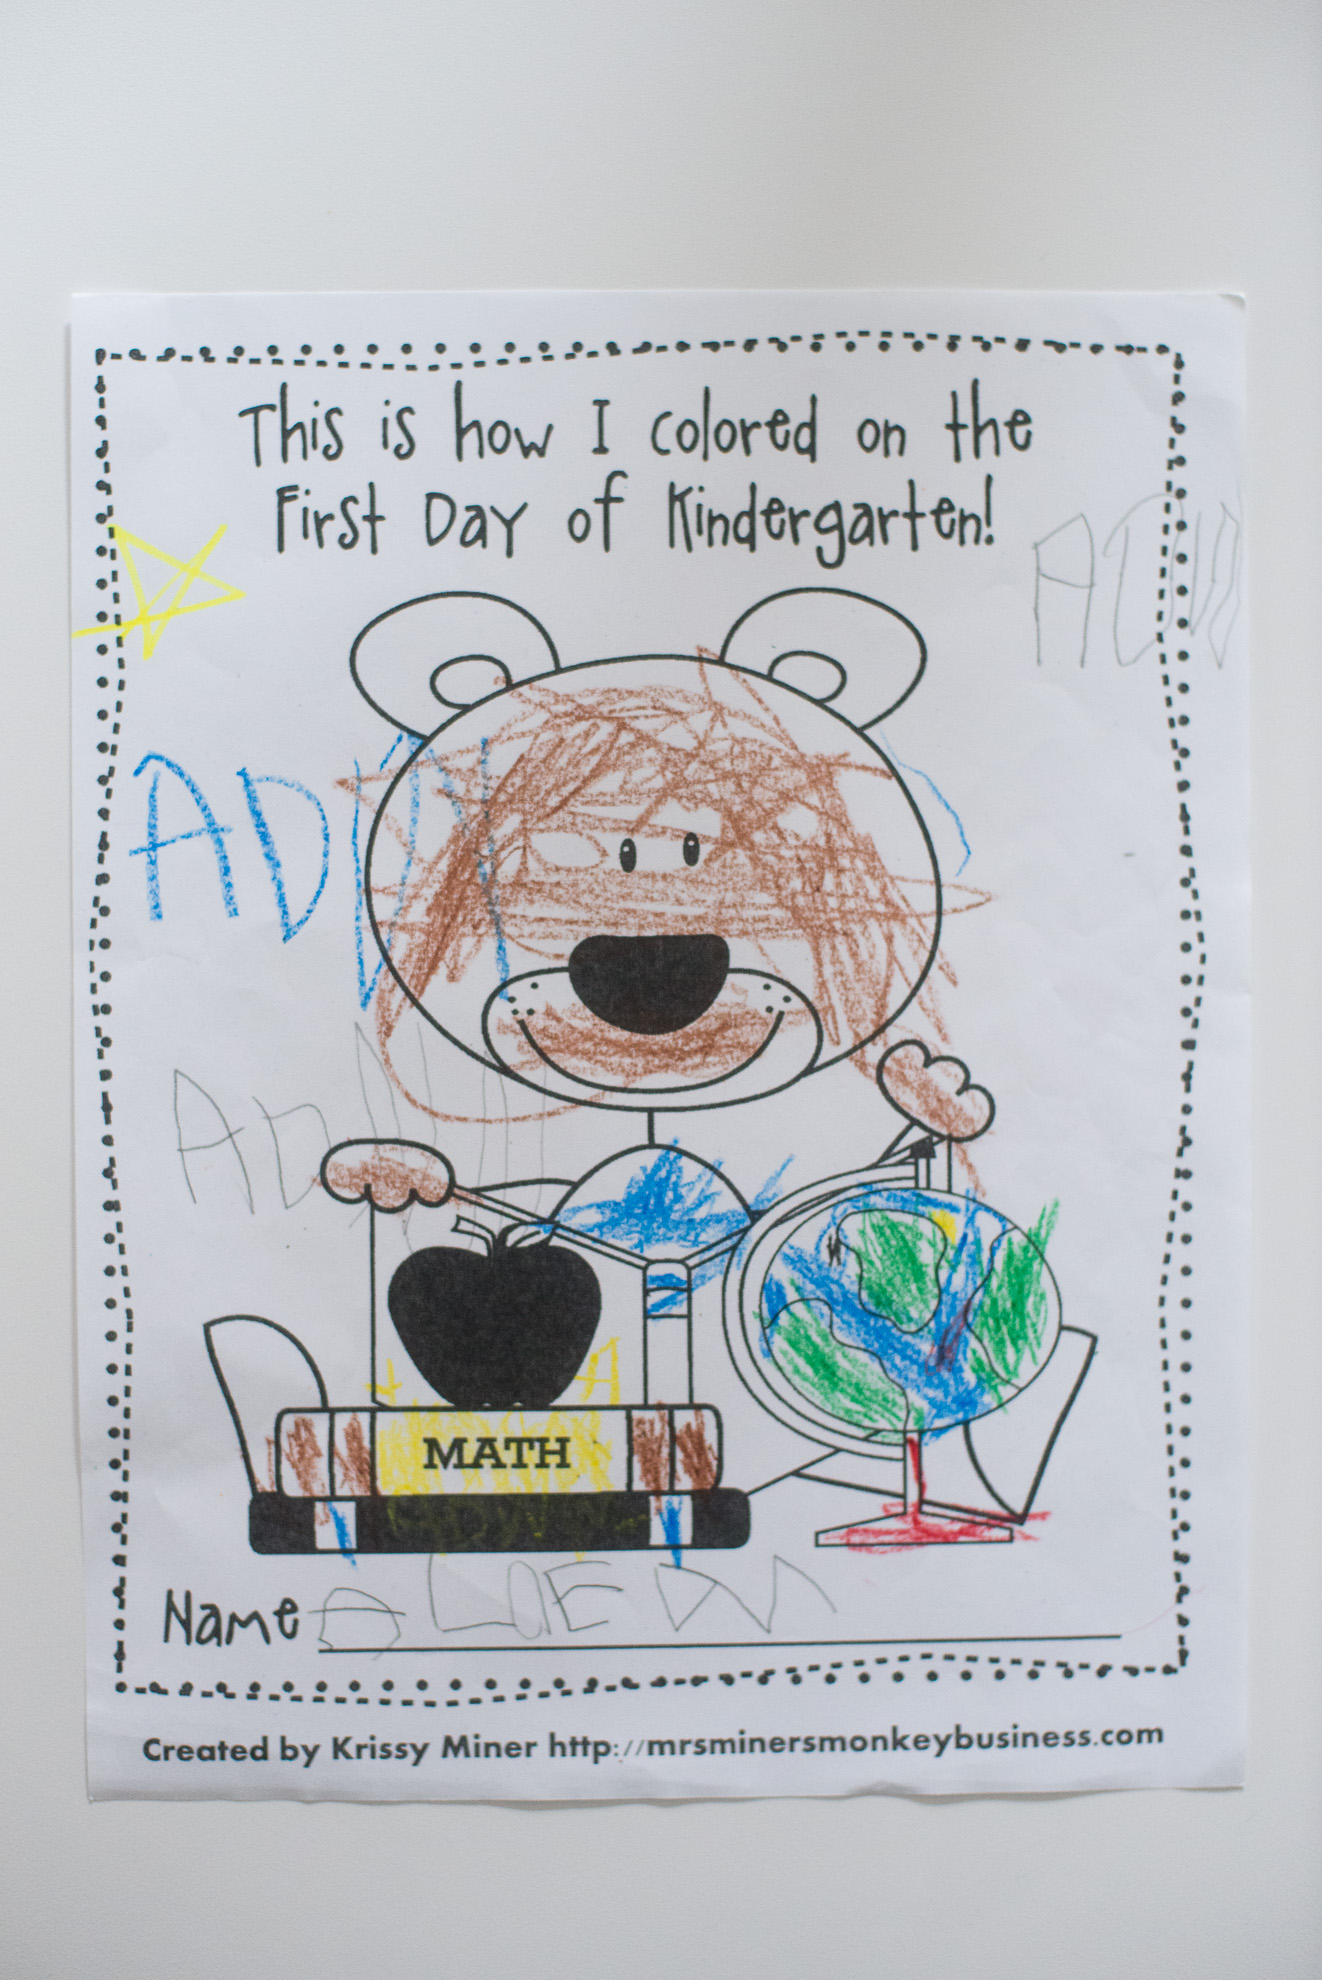
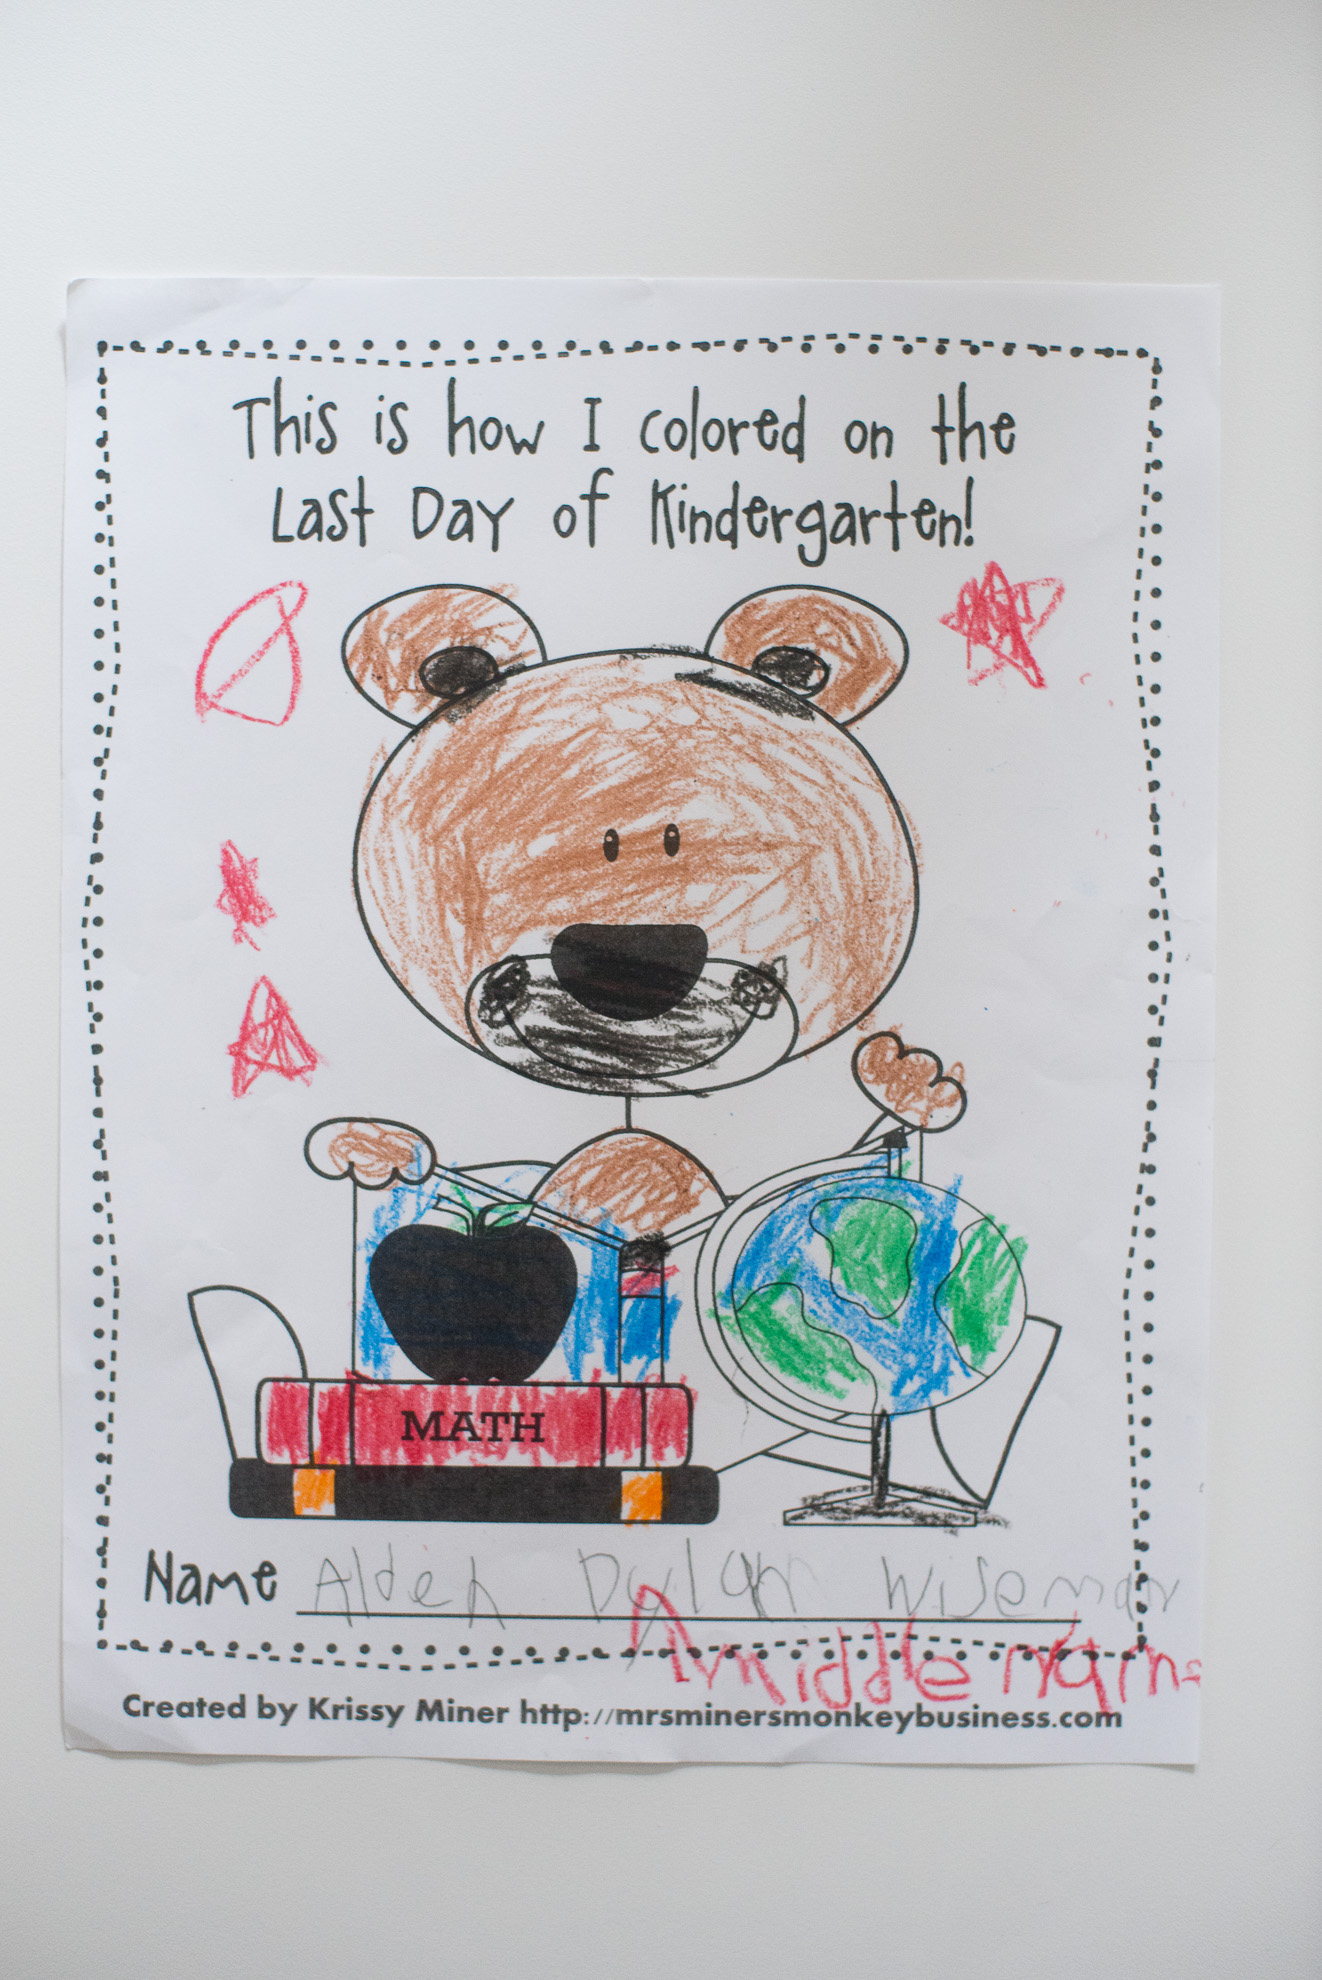
It’s pretty common to take a photo of your kid on the first and last day of school (as shown above). But it’s also important to note other then-and-now-type photographs and activities to mark the year. In my son’s classroom, they had a similar sheet to color on the first and last day of school. This was so much fun to see! While my son’s coloring skills may not be first rate, 😉 I do see improvement!
2. Find a homework spot.
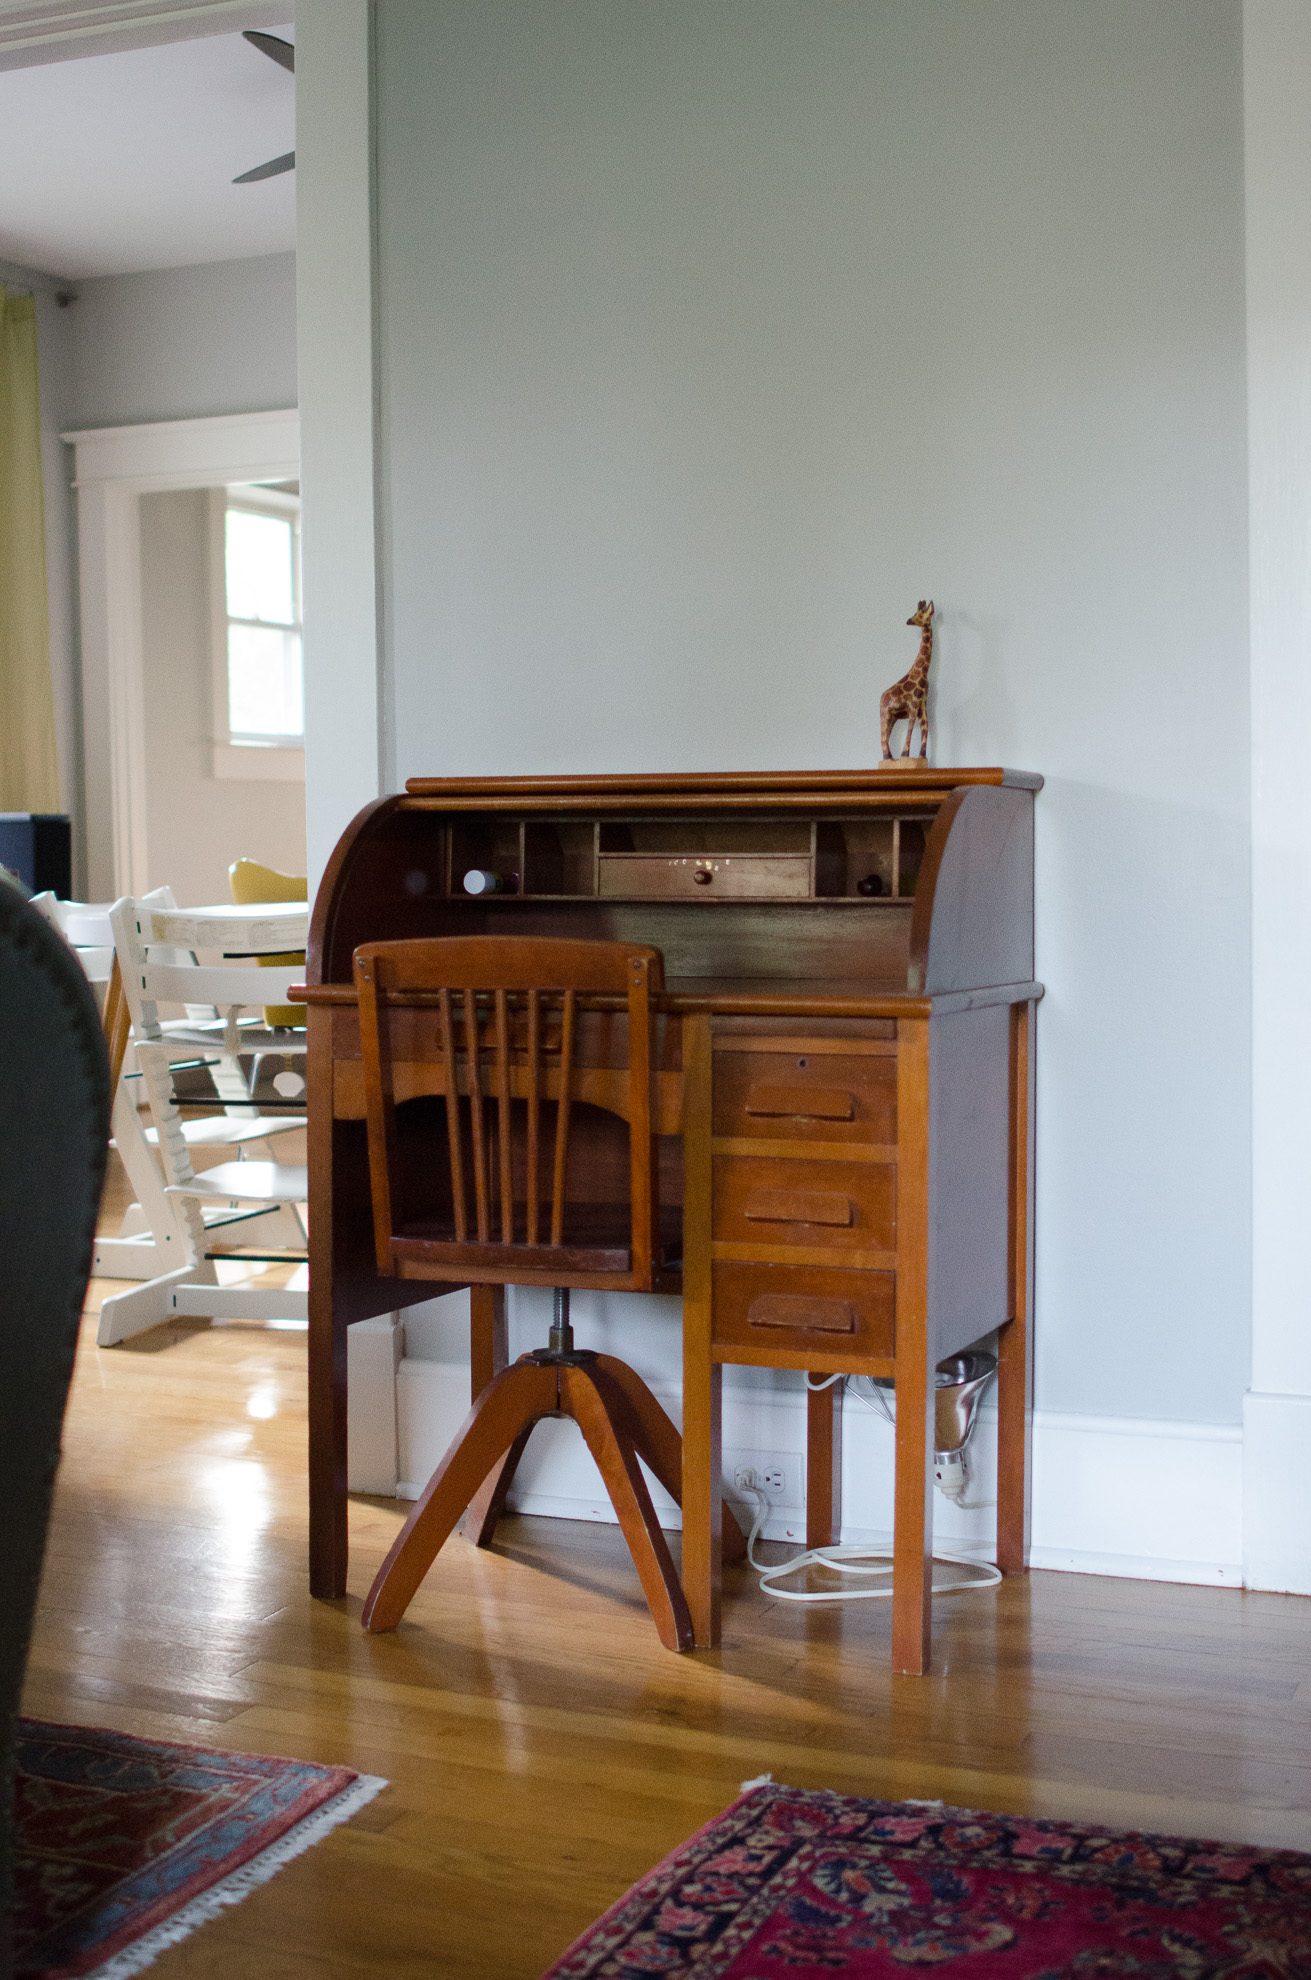
It surprised me to learn that in kindergarten, they have homework. I don’t remember having homework in elementary school – let alone in kindergarten – but at my son’s school they have homework every night. The exercises are pretty easy….it’s mainly to get them in the habit of doing some school work in the evening. To reinforce this lesson, we tried to establish a place for my son to do his homework. For most of the year, homework was accomplished on our dining room table. At the end of the year, we received a beautiful, hand-me-down desk which will be perfect for these small school exercises.
3. Kindergarten comes with paperwork.
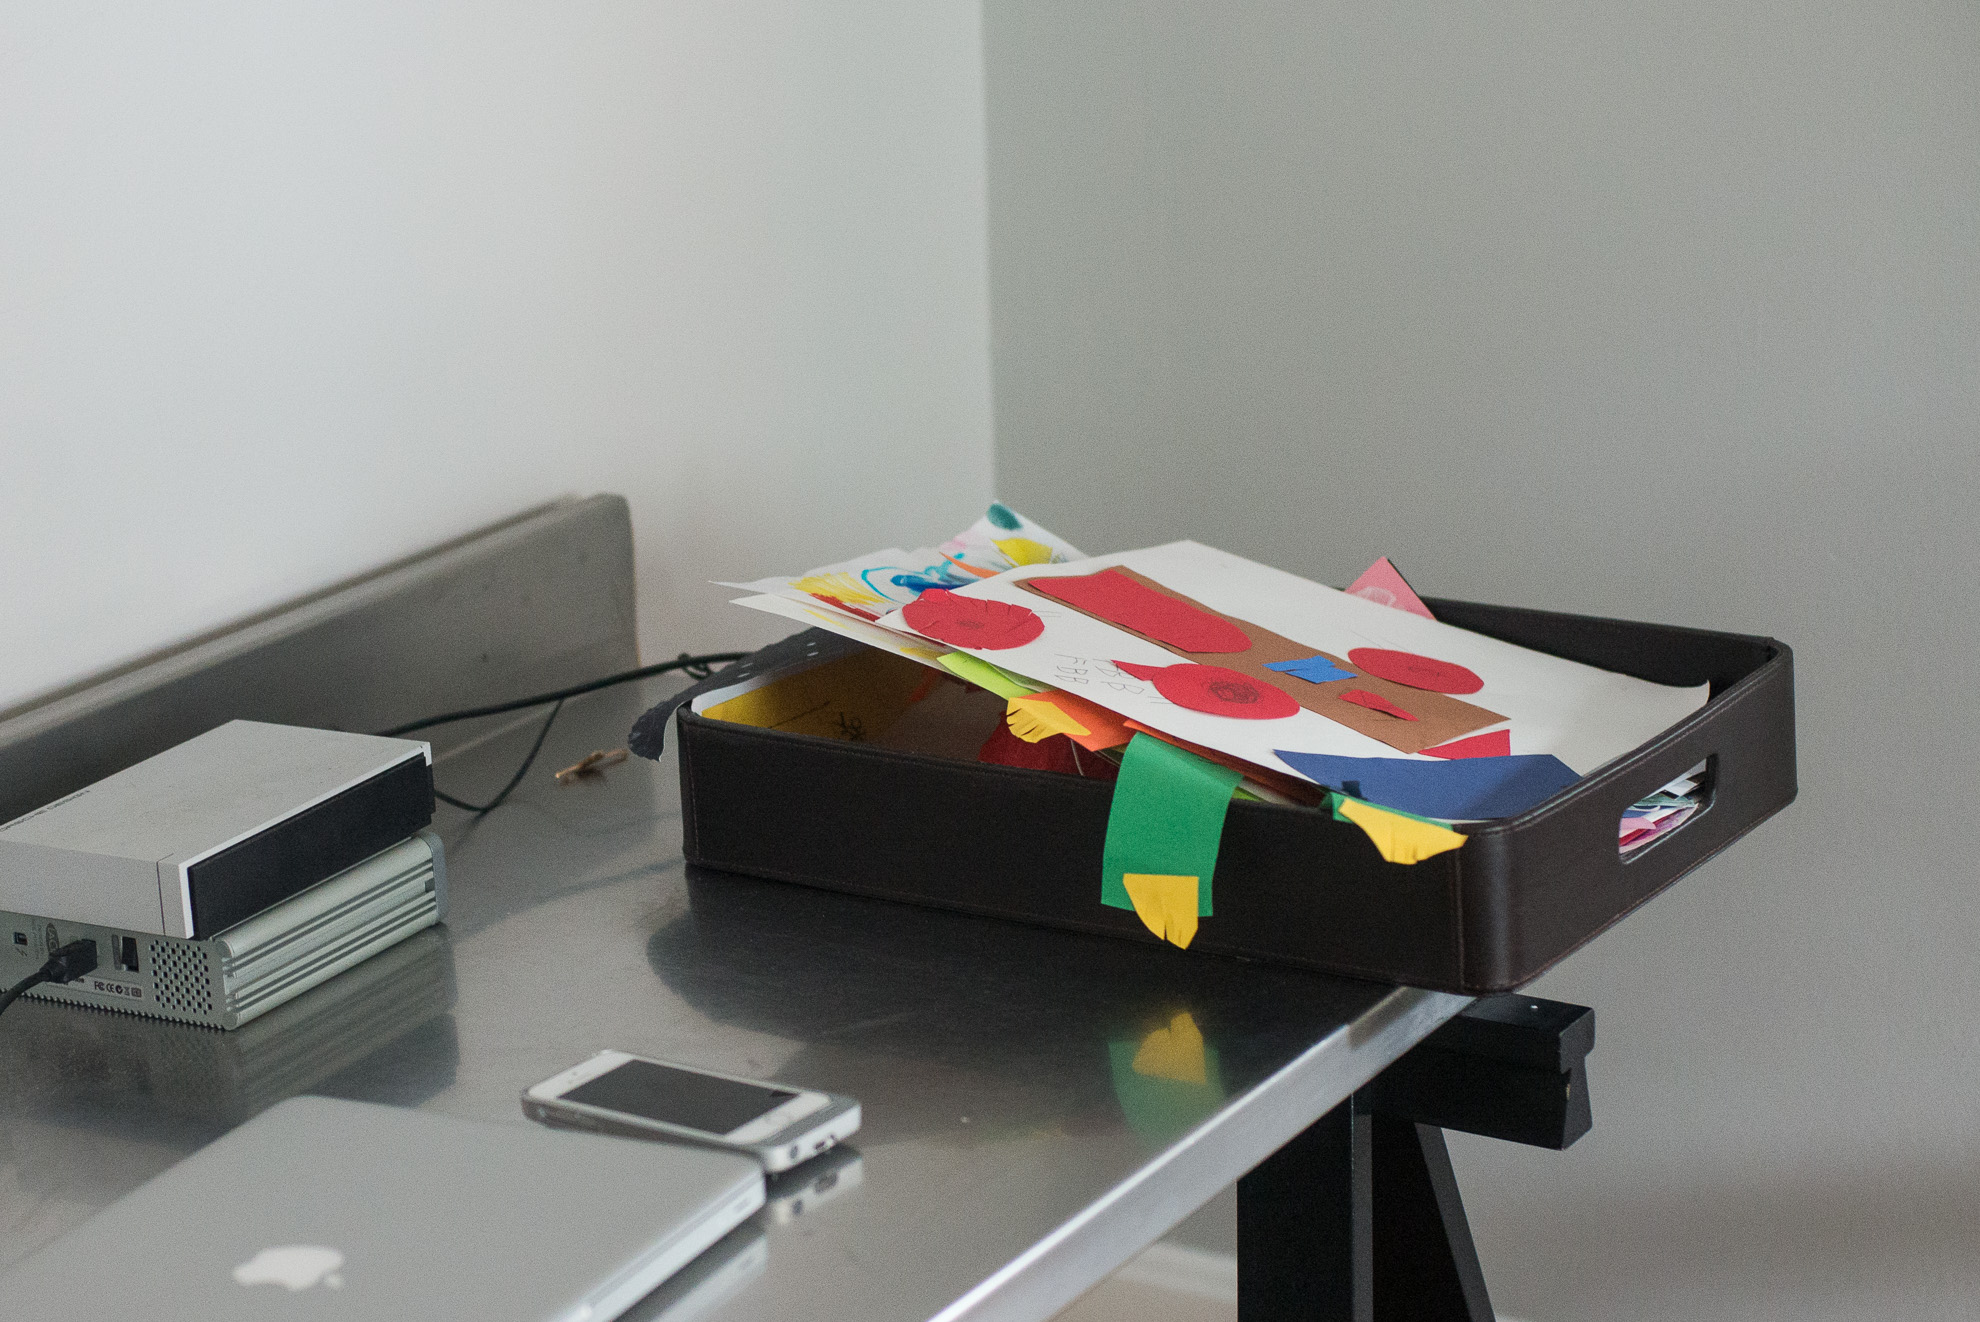
Oh man!!! I completely underestimated the amount of paperwork we’d receive. At the end of each week of preschool, we would receive a couple of cute pictures our little one painted. In kindergarten, it’s like 3-5 papers a day. I was overwhelmed by the number of items he was bringing home. Having a basket or tray to collect the paperwork each day was a must. At the end of the week, I’d go through and decide what I wanted to keep (for a photo book) and what could be thrown away.
4. Holes in the knees.
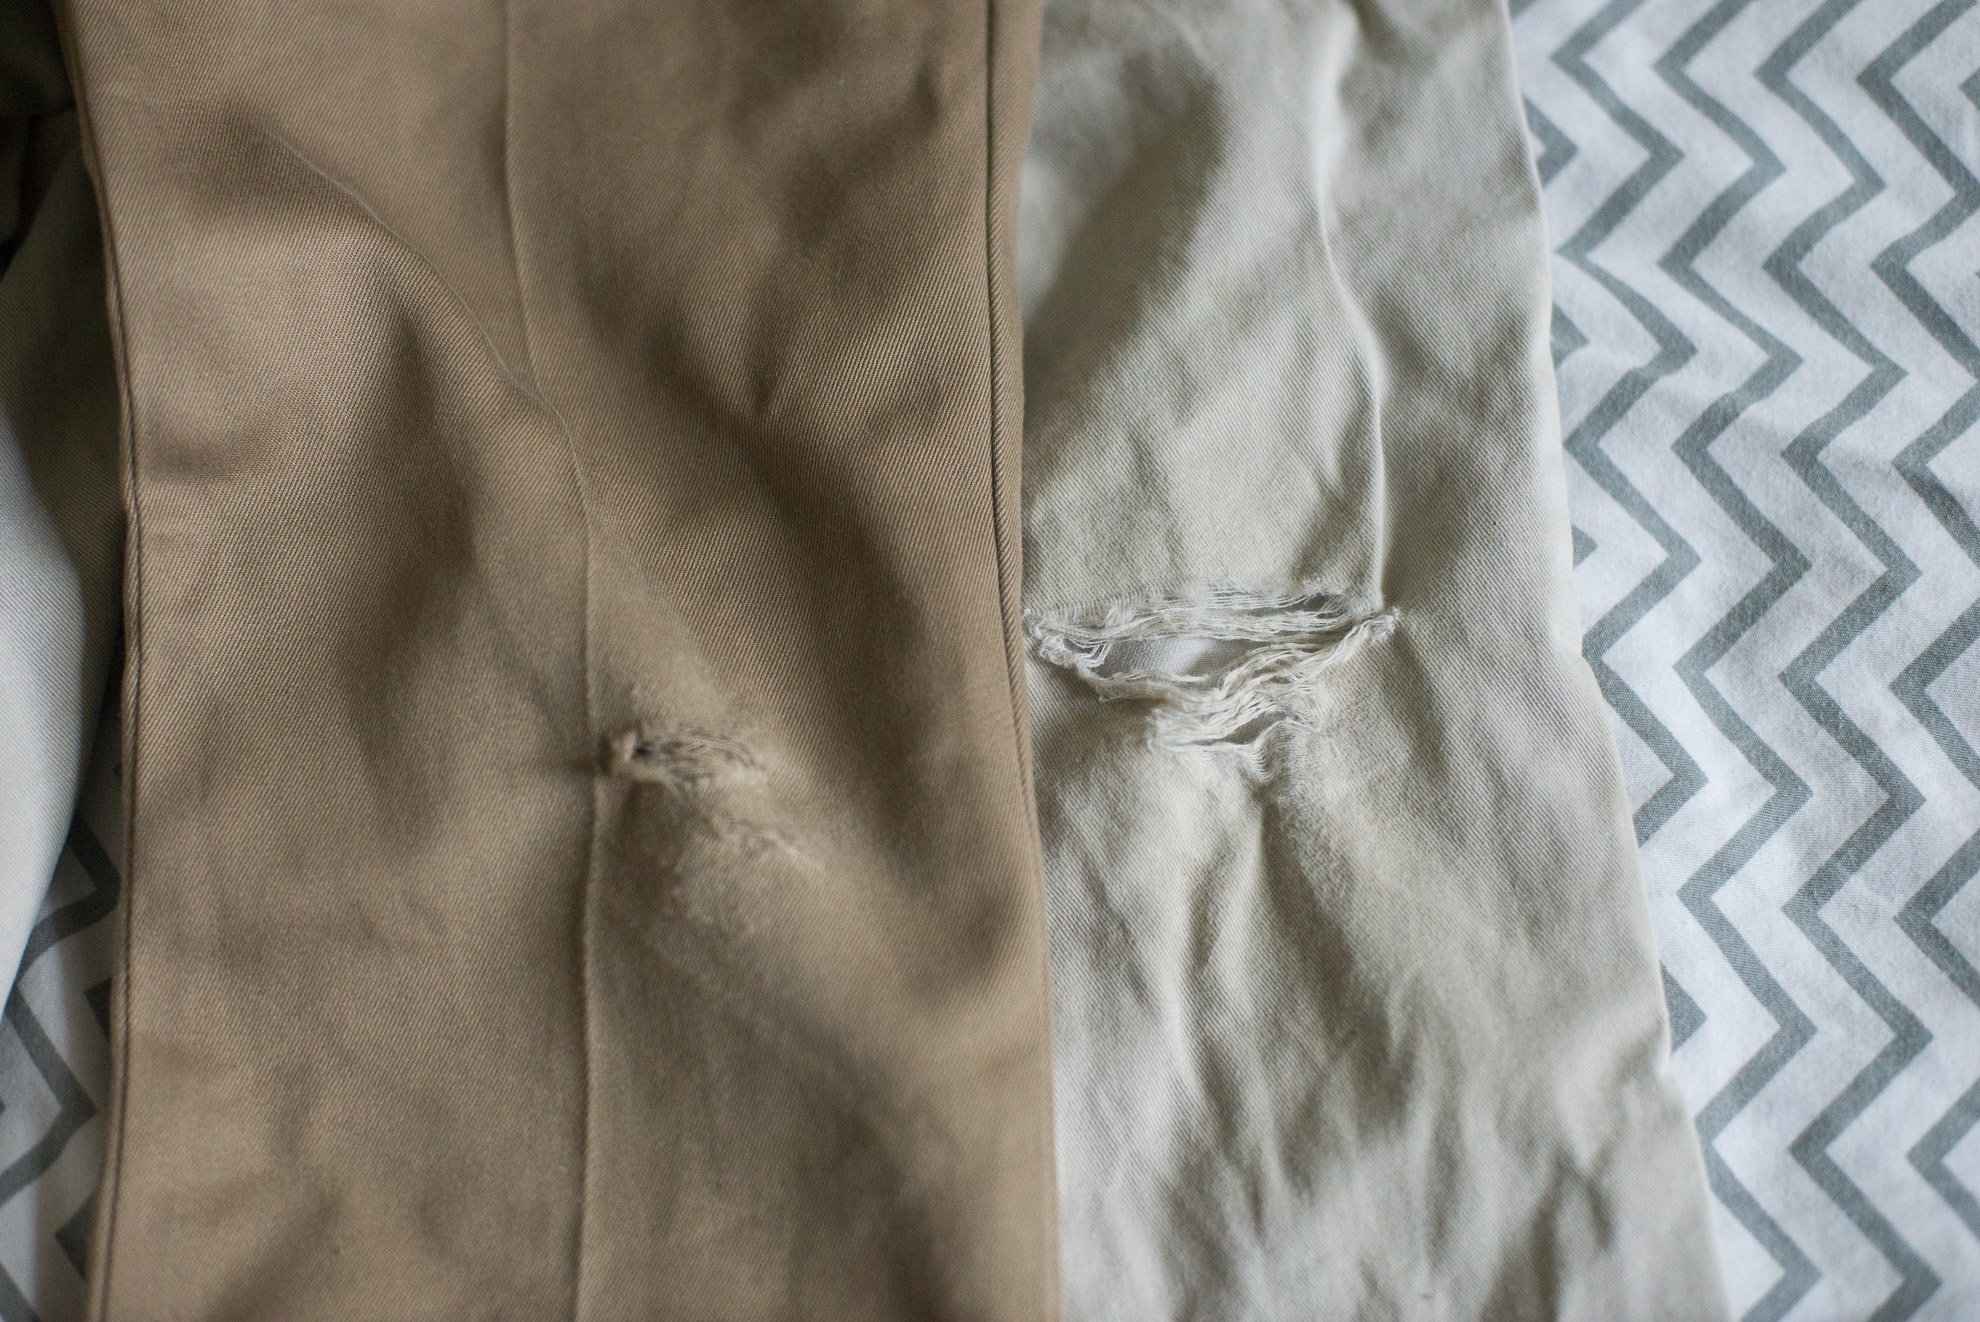
I don’t understand why….but being in kindergarten was the first time my son ever had holes in his pants at his knees. Maybe it was gym class or excessive playing during recess. All I know, we never once had a pair of pants with holes at the knees and after kindergarten, it was every single pair.
5. Prepare for school events.
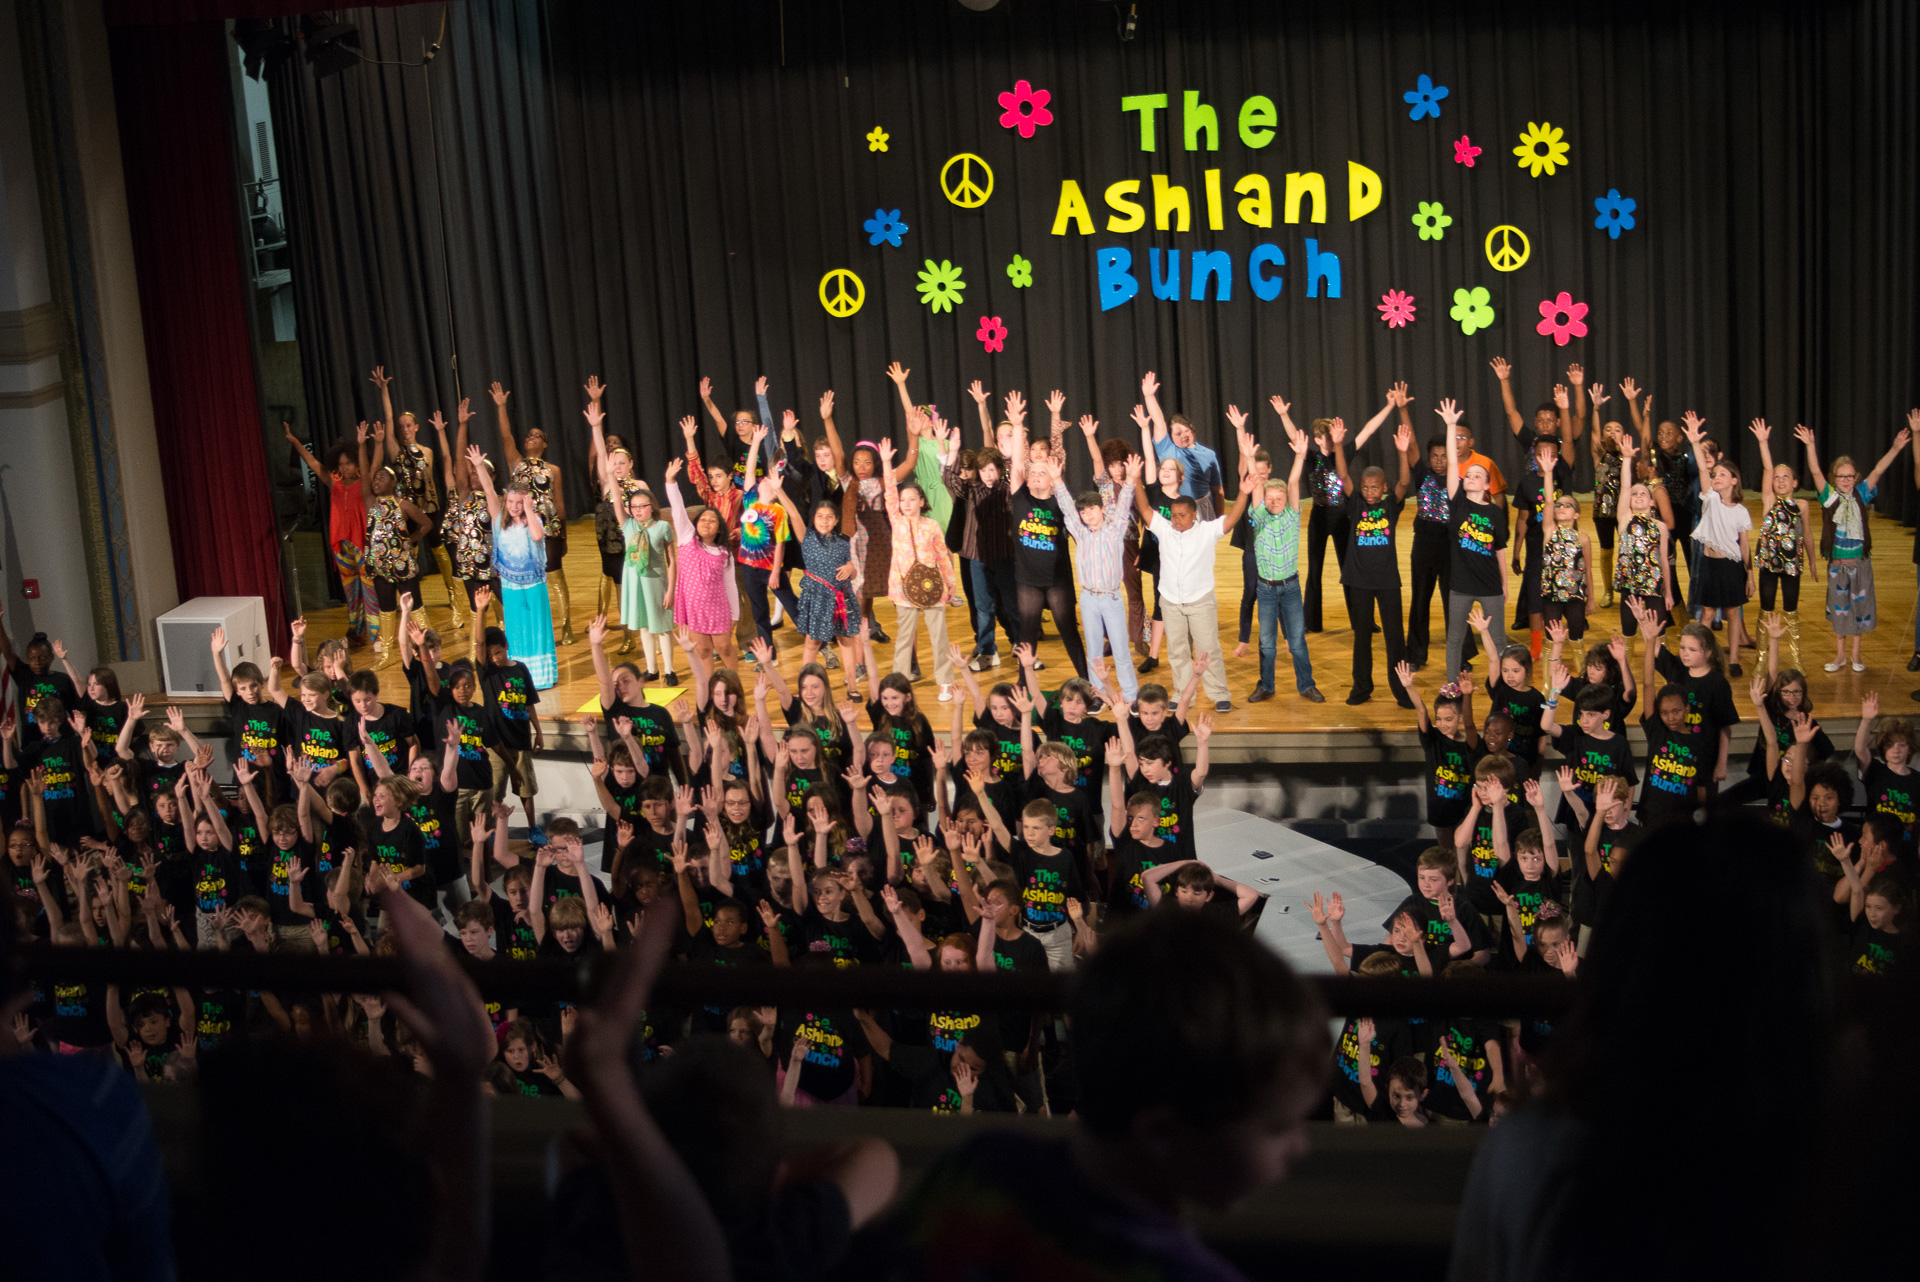
They’re cheesy but also amazing when your kid is involved. School plays, musicals, and performances were so much fun to see. At my son’s school, there were quite a bit of things to attend – all of them amazed me. The songs and dances he learned stuck with him all summer long. During his end of year performance, it took over 75 minutes for me to locate my son but it didn’t matter. I loved that we were participating in his school activity.
6. Prepare to be amazed.
Kindergarten is a foundational year. It’s a time where the teacher lays the groundwork for all future learning. In the fall, routines were adjusted, classes were introduced and sight words were learned then all of the sudden, everything clicked. In the spring, my son just got it. He started reading and understood the whole school dynamic. It was amazing!
Your Turn.
I’d love to hear from you! What advice would you give to moms with new kindergartners? Or what surprised you the most about your kids’ first year of school?
If you enjoyed this post, sign up for my emails to get a peak into how I document my family’s everyday moments and print my photos in a photo book.
by Stacey Wiseman | Jun 21, 2015 | Design Series, Inspiration, Photo Book Design Layout, Uncategorized
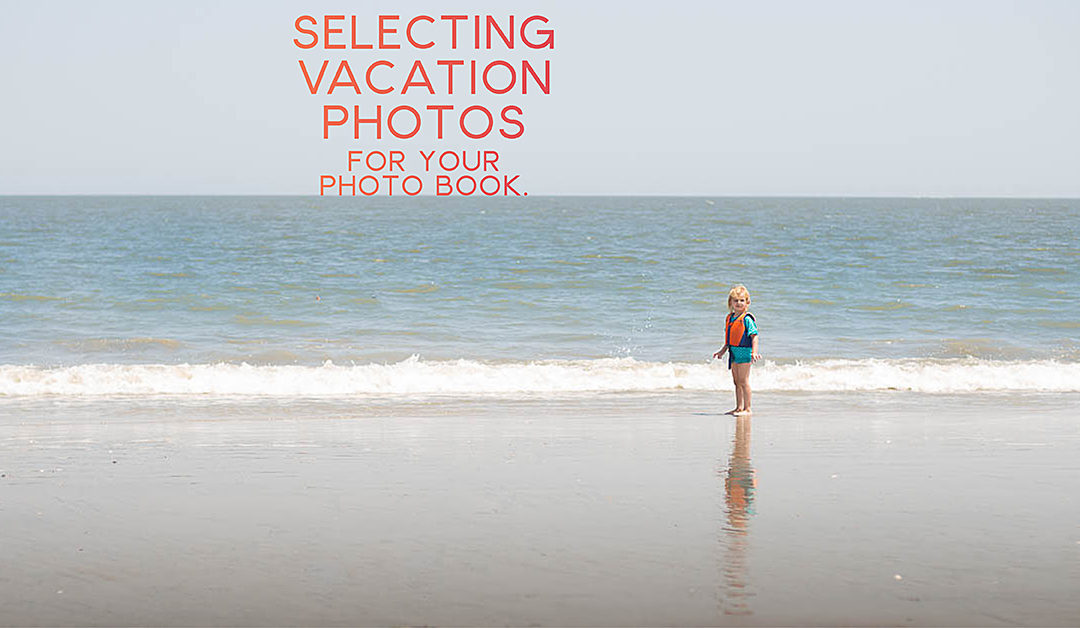
When you go on vacation, chances are you take your camera and capture a lot of photos.
Although I spend quite a bit of time enjoying the activities with my family (without the camera in my hand), it’s true that I end up taking more photos over the course of the week than when I’m home.
Primarily, this is because most of the things we do on vacation are momentous, out-of-the-ordinary activities that I want to document. I want to capture the building of a fragile sand castle and finding the perfect seashell as it’s the most likely the only time it will happen this year.
Recently, we returned from a fun and relaxing trip from the beach. Over the course of the week, I took over 900 photos. And I’ll have to find a way to narrow these 900 down and select about 20-25 for my annual photo book.
How do I select vacation photos for a photo book?
Selecting photos is often the hardest part of making a photo book.
The first step in selecting photos is to pay attention to the context. Notice how I said “…for my annual book” above? Already, I’m defining the context in which I’m selecting photos. If I was selecting for a vacation book, the number of photos and the criteria of photos would be different.
Once I know the parameter, I can then start the specific selection process. I’m sharing my main strategy for selecting photos in my next video tutorial. (Access is for my email subscribers. Sign up or check your emails for your access code.)
In Part Two of my free video tutorial series, I show the rule I followed to narrow these photos:
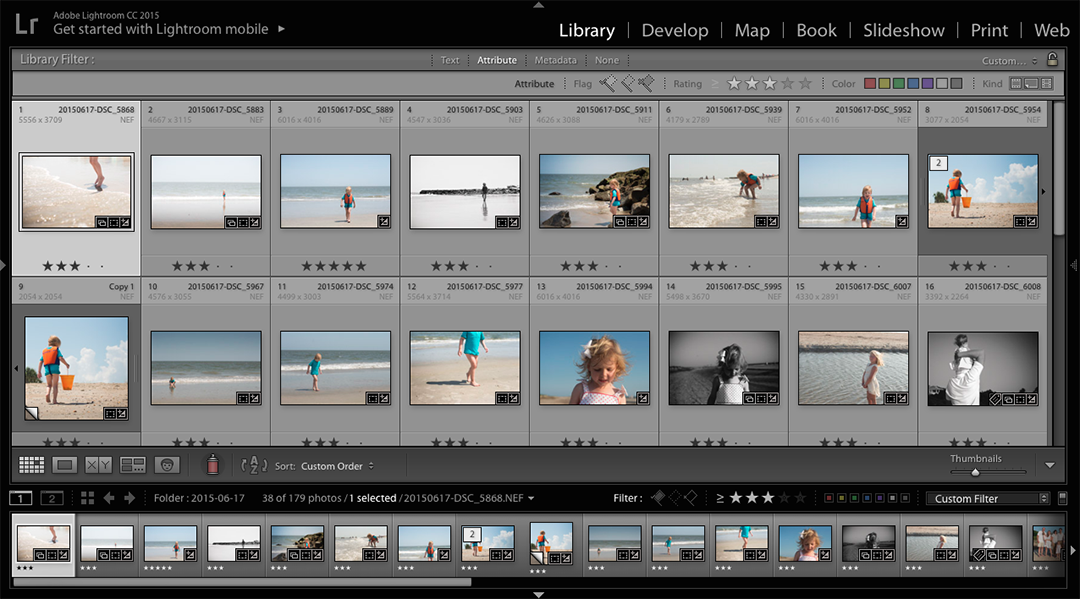
To see my free video tutorial on how – and why – I selected only 1 photo
from 180 photos for a layout, sign up for my free video tutorials below.

by Stacey Wiseman | Jun 9, 2015 | Design Series, Motivation, Photo Book Design Layout, Tutorial
You’ve taken the photos and you have the desire to print them. In all honesty, you understand that’s the point. But in reality…it’s hard to find the time to actually complete a photo book.
I completely understand. We are all so busy. Keeping up with chores, errands, dinner, appointments. It’s difficult to find time for anything miscellaneous.
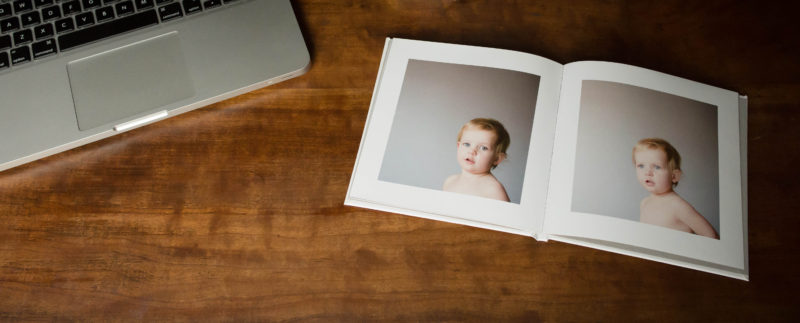
But printing your photos makes your memories tangible.
So what’s the road block?
One reason could be indecision. You don’t know where to start. What type of book? Which photos to select? To add text or not?
There are a lot of small decisions to make when it comes to making a photo book. And if you are not used to making them, it’s easier to not make them. To put it off. To wait until next month to tackle all of the answers.
But here’s the thing: when you wait, it only becomes harder to accomplish.
Today I want to share three easy strategies in getting started with printing your photos.
1) Limit your choices.
It’s been mentioned by researchers like Malcolm Gladwell – too many choices makes it too hard to decide. It’s much easier to decide between two options compared to ten. It’s as true for toothpaste as it is for designing books. So limit your options – for everything from which company to use or what type of book to design.
2) Take quick action.
When I’m feeling indecisive, it’s usually because I’m dwelling (well, agonizing) over the right decision. Should it be this way…or that way? And I could go on and on forever. To move past this point, I remind myself to make quick decisions. I rely on my gut reaction. Being perfectly honest, I make faster decisions when I’m under the pressure of a deadline. If you recognize this trait, give yourself a deadline to help you decide faster.
3) No second guessing.
There are no wrong answers when it comes to designing a photo book. Once you make a decision, don’t look backward; only forward. Keep the momentum going.
To see how I recommend starting your book – and how a Friends’ episode relates to designing photo books – sign up for my 4 free video tutorials.
by Stacey Wiseman | May 20, 2015 | Family Photographs, Inspiration, Photo Book Design Layout
When designing a photo book, an event can be slightly redefined. It doesn’t have to be a huge deal, such as a birthday party or celebrating a graduation. It can also be a smaller activity, like an afternoon of coloring, playing legos, or picking out clothes.
Photo books are actually a collection of these types of events – or moments. Today, I want to share how you can design a layout for a small group of photos describing an everyday event.
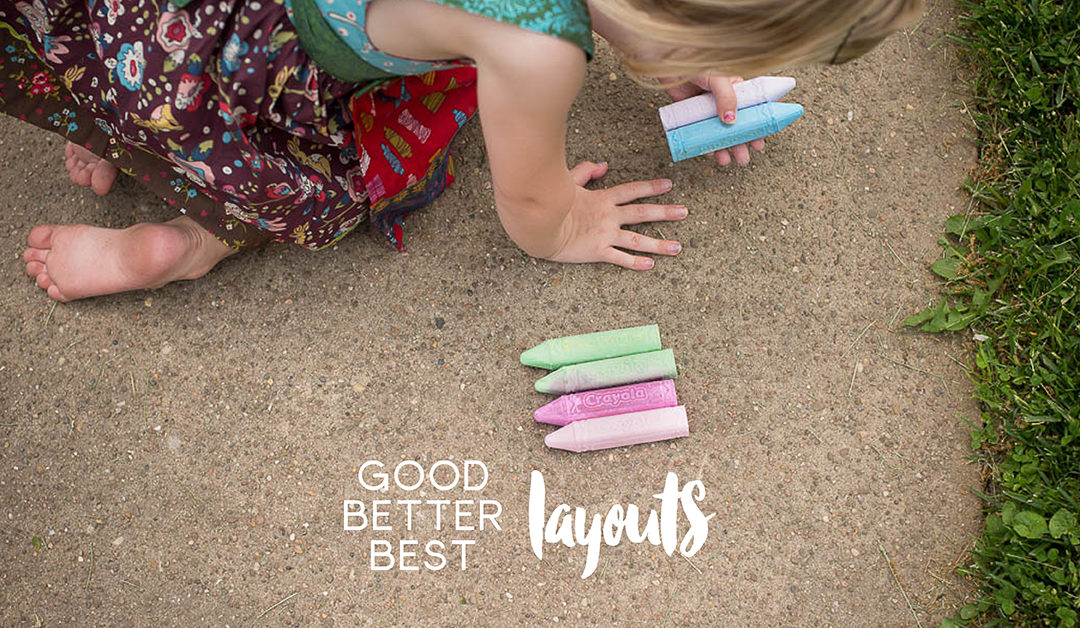
A couple of weeks ago, I was working on a challenge within David duChemin’s The Visual Toolbox for The Photographer Within’s forum. For this particular lesson, we had to capture our subject in a variety of angles and perspectives. When my daughter wanted to use sidewalk chalk, I knew this would be a good time to practice.
Here are the photos that I captured:
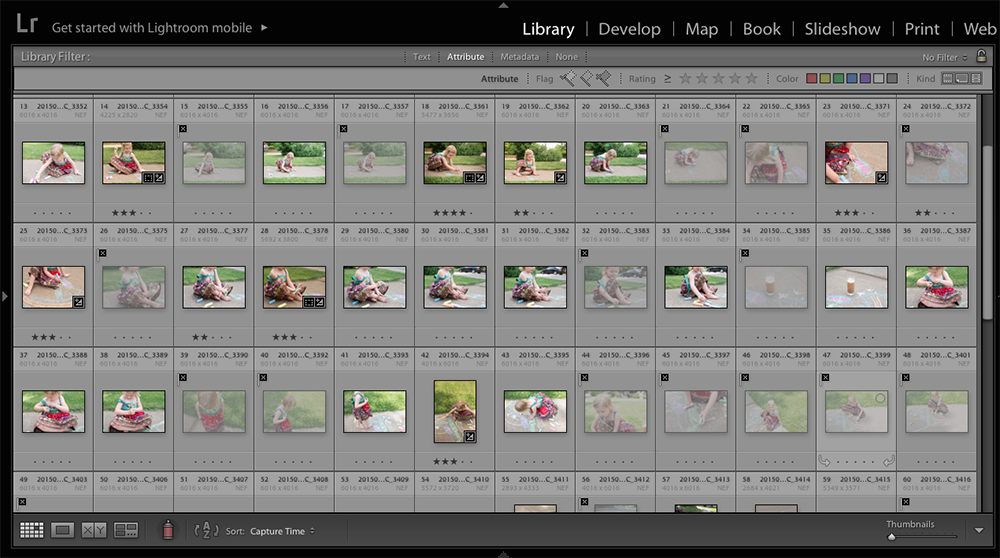
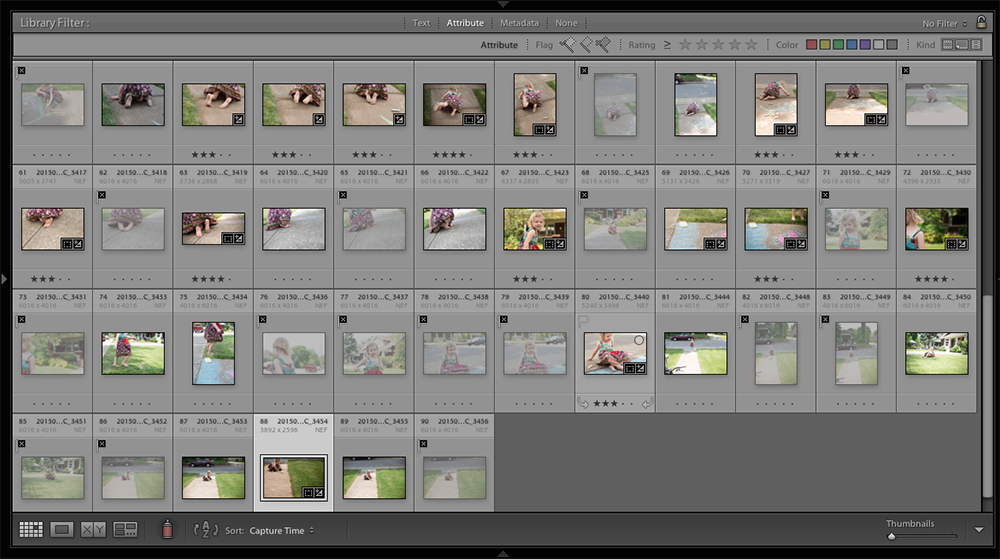
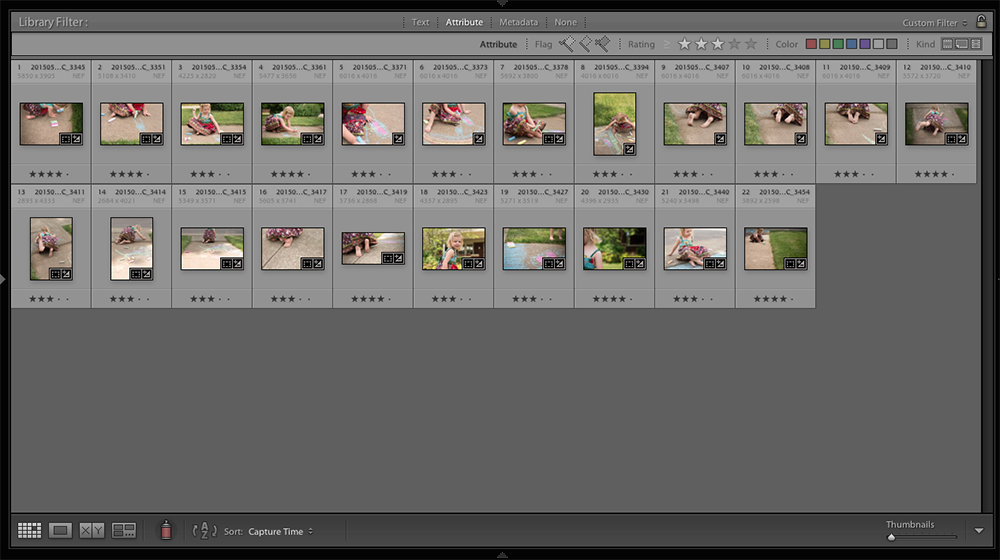
Notice how many photos I’m deleting versus how many I’m keeping. You’ll also see that I’ve starred my favorites. I start with three stars. Once I’ve selected photos that achieve the variety of angles and capture a part of the story, I filter all of my 3-star photos.
My 3-Star Photos
The next step is to narrow down my selection even further by designating 4-stars. These are the photos that really tell the story without being too repetitive.
My 4-Star Photos
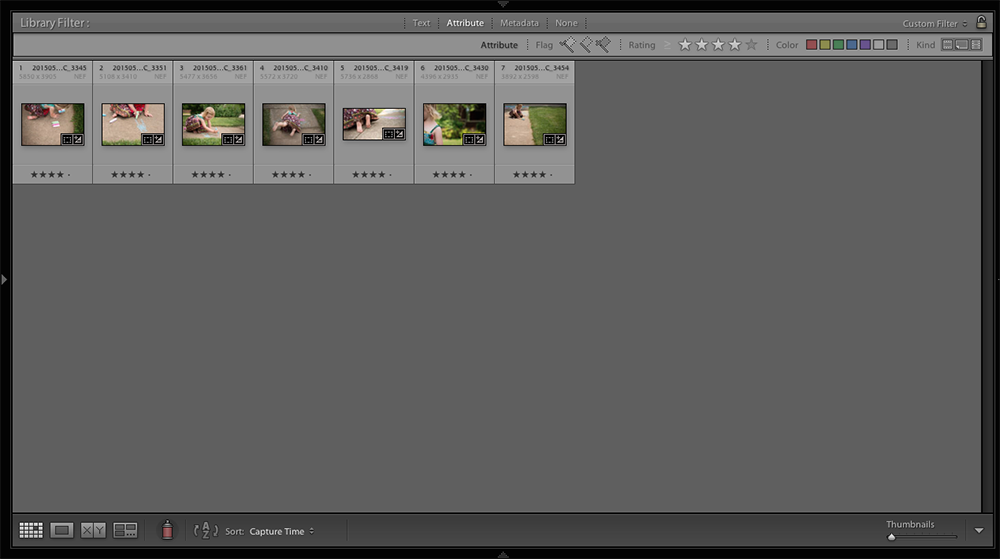
With the 4-star photos filtered, I now make sure the editing is exactly the way I want it for a book. I check for white balance and exposure consistency.
When ready, I export out my photos and move to my book design software.
Good Layout

One option for a layout is to prepare a normal grid of photos, vertically centered on the page.
This works but is kind of typical (read: too boring for the activity).
Better Layout

With these photos, I want to accentuate certain actions or details. In layout design, you can use the size of the photo box to establish hierarchy.
This layout improves on the first by adding a central photo that is larger than the others.
Best Layout
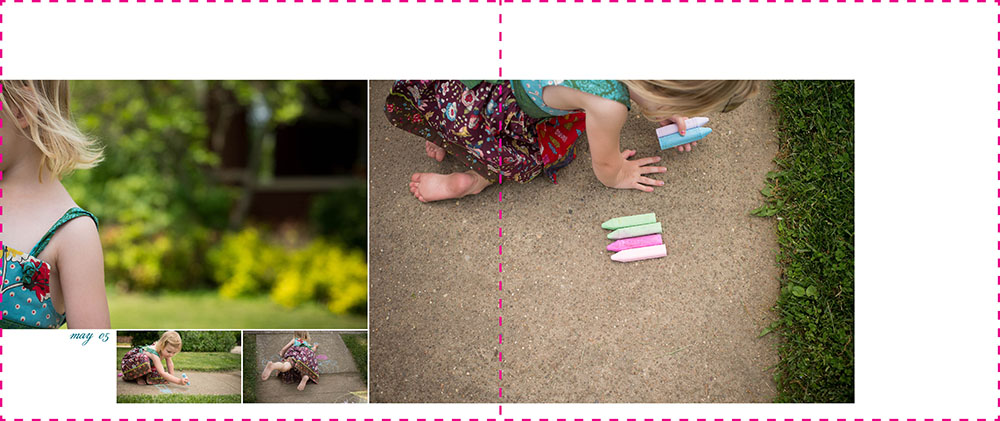
While there is more interest in this layout, I wanted to test out one more layout. In the final layout, I reduced the number of photos and paid more attention to where the white space is happening on the page. Also, I used three different sizes of photo boxes making for a more dynamic layout. Finally, I added the date to complete the layout.
Take Action!
That’s how I work through my photo selection and book layout process. Good, better, best!
Of course, the varieties are endless. You could imagine a completely different layout for these photos, based on your style and preferences. It’s what makes photo book design so fascinating.
Hopefully, this has inspired you to get out there and document an everyday event and create a layout for your photo book!
To get even more layout design inspiration – and – a special discount on my signature workshop, Document Your Year, sign up below for 5 free design lessons.

by Stacey Wiseman | Apr 3, 2015 | Photo Book Design Layout, Review
Recently, I was working on a design for a fantastic and very helpful ebook on food photography. It’s impossible for me not to share with you – not only because the author and I collaborated to bring her instructions and photos to life but also because there is so much information packed into the pages.
I love food photography. It’s the one area where I would love to improve upon. Many reasons for this desire – my husband is an amazing cook, family meals are an essential part of our family and I just find food so darn beautiful.
But I often struggle with how to position the food. And what lighting works best. And how to use the props.
In Trisha Hughes ebook, Eat Pretty Things, she explains her process. She breaks down the components of taking beautiful photographs of food. You’ll learn her tips and tricks not only to get the shot but also for posting your photos on Instagram.
If you are interested in getting started with food photography, I can’t recommend this ebook highly enough. Plus, I’d love to hear what you think about the design. 😉
Pin this image and check out her blog. Even if you don’t buy her ebook, she offers amazing recipes and advice on her blog and in her emails.
Note: I’m an affiliate for Trisha because I recommend her ebook for the value it provides and I support the mission of her business. If you purchase her ebook, I will receive a small portion of the sale.


by Stacey Wiseman | Mar 23, 2015 | Family Photographs, Interview
I’m super excited to showcase Erica Caligiuri in my Monthly Interview series. Erica is one of my favorite photographers who capture their everyday life with personality and beauty. There is a subtlety and humor to her photographs that instantly place me into her home….and life. I love the way she uses color, light and storytelling. Whenever she posts a photo, I instantly know what compelled her to take it.
She’s participating in a monthly video challenge where she documents each month in a short video. Just take a look at her most recent February video – You’ll see her creativity and humor right away. Amazing, right?!?!
Make sure you check out her blog and follow her instagram feed!
Now for our interview:
1| Me and My Camera:
I shoot with a Canon 6D, Sigma 35 f/1.4, Canon 50 f/1.4, Canon 24-105L. I also have an EOS-M that’s great when I want more portability.

2 | My Family:
My husband (and prom date!) Nick, son Ferris, daughter Athena. Funny story about this – in January, I realized that I didn’t have a boring old picture of us in front of the tree, so we put it back up just to take a few! I knew I would regret not having this from our first Christmas as a family of four.

3 | My current photography challenge:
Trying not to overshoot. I don’t want to leave my children the digital equivalent of an attic full of old newspapers. My goal is to keep 200 photos a month, but I almost never make it.

4 | What I have time for now:
My goal for 2015 is to put together 1 video a month. I love capturing the movement and sounds of my children. The process also helps me be thoughtful about what I want to capture and how. Last year, one of my favorite projects was a video of transforming our office into a nursery, capturing my belly growing along the way.

5 | What I don’t have time for now:
I would love to do a color study, and focus on one color per month – working with contrasting colors, seeing how colors convert to BW, experimenting with mood and color. Maybe next year!

6 | My favorite photography subject:
Though my children are often my subjects, they aren’t my favorite. I can too often shoot from a place of anxiety about them growing up and changing so fast. I enjoy shooting new places, when I don’t have any pressure to get a particular shot, and can just let myself be surprised and inspired.

7 | My favorite place to photography inside my home:
Our bedroom.

8 | My favorite time to photograph:
I don’t have a favorite time! I look for whatever light can be a supporting element to a good story.

9 | My favorite photograph right now:
Thank you to my husband for being an awesome human tripod!

10 | What tip, trick or info helped your family photographs the most:
For photography in general: Learn to see light, tone, and contrast the way your camera sees it. Never stop learning about light! For practice, I walk around with my spot meter on, trying to guess how many stops difference between different elements, then I turn on the LCD with histogram to see if it looks the way I envisioned. For family photography, my tip is not to oversimplify your frame. When I was first learning, I thought it was more professional to eliminate “distractions” from the frame. Sometimes that’s a good strategy, but it’s also important to figure out how you can include elements in a thoughtful way. Use the evidence of life (toys, decor, etc.) to add scale, balance, contrast, depth, context, texture, story, etc. Oh, and one more thing- practice with purpose, and don’t practice on your kids! It took me too long to figure that out. It ends up being frustrating for both of you, and getting a cute expression clouds your judgment about whether you’re learning whatever concept you are trying to learn.

Are you addicted yet? She’s really great and I hope you’ll continue to follow her photography.
A big thank you to Erica for letting me interview her!
Would you like to be interviewed? Simply send me an email {info@bookthisproject.com} and I’ll fill you in on the details.
by Stacey Wiseman | Mar 17, 2015 | Contest, FREE!
The 2015 NCAA March Madness Brackets have been posted. The play-in round games are tonight (I’m actually watching them as I type!) And I’m definitely in the spirit for basketball!!!
And for a contest!
No, it’s not a bracket challenge. No basketball knowledge is required. This is all about picking those lucky cinderella teams with a double digit seed (seeded 10-16) that make it to the Sweet Sixteen. You know, the teams that are impossible to predict but oh-so-fun when you guess the right one!
Here are the details.
To enter this completely free challenge, you have to be on my email list.
All you have to do is reply to my Contest Announcement email (sent on March 14th) with your 3 answers by 12:15pm EST on Thursday, March 19, 2015.
Missed this email? Just send me a quick email [info@bookthisproject.com] and I’ll get you squared away!
In your email reply, you need to let me know:
1. What 4 teams do you think will make it to the Final Four?
(You’ll get 1 point for each team that makes it to the Final Four, up to a total of 4 points)
2. Who are your Cinderella teams? List two double digit seeded team you think will play a Sweet 16 game.
(You’ll get 2 points for each Cinderella team (a double digit seeded team) you selected who makes it to the Sweet 16.)
3. What is the point score of the winning team on Championship night?
(This is the tie-breaker question.)
The person with the most points (maximum 8 points) wins.
(If there is a tie, I’ll use the tie break score (#3) to select the winner. The closest winning score without going over, wins my challenge. )
The prize: $50 Amazon Gift Card.
I’ll announce the winner in my April 11, 2015 email.
For the replay:
- Sign up for my free email.
- Check your inbox for my Contest Announcement email.
- Reply to the email with your Final Four picks, your two Cinderella picks and point score of the winning team.
- Reply by March 19, 2015 by 12:15pm to enter.
- Watch the games and check my emails throughout the tournament.
- Winner will be announced on April 11, 2015.
Good Luck!!!
Here’s the fine print.
- This contest is not affiliated with any other company or organization (facebook included).
- All three questions must be filled out in order to enter the contest.
- The contest is open to any person on the Book This Project newsletter list. You must be subscribed to my email newsletter list to enter and win. The person who wins the contest will receive the award via the email address that is associated with the Book This Project newsletter.
- Any objection to this contest must be submitted in writing my April 5, 2015.
- Only one entry per person.
- Book This Project is not responsible for any technical issues that occur while trying to enter. Entrance simply involves replying to my contest announcement email…so hopefully there are no technical issues with that. 😉
- Book This Project reserves the right in their sole and unequivocal discretion to cancel, terminate, modify, delay or suspend the contest. It’s not likely, because I love basketball and you, my dear reader. But putting it out there anyway!
- Thanks so much for participating in my non-bracket challenge!!!!


