fbq('track', 'PageView');
The Easiest Way to Make a Vacation Photo Book

The Easiest Way to Make a Vacation Photo Book

Let’s say, you want to make a photo book of all of your favorite photos. But…..you’ve never had great luck at finishing a photo book.

You start off really excited. Select some of the favorite photos from your vacation. Open up the design software but then you quickly become exhausted with creating the layouts for each spread. Or you get tired of using the typical layouts. It makes your photo book look more scattered than you want.

So you give up.

Which is so sad because these photos are documenting your vacation. And in my family, our summer vacation is the highlight of our year!

Your photos deserve to be printed. Once printed in a photo book, you’ll always have this document to refer back to, year after year. Imagine looking at all of your vacation photo books, ten years from now. It will be a blast to look back through the memories you had as a family every summer.

I want to show you that there is an easier way to compile your favorite vacation photos into a beautiful streamlined photo book. It starts with a template.

In particular, I want to show you how you can adapt one of my annual photo book templates to become a smaller, more focused vacation photo book. Take a look!

Ready to get started!?!? Export your favorite vacation photos to a folder on your desktop and purchase my annual photo book template here.

Kid Author: 3 Tips to Help your Kid Write a Photo Book

Kid Author: 3 Tips to Help your Kid Write a Photo Book

*This blog post contains affiliate links. By clicking on a link and making a purchase, Book This Project will earn a small commission. I only recommend products I use and highly recommend to make your photo book experience better. 

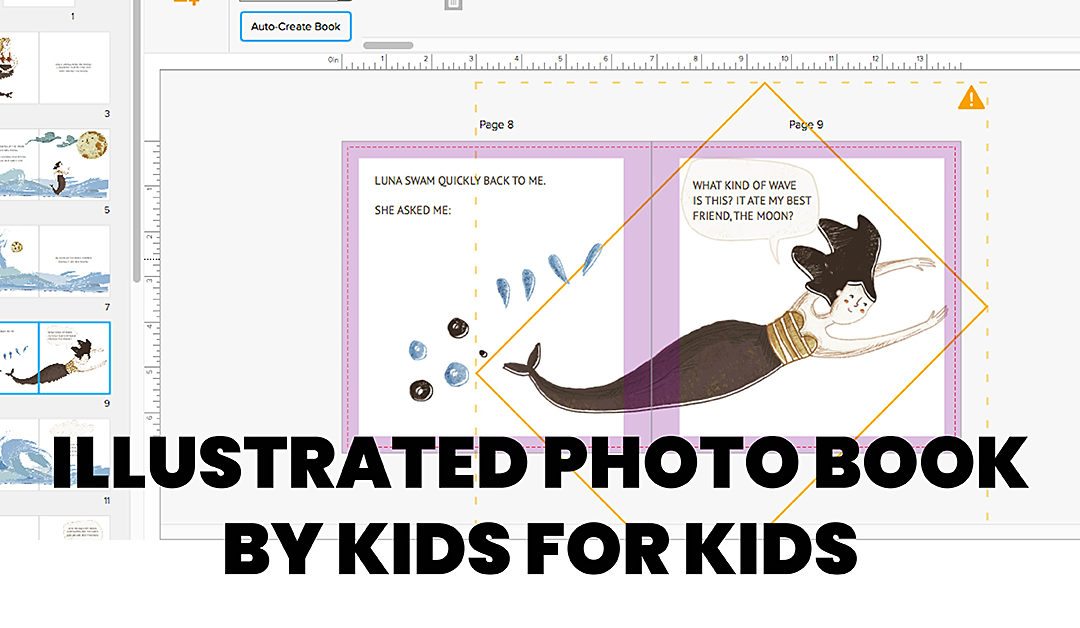
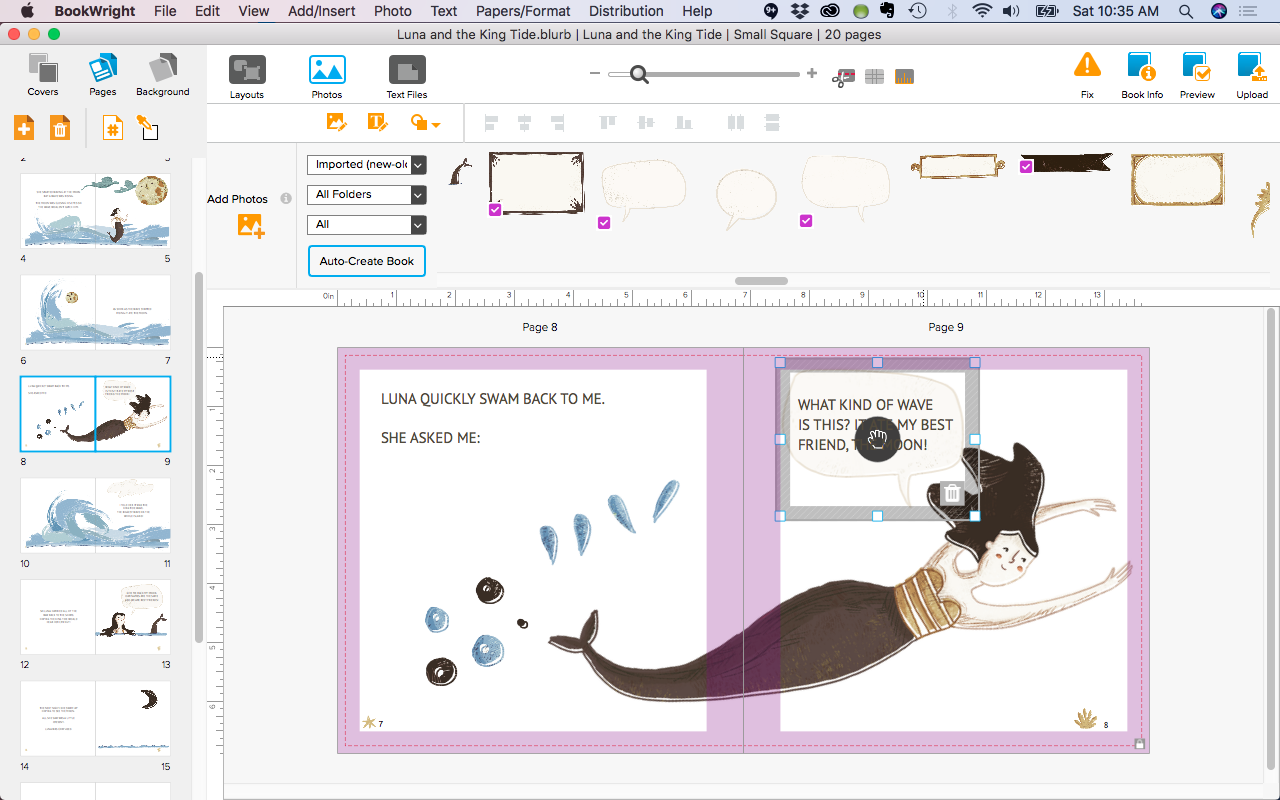
During one of our summer vacation at the beach, we experienced our first King Tide. My mother-in-law explained that this is the highest predicted high tide of the year based on how the Sun, Earth and Moon line up. My daughter, who just finished her first grade year, was completely fascinated by this idea and kept imagining herself as a mermaid experiencing the high tide. I made the suggestion that she should take this idea and make a story out of it. We could make a photo book together. As I’m sure you could imagine, my heart skipped a beat when she jumped up and down and was excited to make her very own book. Usually, my suggestions are not met with as much enthusiasm. So, one afternoon of our vacation, we skipped the ocean, sat out on the screened in porch and worked on this photo book. Here are a few of my favorite tips and suggestions to help your own budding author!

1: Set up the Photo Book Parameters ahead of time

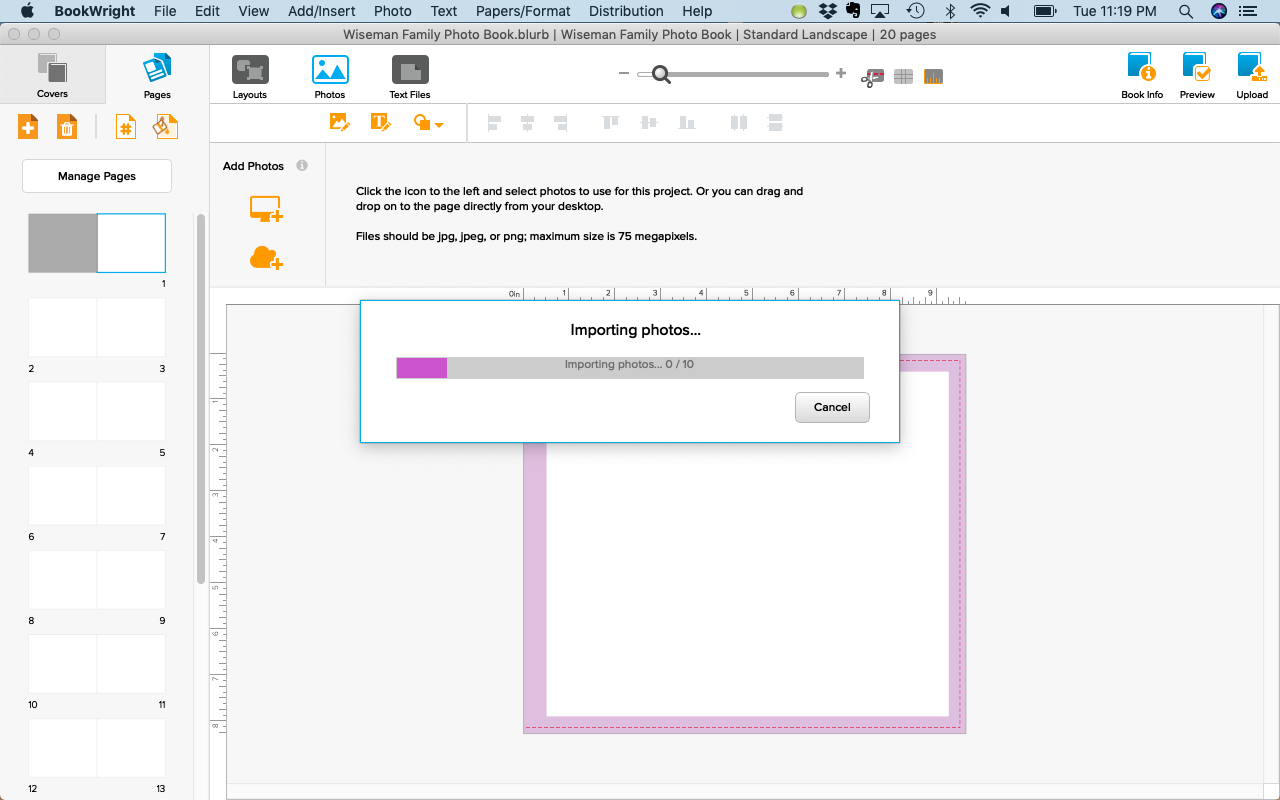
Before you start the process with your kid, I recommend that you set up the photo book parameters (paper, cover, etc), define the approximate number of pages and import the graphics or any photos that you want to incorporate. This saves some of the boring work and allows you to get started with the fun stuff when you sit down to work on it with your little one.

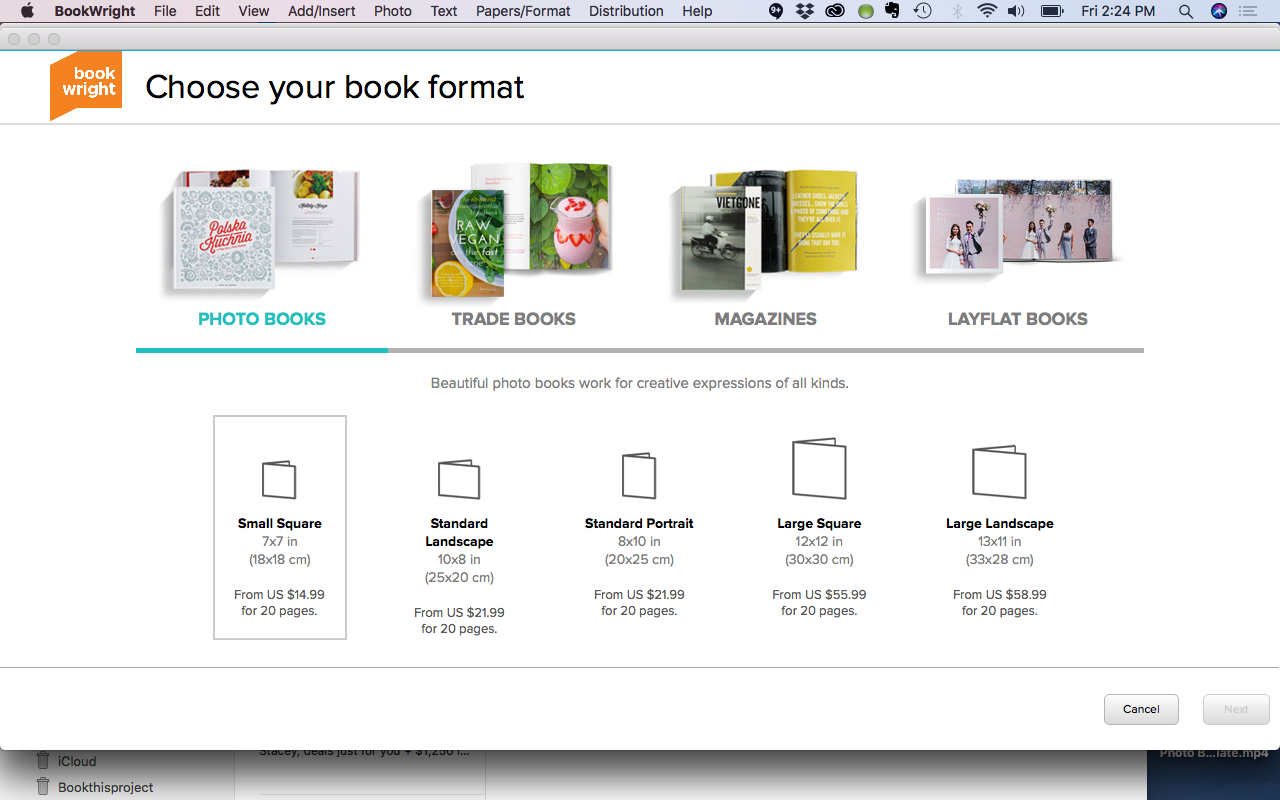
For this photo book, I recommend using Blurb’s BookWright program. Our photo book was a soft cover book with standard paper.

Another piece of advice, have your son or daughter think through a rough outline of the story ahead of time as well. This gives you a sense of how they are starting to formulate the basic structure of the story. Of course, it doesn’t have to be perfect but you’ll want to make sure they have a main character that follows a series of action steps. Bonus points if the action that a character is doing leads up to a conclusion, or main point.

2: Write the book with pre-made graphics in mind

Before we got started with writing, I looked for graphics that roughly match the storyline she’s created. If your kid loves to draw, you could easily have them make drawings for the photo book. However, this will add a little more time to the process. For me, especially on vacation, it was easier to find already made graphics that we could use.

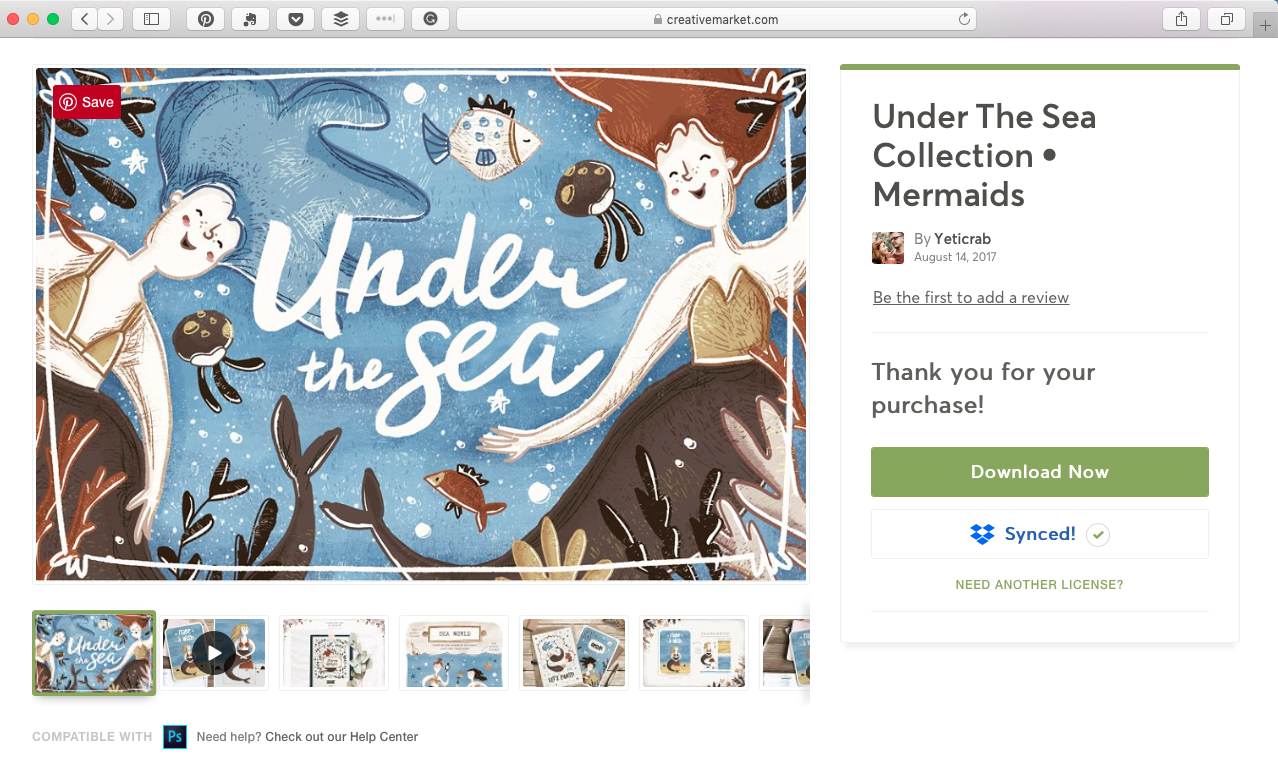
For our story, I used these graphics from Creative Market. I loved this pack because it included characters (mermaids) plus flora/fauna to add interest to the page. It also had frames and speech bubbles in the same graphic style which made the book creative and consistent.

Since the graphics were already imported into the design program (see tip 1), we went page by page with my daughter selecting which graphic she wanted to use. Then she would tell me the text and I would type it in. Once we finished the full story, we read back through it and made any edits together. In this process, I would ask her if what she originally said made sense and confirm it’s what she wants. If I had a slight tweak, I’d make a suggestion for her approval. Then we’d give one final read through. Once it was set, I handled all of the uploading and ordering process.

3: Share the book for others to purchase

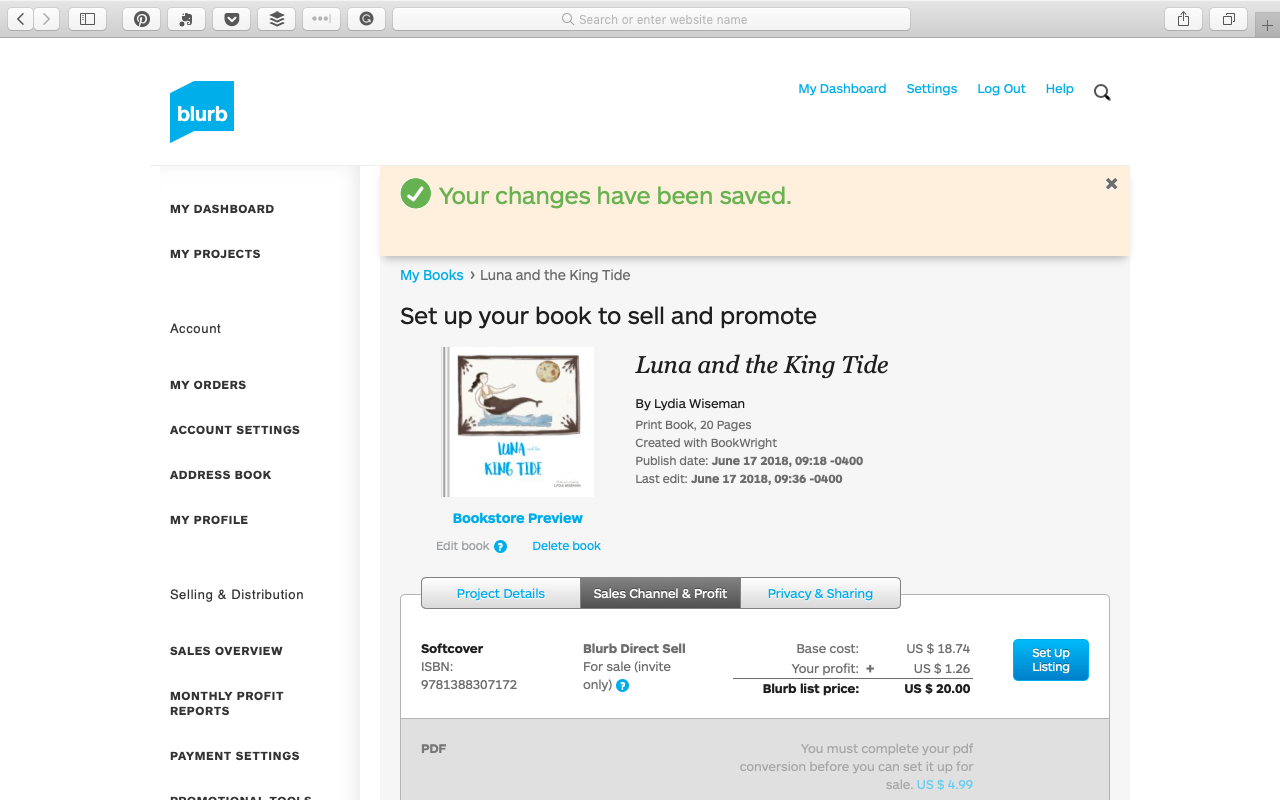
One of the great things about using Blurb is that you can share the book with family and even set the book up for sale. With the cost of the printing of the photo book makes it difficult to make money, it is something fun for kids to look forward to.

You can check out (and even purchase) my daughter’s photo book here.

To set up your child’s book for others to purchase, you’ll have this option after you upload the photo book to Blurb’s website. So once you order the book, all you have to do is answer a few simple questions to set it up for others to purchase.

If you want even more tips and details – I share over 35 screenshots showing you how we made this photo book – sign up for my Special Photo Book Project: Summer Guide. This mini-workshop will be released in a few weeks but you can pre-order it now for a discount!

Two Methods to Add Color to Your Photo Book

Two Methods to Add Color to Your Photo Book

One quick and easy way to make your photo book look more intentional is to have custom designed divider pages. If you’re including these pages in your photo book, I recommend having them stand out from your other pages with design elements, text and/or color. However, I also understand – you don’t have a lot of time to customize these pages.

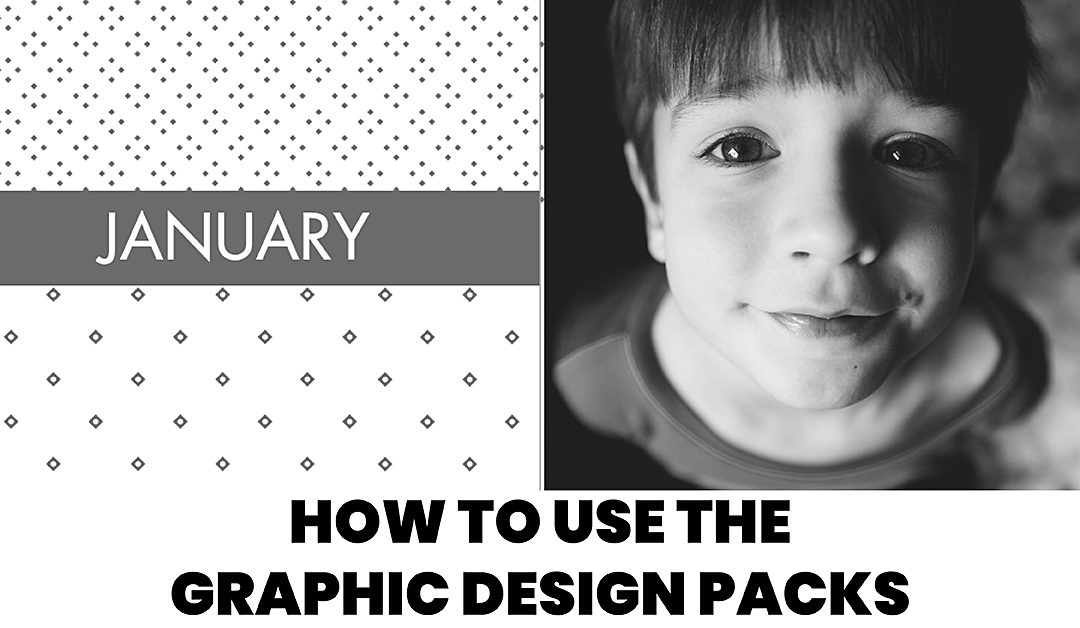
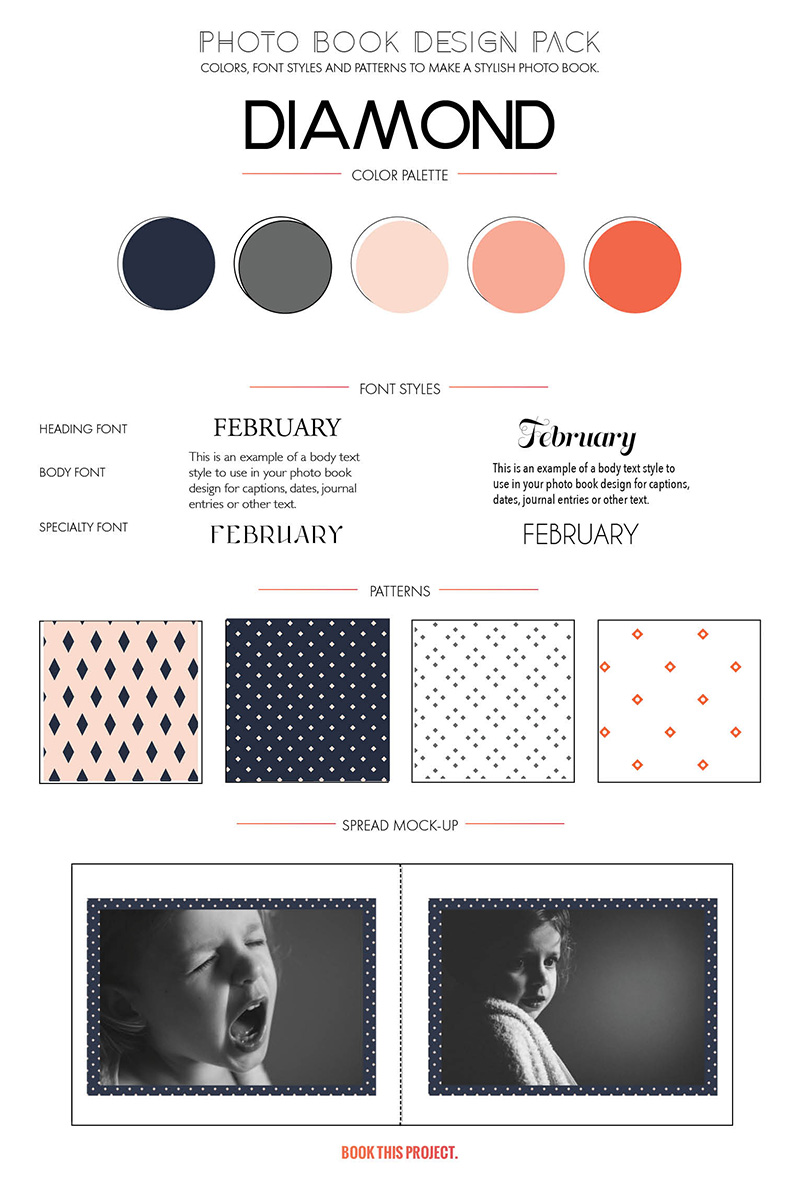
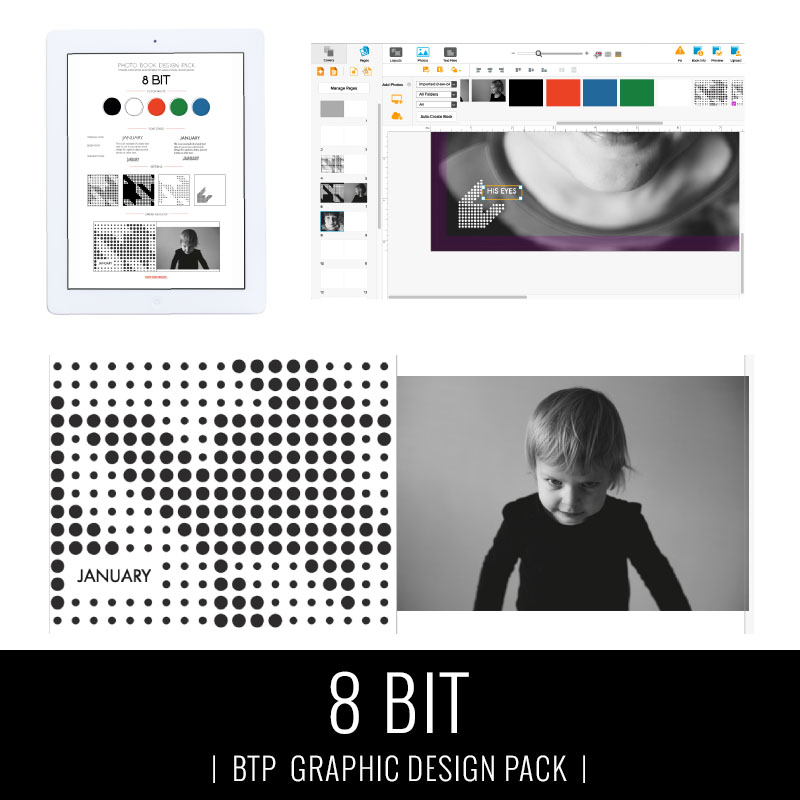
It’s one of the reasons I’m creating my Graphic Design Packs every month. These design packs will quickly introduce color or patterns on your pages, particularly the divider pages in your photo book.

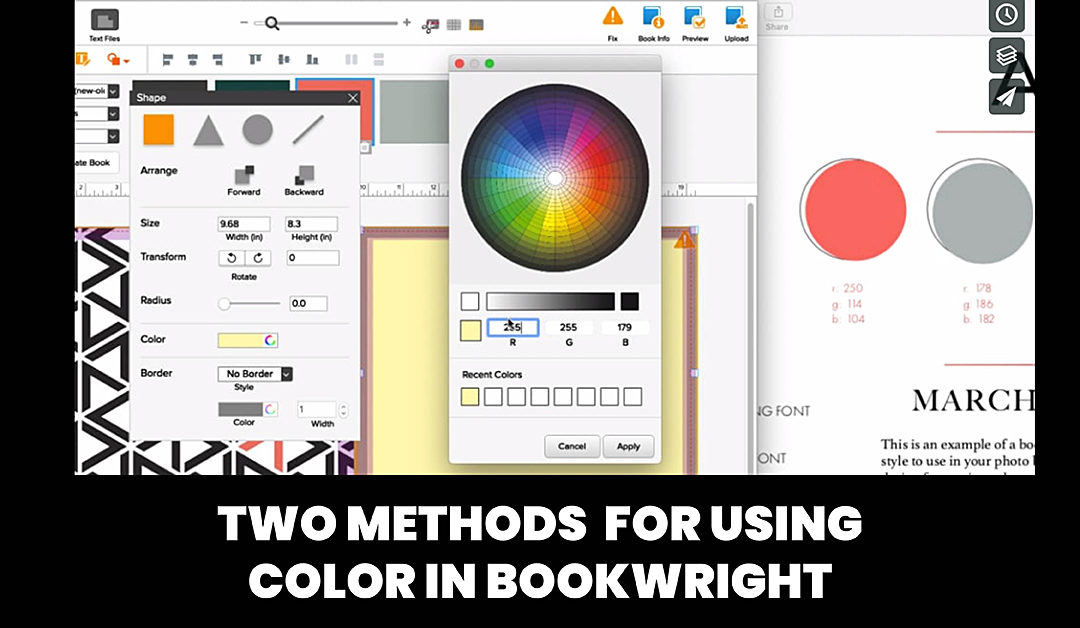
There are two ways to add color if you are using Blurb’s free software program, BookWright. Whether you are using colors from my BTP Graphic Design Pack – or – creating a color profile on your own, this video tutorial shares the two methods to achieve add color to your photo book.


Want to learn even more tools in BookWright?

Check out my free email series sharing 5 design lessons to make your photo book more stylish without overwhelm. 

Using the BTP Graphic Design Packs

Using the BTP Graphic Design Packs

Disclosure: Some of the links below are affiliate links, meaning, at no additional cost to you, I will earn a commission if you click through and make a purchase. 

One of my goals this year is to flex my graphic design muscle. It’s been a while since I’ve focused on how color, font styles and patterns can come together to customize a photo book. And with everything in life, one only improves with practice. 

So this year, every month I’m creating free graphics – that includes color jpegs + CMYK values, font ideas and several patterns – to help “dress up” your photo book. My graphic packs are free during the month they are released and then will be in my shop for $10 when the month concludes. 

While every download comes with general instructions, I thought it would help to see how exactly you can use these graphics to transform your photo book from blah to amazing.  

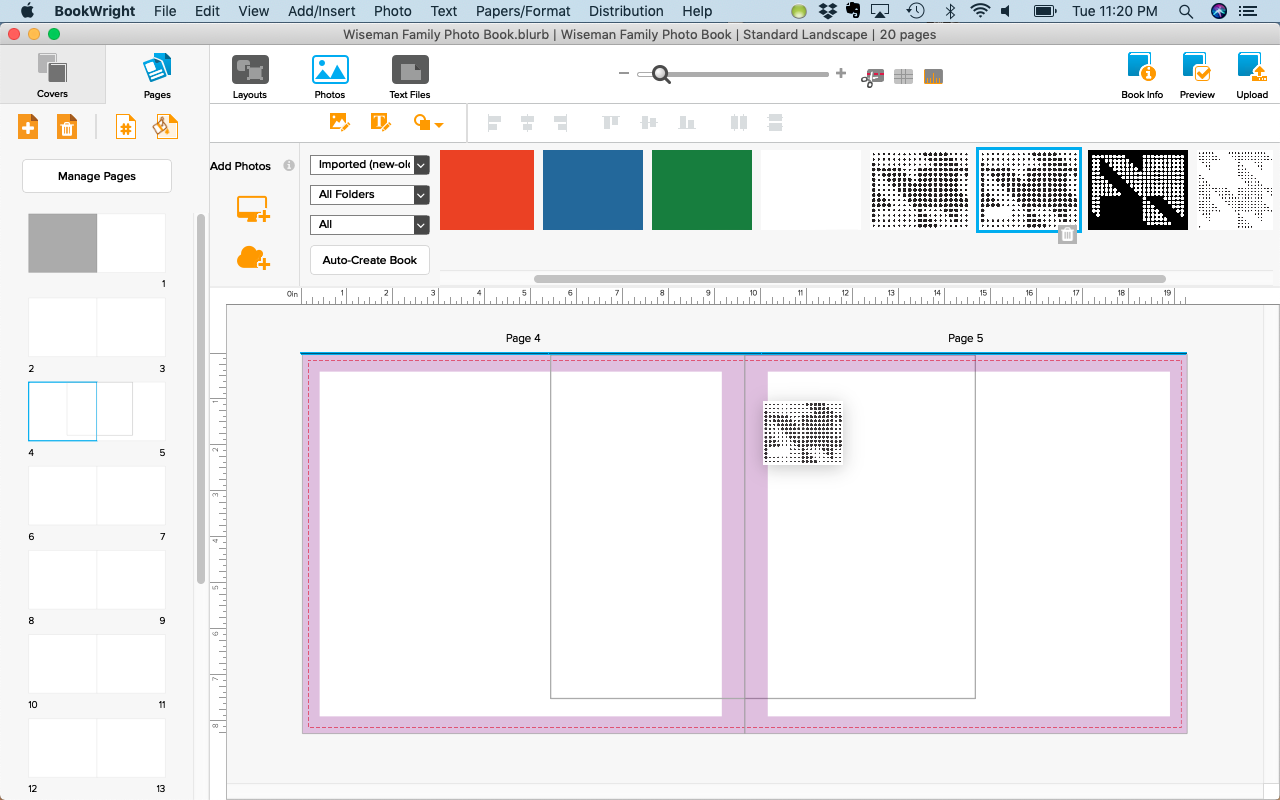
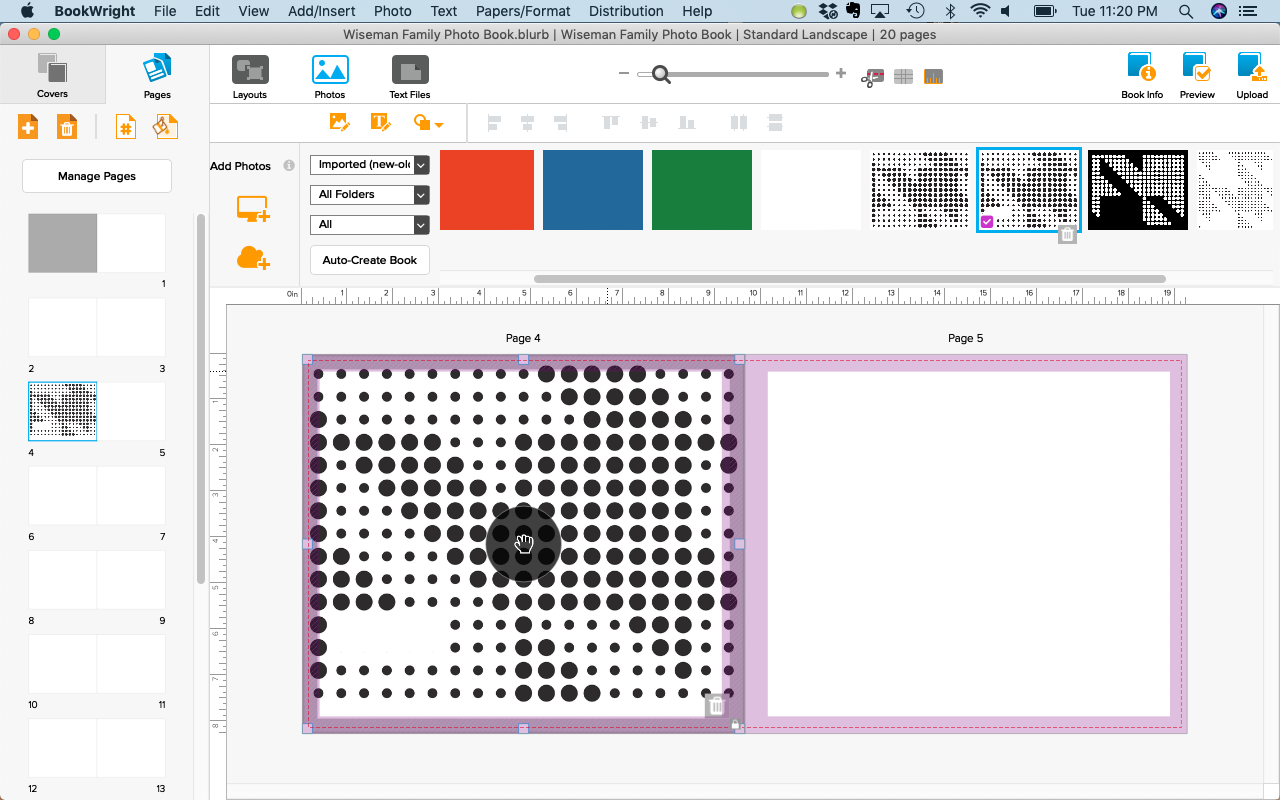
Import and use the graphic images from the design pack you want to use in your photo book just as you would any other photo. 

If you’re new to making photo books, I recommend Blurb’s BookWright free software tool (clicking this link will support Book This Project) and you should definitely check out my workshop, Document Your Year. This workshop shares everything you need to know to make a beautiful photo book for your family.

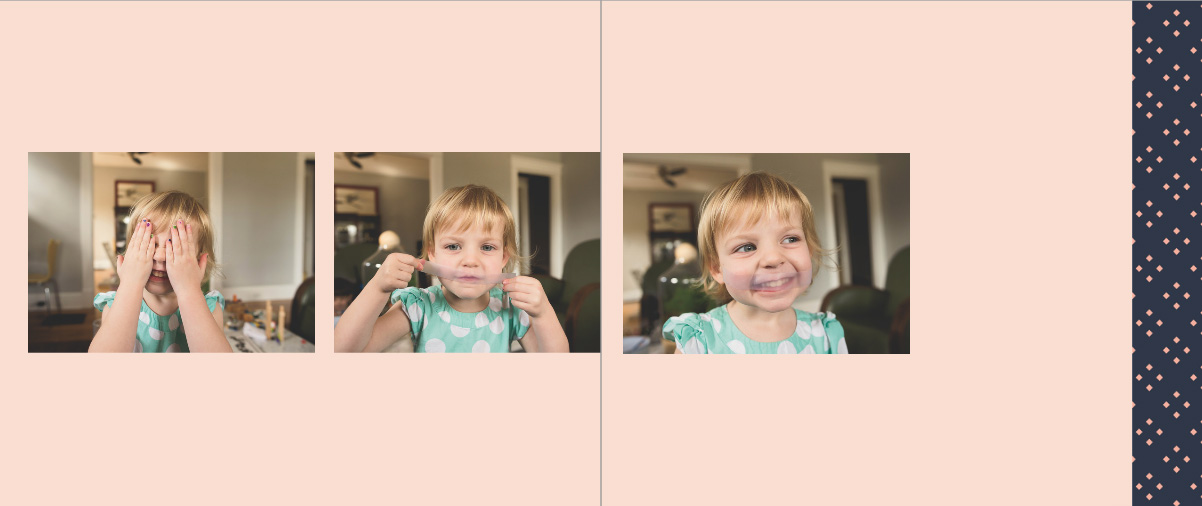
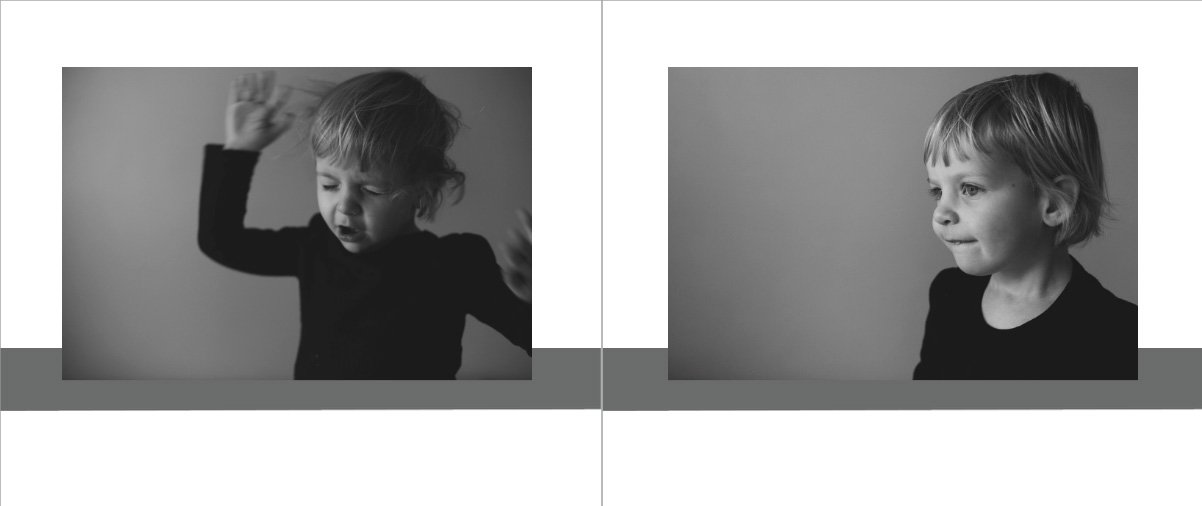
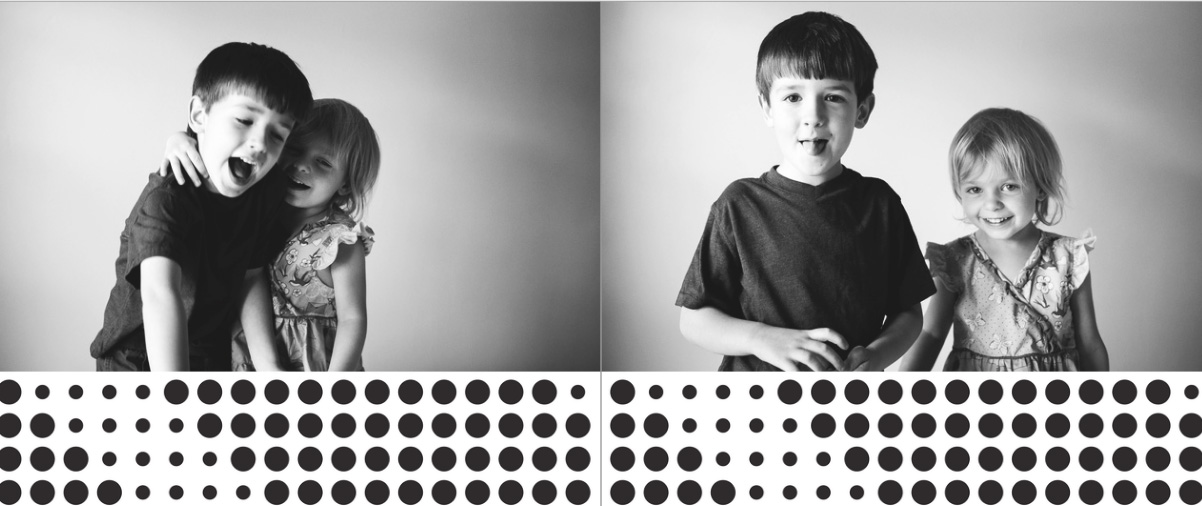
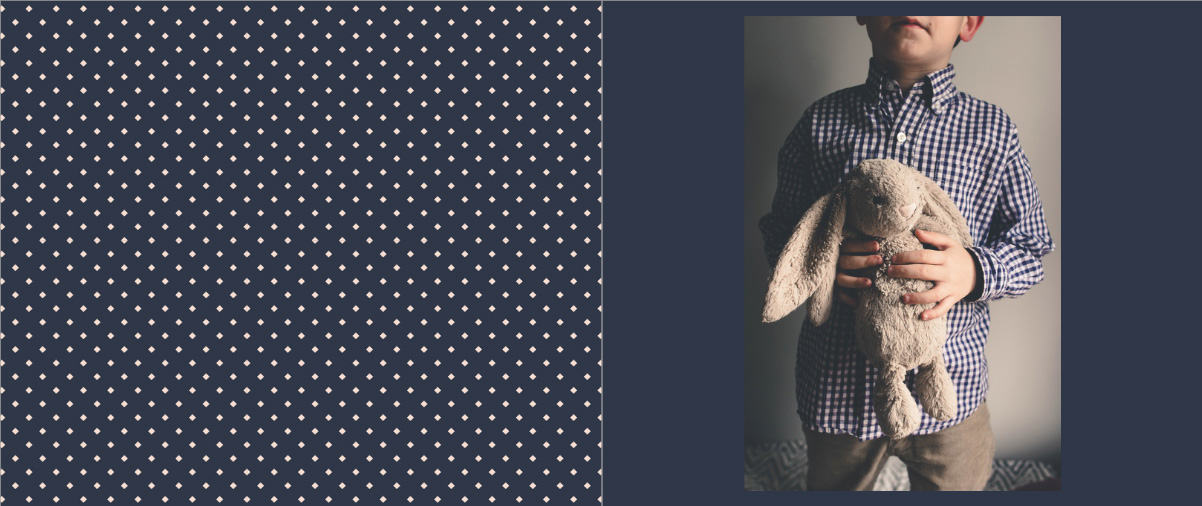
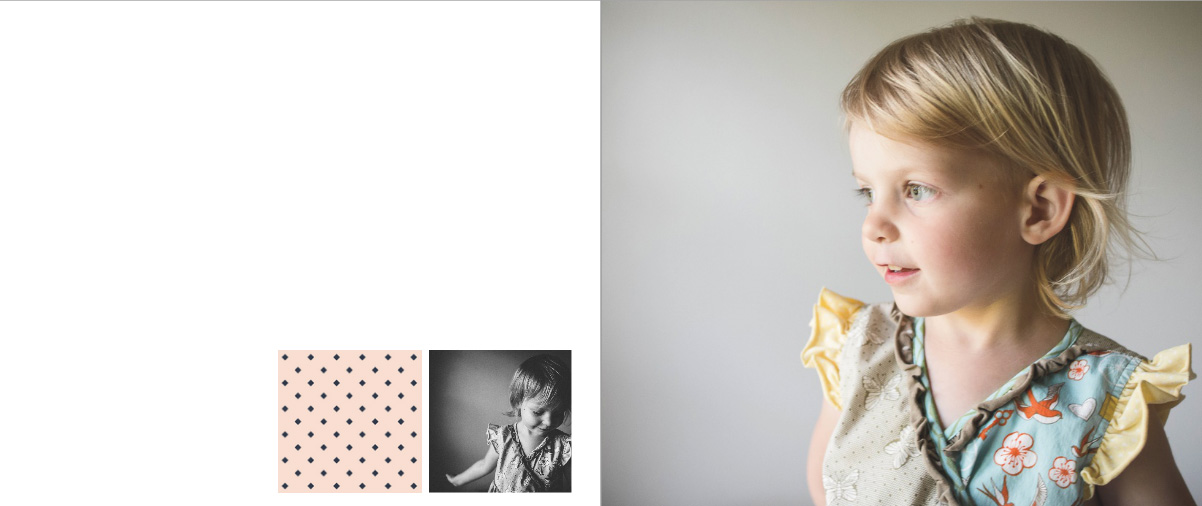
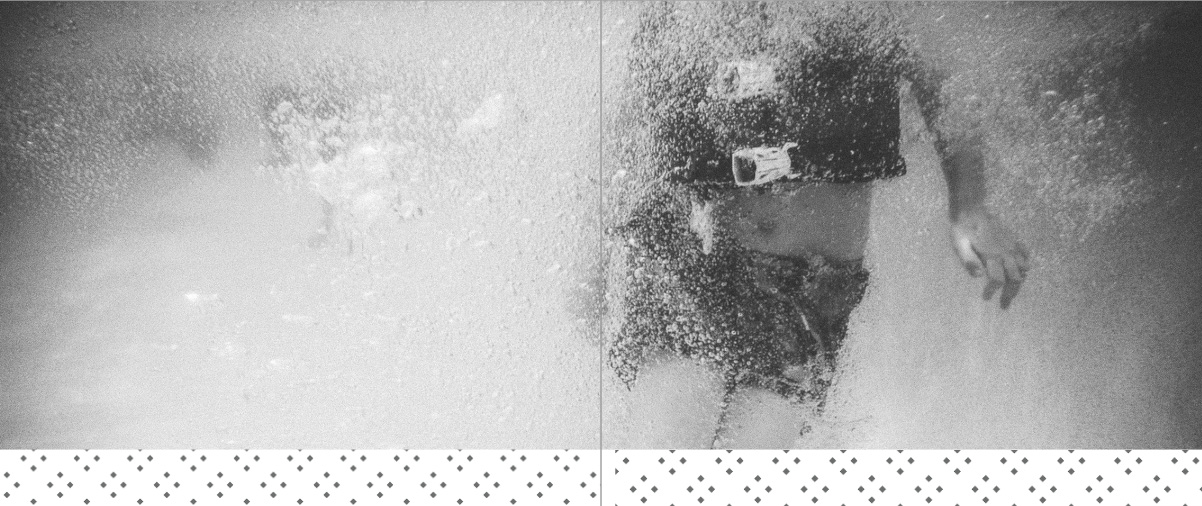
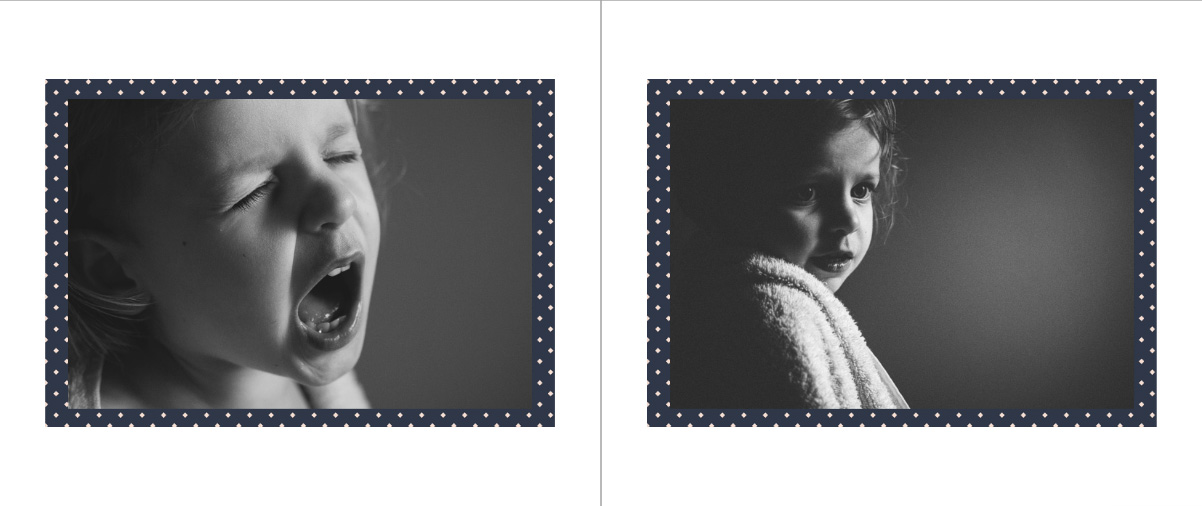
Once you download the BTP Graphic Design Pack you may be thinking, “This is great….but now what do I do with them???” So I wanted to share 12 layout examples to show you how the BTP Graphic Design Pack can make your photo book amazing. These examples are just to get your creative juices flowing. There are so many ways you can use the colors, fonts, and patterns in the graphic design pack to make your book a perfect reflection of your design aesthetic.

I’ll be sharing more examples on Instagram – make sure to follow me here. And I’d love to see how you incorporated the graphic elements into your own photo book. Simply use the hashtag #btpgraphicdesignpack when you post a screenshot of your example.

In these examples, notice the scale, placement, and mixing of different elements are incorporated on the page. 


Sign Up to get the current free BTP Graphic Design Pack.

Check out other BTP Graphic Design Packs.

Photo Books are a Memory Preserver

Photo Books are a Memory Preserver

Recently I listened to a Revisionist History Podcast with Malcolm Gladwell titled “Free Brian Williams”. While the podcast starts off describing the moment in 2013 when David Letterman asked Brian Williams about the helicopter convoy he was on in Iraq ten years earlier. During his answer, he claimed that he was on a helicopter that was shot down….but it turns out, he was actually on a different helicopter that arrived on the scene of the ambush an hour later.

This lead to him eventually being fired from the host of NBC Nightly News and he was excoriated in the media for lying. However, Gladwell’s point in using this as an example, is not that he was lying but illustrates an example of how memory can be contorted over time.

{

We are memory fundamentalists. We think our memory is a camera recording our life in real time with a video time-stamped for later retrieval…[But] everytime we retrieve a memory, there’s a chance it can get contaminated. We hear a new detail somewhere about the event and without realizing it, we just add it in. Memory researchers talk a lot about what they call time slice errors. A couple of things happen in the general timeframe and we get the sequence all jumbled up. 

Malcom Gladwell, Revisionist History, Free Brian Williams

Memory is fallible. Mutable. Imperfect. 

It’s why I take photos and make photo books. Not to capture every single detail; but to capture the essence of my life, year after year.

I take photos to help me remember a moment and while I’m not always successful, I attempt to take photos that remind me of not just what is happening but the emotion surrounding the event.

When I look at photos months or years later, I want to remember the moment and what it felt like to experience it.

And the only way I look back at old photos is through my photo books.

I can’t remember the last time I went back into my photo archives. Due to the sheer number of photos I take, this usually involves an effort to pull out the hard drive, load the digital catalog and sift through the thousands of photos I took that year.

But a photo book transports me immediately.

I just pull the year I want from the shelf, open it up and remember what life was like that year. It’s a collection of my favorite photos, creativity arranged to reflect my artistic voice – similar to my photographic vision.

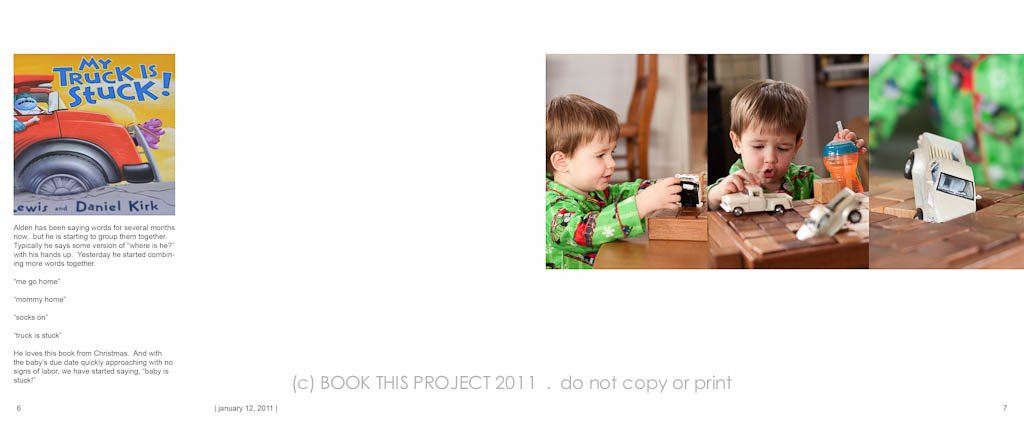
Take this example a month before my youngest daughter was born.


I don’t have to rely on my memory because it is documented in my photo book. When I was nine months pregnant with my daughter, we were preparing for my son to be a big brother. One day we asked him when his little sister was going to get here and he said she was stuck in mommy – because we were reading the picture book, My Truck is Stuck, a lot. It was one of those classic family stories that have been memorialized in a photo book.

Everything about this layout is specific and intentional. Where I placed the photo, the amount of negative space I included, and the font style, size, and color. All of these small decisions led to a cohesive, sophisticated photo book.

A share my entire thought process, gameplan and inspirational layout and book examples in my workshop, Document Your Year. This e-course walks you through how to define your own vision, use the free Blurb design program to its greatest advantage and design a photo book to show off to your family and friends. 

Ready to make your own photo book this fall?

Sign up for my free video training sharing 5 tips to make a better photo book. In this 40 minute training, you’ll learn the best first step to make, my favorite 3 tools in BookWright and how to change a layout with one word. 

10 Steps to Making a Photo Book This Fall

10 Steps to Making a Photo Book This Fall

If you’re looking to make a photo book this year, now is the time to start thinking about it. The earlier you get started – and start making decisions – the better off you’ll be to actually finish a photo book in time for the holidays.

Imagine spending a little bit of time here and there working on your photo book over the next few weeks so when January 1st rolls around, you’ll be able to place your Christmas through New Year’s Eve photos into layouts and then print your photo book. Sounds nice, right?!?!

All it takes is a having a game plan that you can follow step by step.

Today, I’m sharing ten steps, with relevant resources, to walk you through 10 steps to documenting your favorite family photos from the year into a concise and beautiful photo book your family will treasure for many years to come.


STEP 1

Define what you want.

While it sounds easy, one of the most common steps people overlook is defining what type of photo book before they get started. It’s so important that you know what type of book, how big, what type of cover and what photo book company you want before you even begin looking at photos or thinking about layouts.

First step is to research different photo book companies to understand what kind of photo book will work best for you, your family, and your photos.

If you’re prone to overwhelm at the beginning, I recommend my free workshop that will help you find the insipiration to start, the motivation to keep going, and design ideas to make your book creative.


Target Time Frame: Define what you want for your photo book within one week.  

STEP 2

Get Organized.

Depending on how Type A you are with your photo organization, this first step could take some time. But it’s so crucial and will set the foundation that you’ll appreciate long after you print your photo book.

Before you even get started with selecting photos or laying out your pages, you first must organize your photo library. This means importing all of your photos from the year into one place. All of your photos from your smart phone, dslr, film and any other camera you own should be in one library.

Target Time Frame: Have your photos together and rated by the end of October.

STEP 3

Set up Systems.

If you’re anything like me, life does not provide you with unlimited time to start and finish your goals one at a time. Wouldn’t that be nice? Truth is, we all have multiple projects, family demands, and other commitments competing for our time.

And making a photo book is not easily accomplished within a day or two, unless your photo library is extremely organized (see step 2) and you have a very limited scope such as making a photo book of your favorite summer vacation photos.

To stay with your photo book project through the many starts and stops you’ll experience over the next few weeks/months, I recommend setting up a simple system you can follow.

When I use the term systems, I want you to set up a process for working on your photo book in a logical way that you can track. Being able to track – tell where you left off – is the key part to developing any system.

Refer to this blog post to see how I use one free tool to keep track of my photo book progress.  

Target Time Frame: Define your system by the end of October.

STEP 4

Select Photos.

Selecting photos is without a doubt the hardest step. Our photos are so personal and each photo we keep is for a particular reason. This makes it so difficult to figure out which photos you should actually select for a photo book.

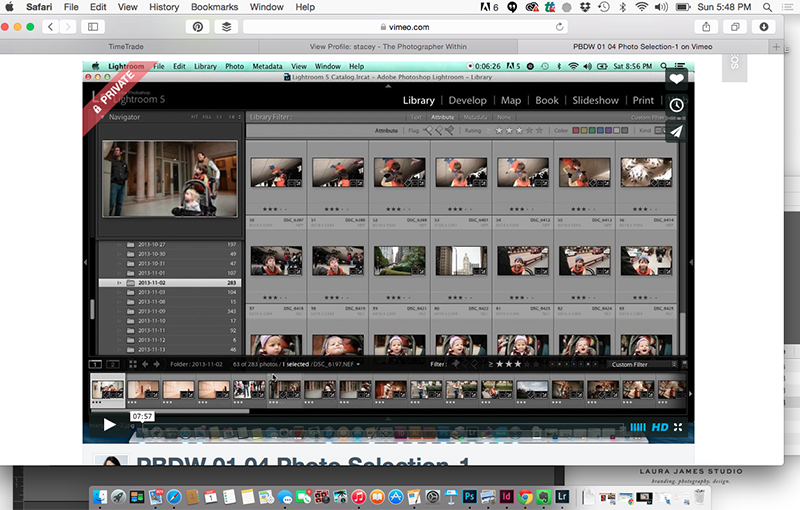
Sometimes it helps to see how and why other people select photos for a photo book. This blog post outlines 2 important factors to consider when selecting photos. If you’re curious to see how / why I selected photos from everyday moments in my life, I’m sharing 4 videos illustrating how I select photos for a particular layout.

While I provide several tips and strategies for selecting photos in my workshops: In 100 Pages and Document Your Year, my main piece of advice for those indecisive photographers (raising my own hand) is to select photos that are the most representative of an event, emotion, or experience.

And don’t dwell on the photo you didn’t select. Years from now you won’t remember the photo you almost selected. Instead, you’ll remember the moment/event because of the photo you did select.

Target Time Frame:  My challenge for you is to select photos for a photo book every single week. Start with photos from one day. You’ll realize, the more you get used to selecting, the faster you’ll get. Promise. 😉

STEP 5

Understand the Program.

If you’ve never made a photo book before – or it’s been several years – I recommend you open up and practice a couple of layouts with the company/design software you’ve selected in Step 1. While most of the free design software is pretty intuitive, it really helps to understand the setup and various tools you can use as you design your pages.

If you plan on using text – either as page titles, captions or page numbers – test this feature as well. You’ll get a sense of how easy it is to add text and your practice will confirm if this is something you actually want to accomplish with this particular photo book.

While practicing a few layouts ahead of time seems like an extra step, it will save you time once you’ve selected photos and are ready to start designing pages.

Target Time Frame:  Open up the software and design a few test pages by Thanksgiving.

STEP 6

Layout Pages.

Once you have a good number of photos selected, it’s time to start designing some layouts! For this step, you don’t have to wait until all of your photos have been selected before you start designing your pages. In fact, starting to layout pages could help you select photos. You’ll start to understand what types of layouts you prefer and what photos work best in those layouts.

Check out this email series for layout design inspiration.

Target Time Frame:  Starting designing layouts in mid-November and continue designing throughout December.

STEP 7

Add a Sense of Style / Design.

If you’re designing a photo book, particularly when you’re customizing your layouts, I recommend adding a sense of style or design intent to your photo book. This can be as simple as adding page numbers, a color, an interesting font or more elaborate design elements such as unusual margins or design graphics. 

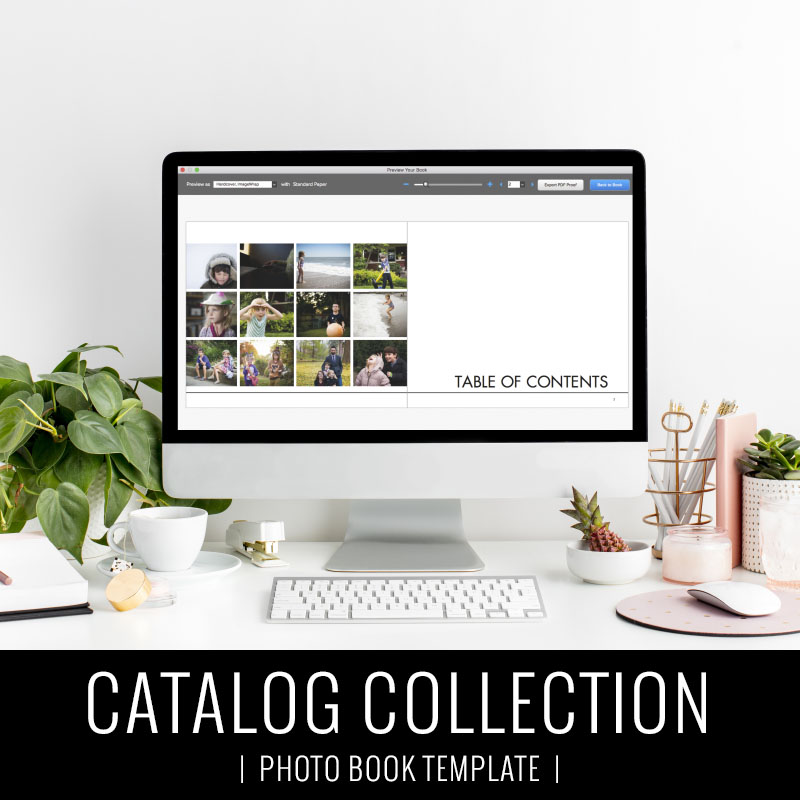
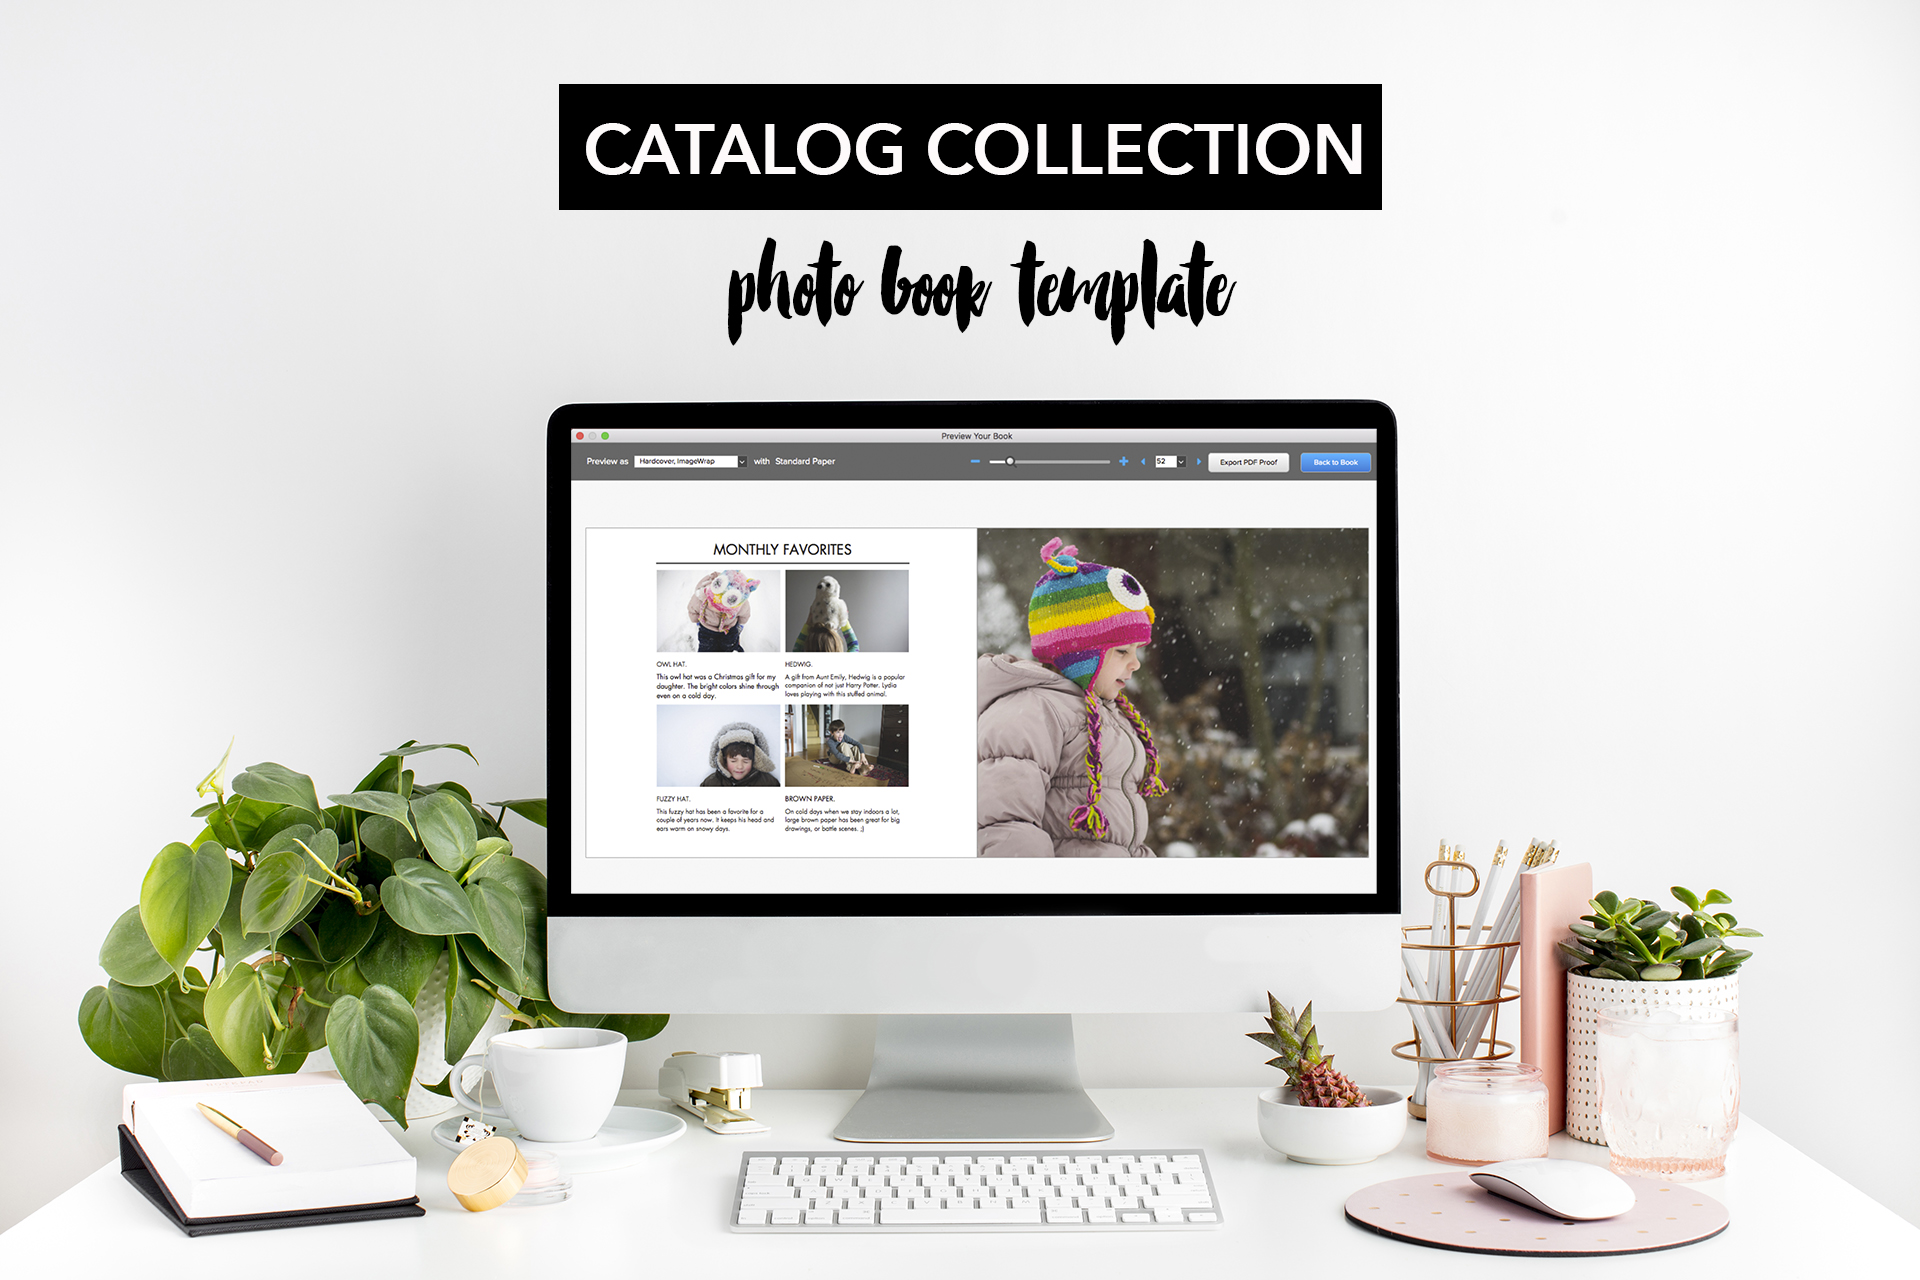
For those who want a small bit of interest to their layouts without going overboard, I recommend my photo book template for BookWright: Catalog Collection. This template was designed to give your photos an editorial look that you see in magazine or clothing catalogs. It’s a great way to get started with interesting layouts to showcase your photos. 

Target Time Frame:  Add design elements in December and the beginning of January.

STEP 8

Design a Cover.

I always wait to design my cover until the very end because I like for it to fully represent the entirety of the photo book design. Photo book covers can be simple – such as a family portrait – or more complex with an attention-grabbing design. The goal is for a cover to capture the spirit and vision of a photo book and entices family and friends to pick it up from the coffee table when they are visiting your home.

For photo book cover inspiration, check out my Pinterest board for photo book covers.   

Target Time Frame:  Design your cover at the end of the January.

STEP 9

Review your Photo Book.

Once all of your layouts are finished, it’s time to review your photo book before you upload. I can be pretty obsessive with checking photo books so take my recommendation with a grain of salt, but I recommend checking your layouts several times.

Start with a review of layout in the preview mode. Then I do a spell check of the entire document. In case I spell “their” when I mean “there”, I read through every single caption. Once all of the basic checks are completed, I check one last time in preview mode. 

Target Time Frame:  Finish your review at the beginning of February.

STEP 10

Order your Photo Book.

At last, it’s time to order! After weeks of organizing, selecting, designing and checking, it’s now time to order your photo book.

Target Time Frame:  Order your book at the beginning of February.

While I’ve tried to cover the necessary tips to get you started….I still have more to share!  If you loved this post, you’ll love my self-paced workshop: In One Hundred Pages.

Using Color in your Photo Book.

Using Color in your Photo Book.

color in photo book

Lately, I’ve been in the mood to add color to my layouts. In my last blog post, I should 10 ways to add color to layouts. But those suggestions were more for you to pick and choose. In today’s blog post I want to share how you can add a color palette throughout one of your photo books. 

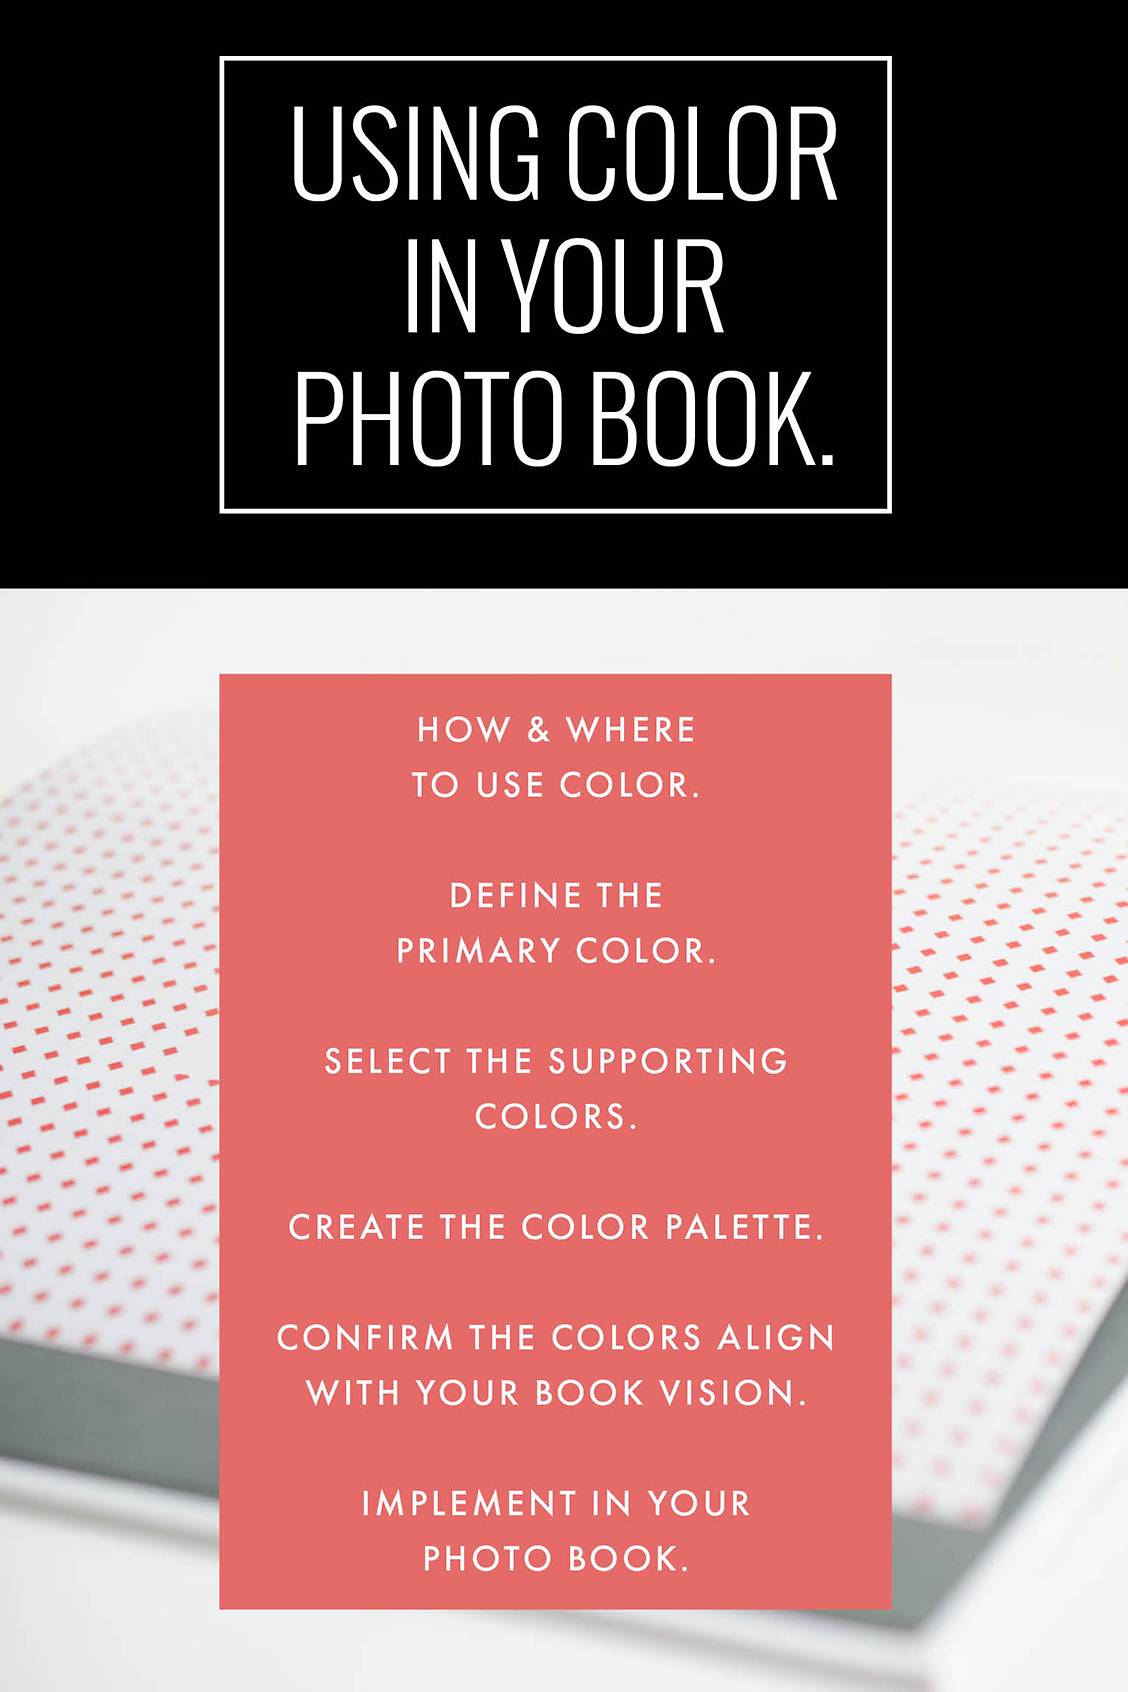
This step is something that you should consider the beginning of the design process, if possible. Here are my decision-making steps: 

-1-  Select how and where you want to use color. 

-2-  What is the primary or dominant color you want to use?  

-3-  What color(s) could support the main color, if any. 

-4-  Define the full color palette. 

-5-  Does this color palette support the overall vision you originally wanted? 

-6-  Implement in your photo book design. 


Now let’s see these steps in action. I’m going to use a typical annual photo book for this example. 

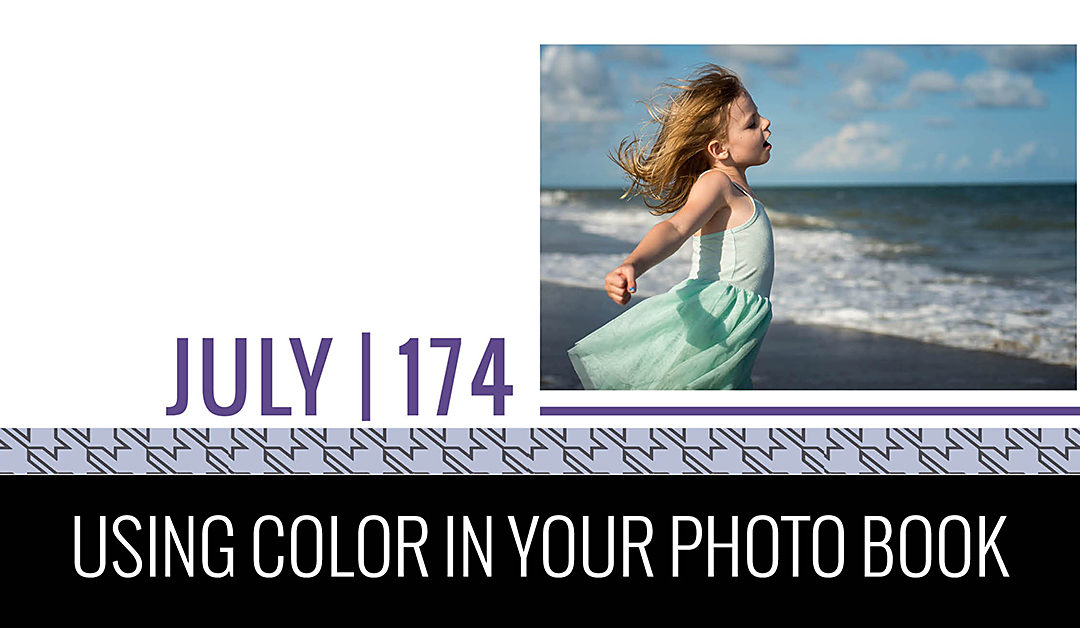
I want to use a color palette for section pages, page numbers and any titles on the page. I want to use the same color for all three places. But on the section page, I want to use two other colors to add design variety. 

The dominant color will be the 2018 Pantone color: Ultra Violet.

The supporting colors should be more neutral to balance the purple color. On the Pantone website, they provide several different color combinations. I selected one that resonated with the balanced scheme I was looking for this particular photo book. 

Here is my color palette. 

color in photo book

This color palette matches my original vision because I wanted my family photo book to be fun yet classic. I want the design to have personality without being too bold. 

And here’s the result: 

Section Page:

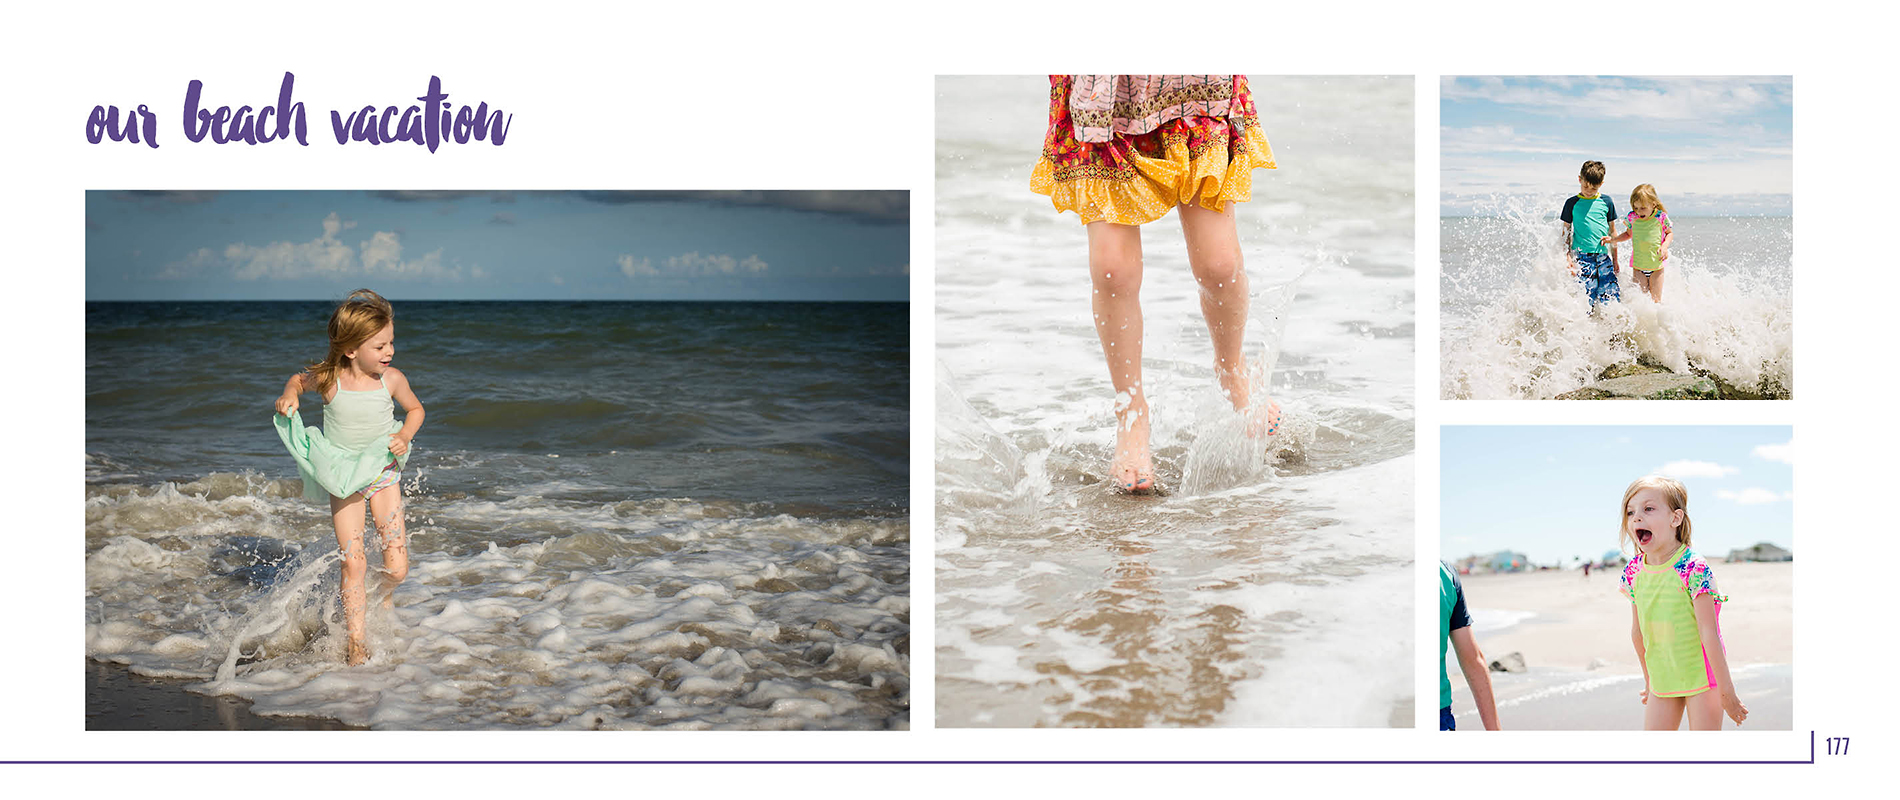
color in photo book

Typical Page:

color in photo book

Gathering Inspiration for your photo book

Gathering Inspiration for your photo book

Once you’ve set your photo book goal for the year, it’s time to start gathering inspiration to define the vision for your photo book. To help define your vision, you’ll want to look for layouts, covers, fonts, colors, and an overall tone for your book. 

There are several places I frequently turn to when I start my inspiration gathering for photo book projects. I’m sharing three of my favorite sources of inspiration with you plus an action step to get you started.

Pinterest is the first and most obvious place to go to for inspiration and to gather all of your favorite ideas in one place. 

Some of my favorite search terms for Pinterest when looking for photo book inspiration are:

  • photo book or photo book design
  • magazine layouts
  • editorial design
  • color palette
  • font or font combinations

To gather your ideas in one place, I want you to create a specific pin board for each photo book project. If you have 2-3 ideas you’re working through, you need a pin board for each one (unless you want to have a similar vision for all of the books). This will help consolidate your vision for one photo book instead of having to sift through and remember the ideas you originally had for your book. 

This also means you can go through pins you’ve already collected on your standard boards and collect the ideas that relate to your current specific project.

Flipping through magazines is one of my favorite ways to feel inspired and more importantly motivated to get working on my photo book. Often when I go through magazines, it’s not about seeing a specific layout but more about seeing the design come together that makes me want to see my own photos come together on the page. 

Another way magazines inspire my photo book vision is to see how more avant garde design comes together. Now, I realize magazine design is not the most experimental form of editorial design. However, it is the most accessible form I come across on a daily basis. This helps push some of the design concepts and things I want to try. 

Two of my favorite magazines I go to for inspiration are Bon Appetit and Living

Finally, I love visiting websites to feel inspired by design principles. While the composition of the elements are slightly different in web versus printed form, I glean a lot of ideas from seeing how the various fonts, colors, and blocks of photos come together on websites. 

Here are a few items I pay attention to when visiting websites for inpsiration:

  • What is the color palette and how are the colors used? 
  • How are titles incorporated on the page? 
  • What are the text style heirarchies established and how were they used? 
  • Are there design elements that make design more interesting? 
  • How does the organization help you move through the site? 
  • What is the overall feeling you experience when visisting the website?
  • What design elements contributed to that feeling? 

Now it’s your turn. Find your inspiration and gather them in a specific pin board on pinterest. This will collect all of your potential ideas and things that inspire you – all in one place. 

Now, it’s important to title your board with your specific book project idea. You don’t want to use this board for any and every photo book idea. 

Instead, you want to specifically gather ideas from pinterest, magazine and websites that speak directly to what you may want to use for your 2018 book project. 

In the end, you may not use everything, however, it’s important to have a good place to start from. So create your board today and find at least 10 ideas to pin to your board to get started.

Want to follow along with my board? Click here to sign up. 

5 Tips to Make a Photo Book Even When Life Gets in the Way

5 Tips to Make a Photo Book Even When Life Gets in the Way

Over the past three weeks, I’ve shared some common obstacles keeping you from making a photo book. All to often, you know you want a photo book of your favorite photos….yet it seems impossible to actually make a photo book.  

You may have too many photo book ideas and not enough time. If so, you need to select one project that will be the easiest to complete or mean the most to you. Stay committed to this one goal and don’t let another enter your mind until you finish this first project.

Or, making a photo book may feel too much like a chore and not yet a habit. I suggested that you find a cue, a behavior that you are already doing (working in Lightroom), and then combine the habit you want to create (making a photo book). When you successfully combine the habit with the cue, make sure to reward yourself.

Or, you constantly have an inner voice telling you will never be able to finish a photo book. If this sounds like you, then you need to re-frame your mindset. Establish a positive voice that motivates you to finish your goal instead of preventing you. Turn the “I can’t….” or “I don’t have time….” into “I will make a photo book.” or “I want to find the time to print my photos.” This simple mindset switch is extremely powerful.

However, I also recognize that life is busy. It doesn’t just stop to let you work on something you want.

It is a constant battle for me to find small pockets of time to address my priority of printing my photos, especially among all of the other priorities competing for my time. And of course, making a photo book isn’t my only priority. It’s not even in the top five.

Yet, it’s still something that I want to get accomplished every year.  So somehow, I have to find a way to make it happen alongside all of the other interests and tasks going on in my life. Over the years, I’ve discovered how to make a quick, easy and beautiful annual photo book.

My full process is outlined in my workshop, In One Hundred Pages. It covers everything from getting organized to making a book, and yes, making sure it happens during one of the busiest times of the year.  


I want to share 5 tips on how to make a photo book even when life gets in the way.


1 – Make it a priority 


Making a photo book doesn’t have to be your top priority, however, it is important that you include it as a priority. I want you to think of making a photo book in a similar way to taking the photos. You pressed the shutter for a reason. You imported the photos into Lightroom (or whatever program you use) for a reason. You go through and edit or post to social media your favorite photos for a reason.


Don’t let that be the last step.


Print your photos! When you print your favorite photos in a photo book, you are making them accessible to your husband. To your kids. For the future. There is something special in seeing your photos curated together in a photo book.


2 – Get clear on the why


Once you’ve made it a priority, it’s important to understand the why behind making a photo book. Imagine what it will be like to have your kids go through your photo book when it comes in the mail. Now imagine your kids flipping through the pages ten years from now. What emotions are connected to that thought? How will it feel to see your kids going through your photos in a book. Hold on to that emotion and use it as motivation to keep you focused.


3 – Get clear on the how


The next step in keeping your photo book goal even when life gets in the way is to have a clear action plan for how you are going to achieve this goal. My workshop, In One Hundred Pages, outlines a clear map for you to follow to organize your photos and print them in a book. However, even if you don’t purchase the workshop, it’s important that you develop your own plan. Break down the steps you need to accomplish in order to reach this goal. Saying you want to make a photo book is too broad. Go deep and get specific. Once you understand how you are going to accomplish something, it’s more likely that you’ll actually see through the task.


4 – Establish your workflow


As you are defining how you will make a photo book, find ways to incorporate these tasks into an already existing workflow. Don’t think you have a workflow? I’m betting you do. If you take photos, import photos, edit photos, or share photos, you have a workflow.


Find out how you can insert printing your photos into the workflow you’ve already created. Go back to the Cue – Habit – Reward system and figure out what you can task you can add to your existing process to make it easier for you in the end. If you export a photo to share on Instagram, immediately export it again with the setting needed to print the photo. It can be as simple as that.


5 – Find an initial win – to build momentum


Finally, create a small, easy-to-accomplish task to have an initial win and build momentum. This first win is crucial in establishing the habit you want to create. It helps you realize that it’s possible to print your photos and it doesn’t have to be hard, stressful or overwhelming. 


Not sure what this looks like. Let me give you some examples:


Create a folder on your desktop with the name: “2020 Photos to Print.”


That’s easy, right? I’m serious when I say making a photo book doesn’t have to be hard. This first step is crucial and yet so, so easy. 


Ready to keep going? 


If you use Lightroom, create a preset to export photos you want to print directly to this folder at 300ppi and the long edge set to 12 inches. 


That is how simple I want you to keep these tasks to build momentum.


You can do this!


And if you want even more guidance, make sure to sign-up to In One Hundred Pages workshop!


Now is the time to get organized and make a photo book with your favorite photos from the year. Trust me, it doesn't have to be overwhelming or stressful. With my workshop In One Hundred Pages, I describe my entire streamlined process so you can make a photo book in less time and with less stress.

Photo Book Obstacle: Overcome Negative Thinking

Photo Book Obstacle: Overcome Negative Thinking

When you’re organizing your photos or making a photo book, do you ever have a small voice in your head playing negative thoughts? Something like: You’re never going to be able to go through all of these photos? Or you’re never going to finish this project? Or this is hopeless?

This is your mindset around printing your photos in a photo book. I want to spend time today addressing and adjusting your current mindset to make sure it’s helping you achieve your goals.

Now, maybe you are familiar with mindset…but if you’re not, here’s a story to illustrate. It’s been several years since we’ve gone through potty training in our house. However, we still go through times where we have to consistently work with our kids to be……well…..regular.

Recently, we were going through a dry spell 😉 and after several days of my daughter telling me she couldn’t go, I told her that she needs to change what she’s saying and to say “I can” instead of “I can’t”. I reinforced that she needed the confidence to believe in words “I can”. Sure enough the next day, she was able to go!
She was so excited to realize that changing her attitude could help her accomplish something. Simply by approaching the situation with a different mindset led to her success.

It’s this exact shift in thinking that you need if you keep talking yourself out of making a photo book.

Start paying attention to what you think about your ability to print your photos in a photo book.

Do you tell yourself that you have too many photos to ever get organized to print them?

Do you make excuses about why can’t finish a photo book project?

Do you immediately tell yourself you don’t have the time it will take?

Once you notice the thoughts you have, I want you to shift the language to be positive; to reinforce that you can make a photo book. Finally, I want you to have the confidence in the words. This voice should stay with you throughout the entire process. You can do this!

As I’m sure you already know, it’s not enough to simply say you can do something. You have to have the action to back it up.

If you need help with the action or implementation, I developed a workshop, In One Hundred Pages, to help. This workshop covers what you need to easily and simply start -and finish- a photo book. 

Now is the time to get organized and make a photo book with your favorite photos from the year. Trust me, it doesn't have to be overwhelming or stressful. With my workshop In One Hundred Pages, I describe my entire streamlined process so you can make a photo book in less time and with less stress.