by Stacey Wiseman | Jun 21, 2015 | Design Series, Inspiration, Photo Book Design Layout, Uncategorized
When you go on vacation, chances are you take your camera and capture a lot of photos.
Although I spend quite a bit of time enjoying the activities with my family (without the camera in my hand), it’s true that I end up taking more photos over the course of the week than when I’m home.
Primarily, this is because most of the things we do on vacation are momentous, out-of-the-ordinary activities that I want to document. I want to capture the building of a fragile sand castle and finding the perfect seashell as it’s the most likely the only time it will happen this year.
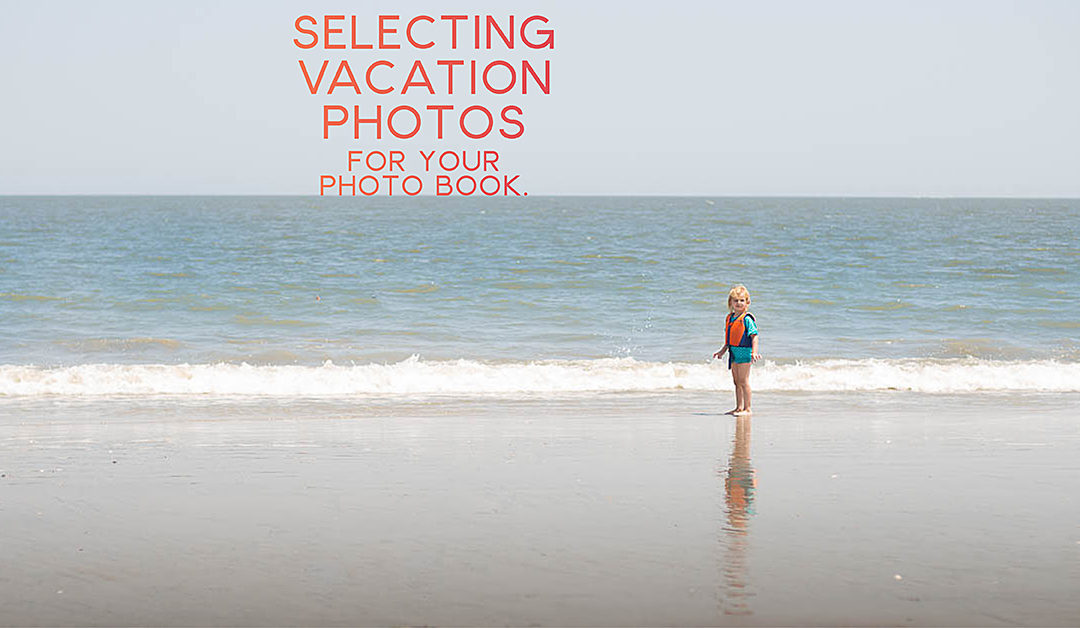
Recently, we returned from a fun and relaxing trip from the beach. Over the course of the week, I took over 900 photos. And I’ll have to find a way to narrow these 900 down and select about 20-25 for my annual photo book.
How do I select vacation photos for a photo book?
Selecting photos is often the hardest part of making a photo book.
The first step in selecting photos is to pay attention to the context. Notice how I said “…for my annual book” above? Already, I’m defining the context in which I’m selecting photos. If I was selecting for a vacation book, the number of photos and the criteria of photos would be different.
Once I know the parameter, I can then start the specific selection process. I’m sharing my main strategy for selecting photos in my next video tutorial. (Access is for my email subscribers. Sign up or check your emails for your access code.)
In Part Two of my free video tutorial series, I show the rule I followed to narrow these photos:
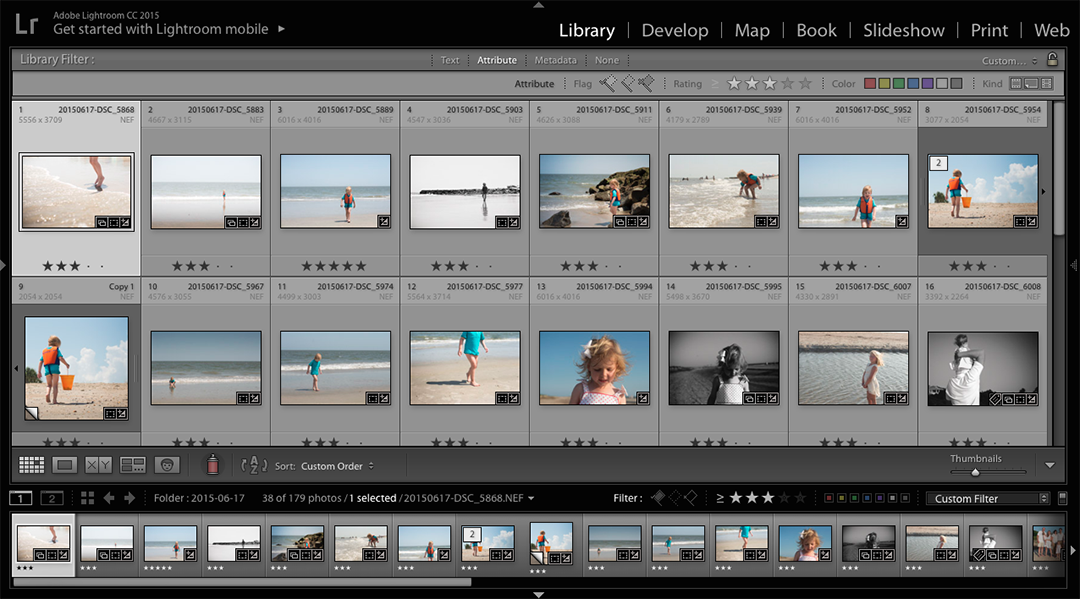
To see my free video tutorial on how – and why – I selected only 1 photo
from 180 photos for a layout, sign up for my free video tutorials below.
by Stacey Wiseman | May 20, 2015 | Family Photographs, Inspiration, Photo Book Design Layout
When designing a photo book, an event can be slightly redefined. It doesn’t have to be a huge deal, such as a birthday party or celebrating a graduation. It can also be a smaller activity, like an afternoon of coloring, playing legos, or picking out clothes.
Photo books are actually a collection of these types of events – or moments. Today, I want to share how you can design a layout for a small group of photos describing an everyday event.
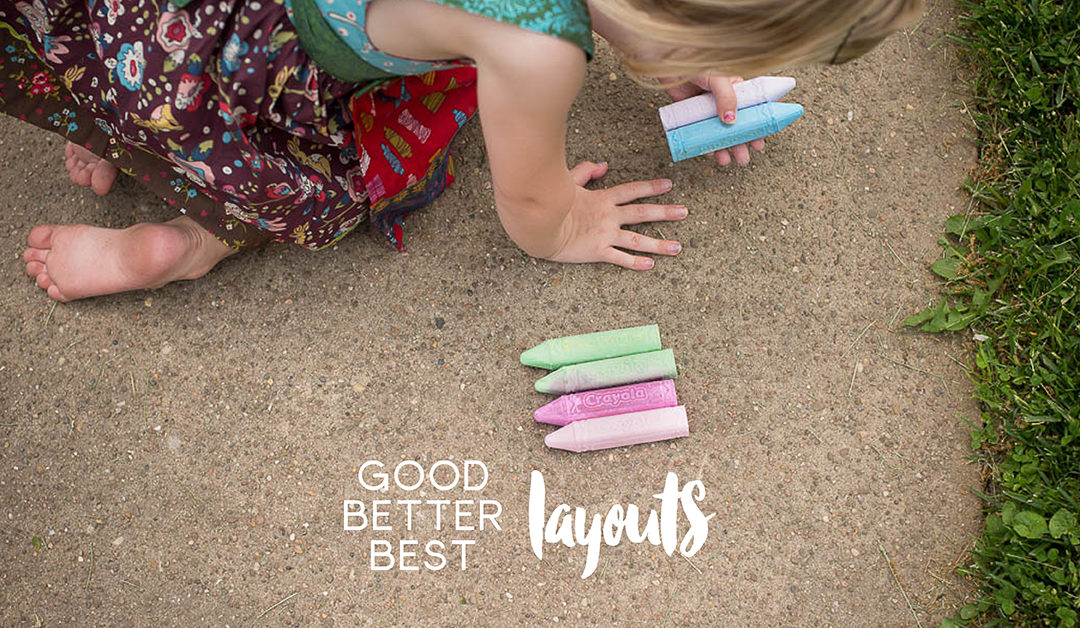
A couple of weeks ago, I was working on a challenge within David duChemin’s The Visual Toolbox for The Photographer Within’s forum. For this particular lesson, we had to capture our subject in a variety of angles and perspectives. When my daughter wanted to use sidewalk chalk, I knew this would be a good time to practice.
Here are the photos that I captured:
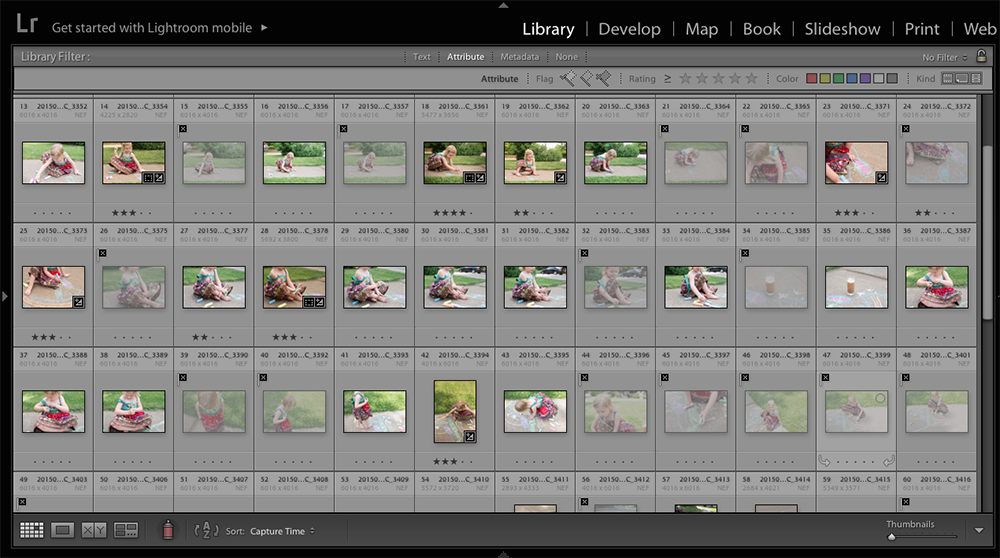
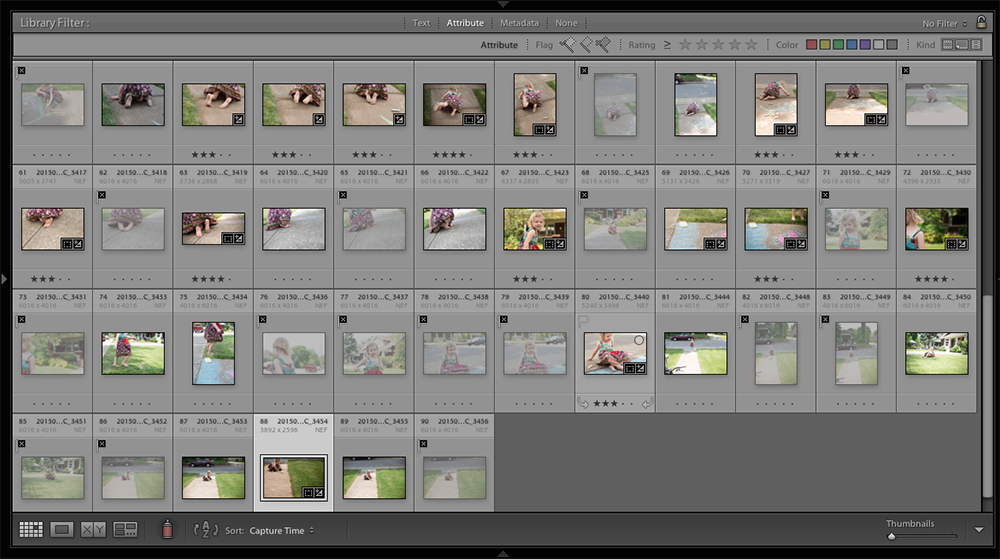
Notice how many photos I’m deleting versus how many I’m keeping. You’ll also see that I’ve starred my favorites. I start with three stars. Once I’ve selected photos that achieve the variety of angles and capture a part of the story, I filter all of my 3-star photos.
My 3-Star Photos
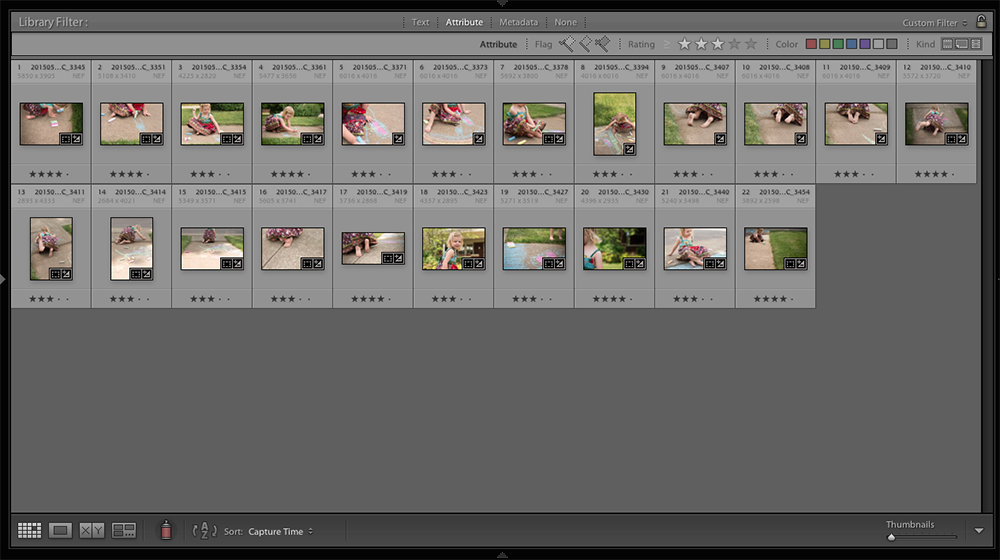
The next step is to narrow down my selection even further by designating 4-stars. These are the photos that really tell the story without being too repetitive.
My 4-Star Photos
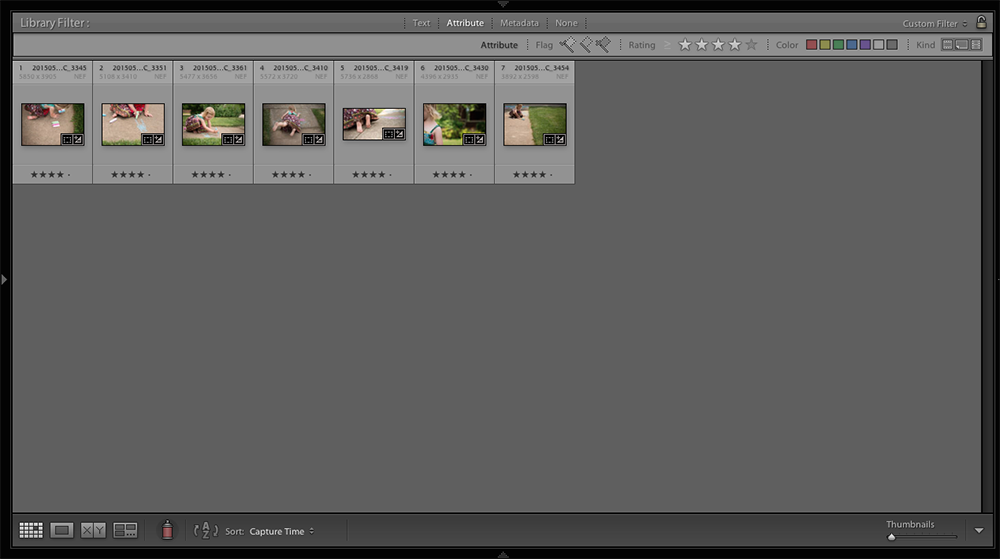
With the 4-star photos filtered, I now make sure the editing is exactly the way I want it for a book. I check for white balance and exposure consistency.
When ready, I export out my photos and move to my book design software.
Good Layout

One option for a layout is to prepare a normal grid of photos, vertically centered on the page.
This works but is kind of typical (read: too boring for the activity).
Better Layout

With these photos, I want to accentuate certain actions or details. In layout design, you can use the size of the photo box to establish hierarchy.
This layout improves on the first by adding a central photo that is larger than the others.
Best Layout
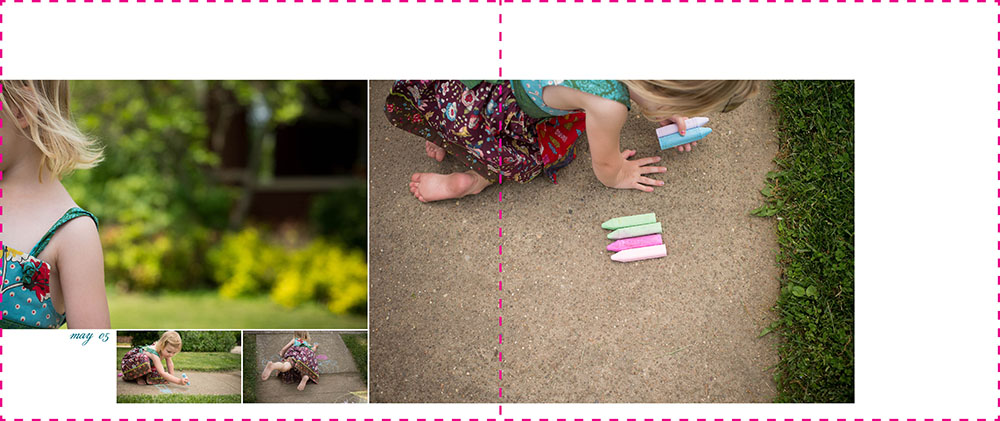
While there is more interest in this layout, I wanted to test out one more layout. In the final layout, I reduced the number of photos and paid more attention to where the white space is happening on the page. Also, I used three different sizes of photo boxes making for a more dynamic layout. Finally, I added the date to complete the layout.
Take Action!
That’s how I work through my photo selection and book layout process. Good, better, best!
Of course, the varieties are endless. You could imagine a completely different layout for these photos, based on your style and preferences. It’s what makes photo book design so fascinating.
Hopefully, this has inspired you to get out there and document an everyday event and create a layout for your photo book!
To get even more layout design inspiration – and – a special discount on my signature workshop, Document Your Year, sign up below for 5 free design lessons.
by Stacey Wiseman | Sep 9, 2014 | Design Series, Inspiration, Photo Book Design Layout
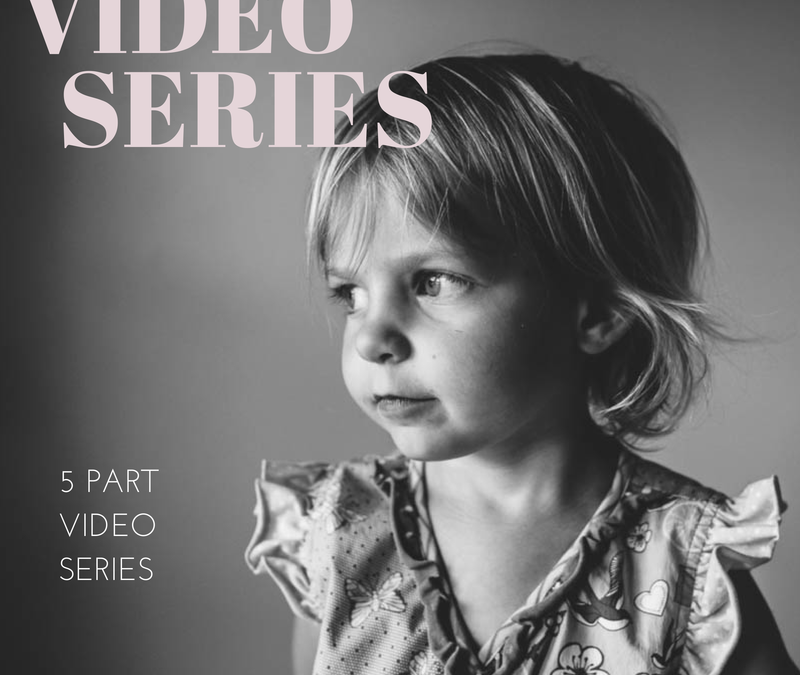
We are four steps into my photo book design process and – finally – I’m placing the photos on the page!
I’ve taken the photos, selected which photos to use, edited the photos and now is the time to figure out how they will work together on the page.
Often times, when I’m selecting photos I have a pretty good idea of a layout arrangement but not exactly sure on the specific layout.
This perfectly describes the photos I’ve selected for this particular photo book.
During my selection process, I had an idea to include a solitary portrait of my son and daughter on one page plus a collage of them together on the opposite page. But…I’m not really sure how that will look on the page.
So I test. I try different layouts. I see how the photos look on the page and then determine which one looks the best. What makes the most sense on the page? What scale, spacing, and positioning works the best for the photos.
You should know, there is no wrong answer and what may look best to me, may not be the same for you. And that’s ok. It’s what defines our personal style and vision. That being said, I do think your skills are refined, the longer you design.
Watch this video to see how I test my page layouts.
Next month, I’ll finalize the layout with some text and color!
by Stacey Wiseman | Aug 25, 2014 | Design Series, Inspiration
Our next book in the Children’s Book Design Tip Series is:
Bark, George by Jules Feiffer.


This cute little book is a quick and even though it seems a little too silly, my kids got a genuine chuckle at what the vet found in George’s belly!
As for the design, I love how the pages alternate a bright, pastel color as the background for the story.
Check it out!


by Stacey Wiseman | Aug 18, 2014 | 50 Children's Book Design Tips, Design Series, Inspiration
Today’s Children’s Book Design Tip is from the book: Cloudy with a Chance of Meatballs by Judi Barrett and Ronald Barrett.
I know this became a popular movie (actually, 2 movies) but it started as a great book to read to your kids. A little warning: This book does have more text than most children’s books….so it takes a little more time to read!


by Stacey Wiseman | Aug 11, 2014 | 50 Children's Book Design Tips, Design Series, Inspiration
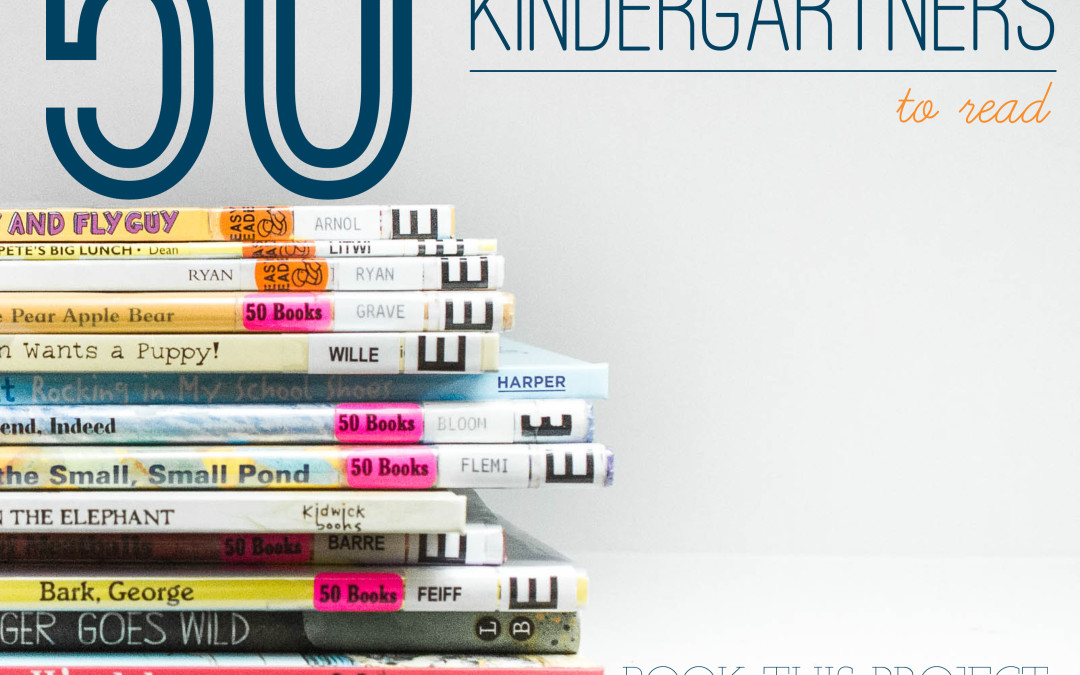
In honor of my son’s first year at school (yay for kindergarten!), I’m going to share a quick design tip for 50 Books to Read in Kindergarten list recommended by our public library.
Every Monday, make sure you check out my blog and Facebook page for a tip for your photo book.
Today’s book: Orange Pear Apple Bear by Emily Gravett.


(The 50 Books to Read in Kindergarten includes an affiliate link. I’m reading them to my kids and would love for you to check them out too!)

by Stacey Wiseman | Aug 10, 2014 | Family Photographs, Inspiration, Podcast, Tutorial
I have to be honest, of the various steps in making a photo book, editing the photos is not my favorite part. Occasionally I get sucked into the editing process and really enjoy fine-tuning and improving a photo through the various tools in Lightroom (my preferred editing program).
But for the most part, I do very minimal editing. I cover the basics with my go-to steps. Crop, white balance, adjustments in the basics panel (exposure, highlights, shadows, black and white sliders) are common adjustments I make with pretty much every photo. Some photos require additional editing in the tone curve, HSL panel, cloning, filters and the adjustment brushes.
While that explains my typical workflow, it sounds a little cumbersome but I can actually move through the various panels pretty quickly. Another tip, I’ve created presets based on common adjustments I make to most photos.
My video tutorial this month illustrates how I typically move through editing my photos. If you remember, the first video showed how I take the photos; the second video showed how I select the photos for a book. Today, I’m revealing how I edit – without any presets.
Make sure you stay tuned for next month where we finally see how these photos are translated to a book layout!
by Stacey Wiseman | Aug 2, 2014 | Cover Series, Family Photographs, Inspiration
Even though it may seem counterintuitive, if you make something really small and/or really minimal – it can heighten the experience.
Think about it, if you are in a crowded busy place, a whisper isn’t going to make much of an impact. However, if the space is cleared out, there are no distractions, a soft whisper becomes amplified and sole attention. It doesn’t have to be loud at that point because all of the focus zeros in on the very quiet voice speaking. In fact, you listen more attentively and pour your whole energy into what is being said.
The same is true with design. By stripping the page down and adding something very small, it creates laser focus directly in on the photo or small text that is included.
This concept is exhibited in this week’s photo book cover design. I added a soft color and a very small photo. Yet it speaks volumes and makes a large impact. It’s hard to not pay attention to this cover. And I love when being minimal provide maximum results.
Check it out, pin it and share it!

by Stacey Wiseman | May 24, 2014 | Cover Series, Inspiration, Photo Book Design Layout
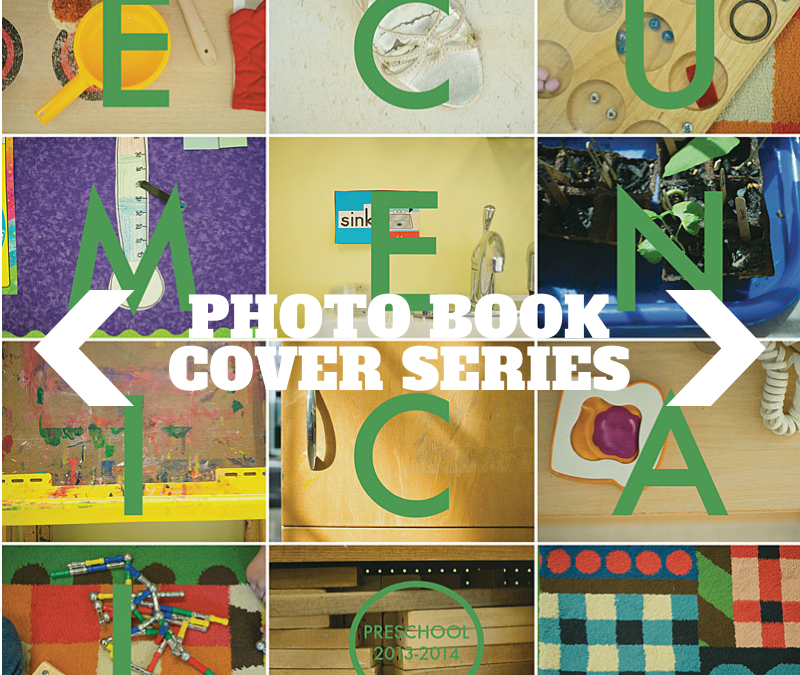
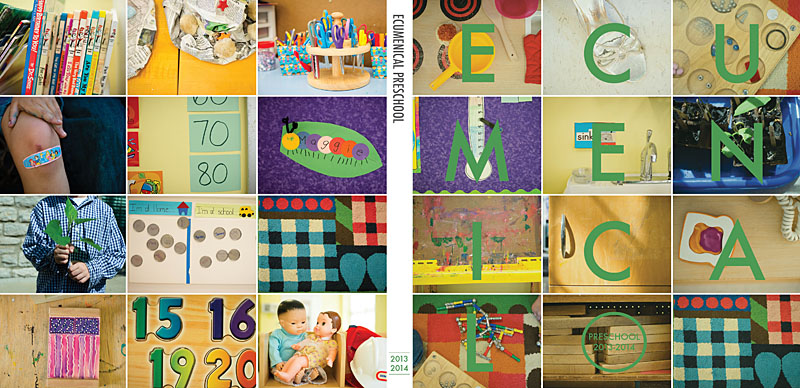
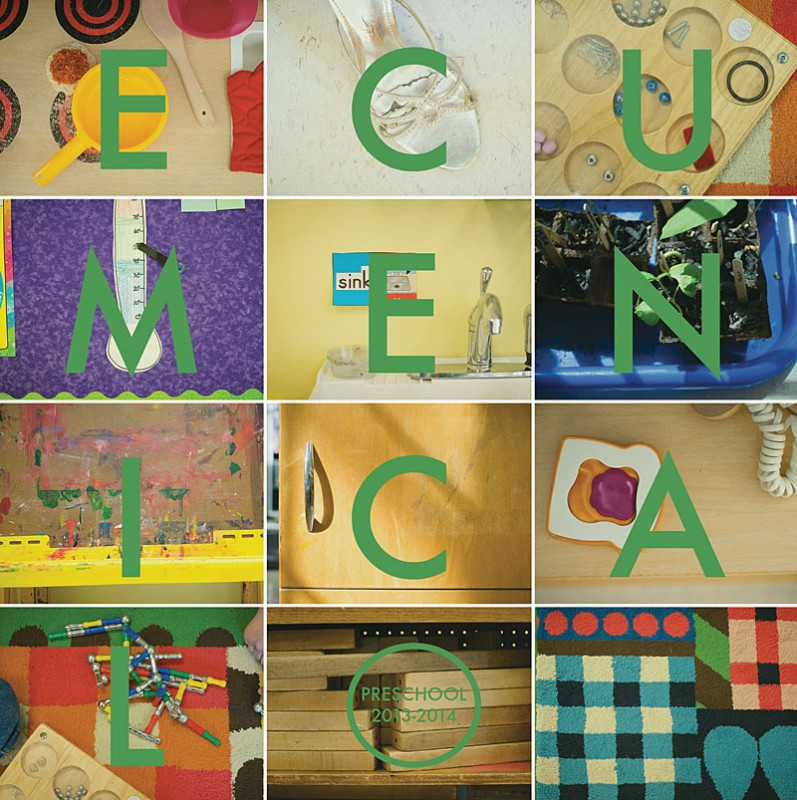
Over the last month, I’ve been working on a special book documenting my son’s preschool friends and activities. Inspired by a current issue of Bon Appetit magazine, I immediately knew that I wanted to capture small details – toys, art supplies, and objects – to make a vibrant and colorful cover. I used a grid of photos with a letter over each one spelling out the name of his school.
For my upcoming Photo Book Design Workshop, I’m going to reveal my entire process on making this photo book. I’ll show you:
- my inspiration
- my pre-book planning
- my photography set-up
- my photo selection
- my photo editing
- my book design
- my final book order
- the final book!
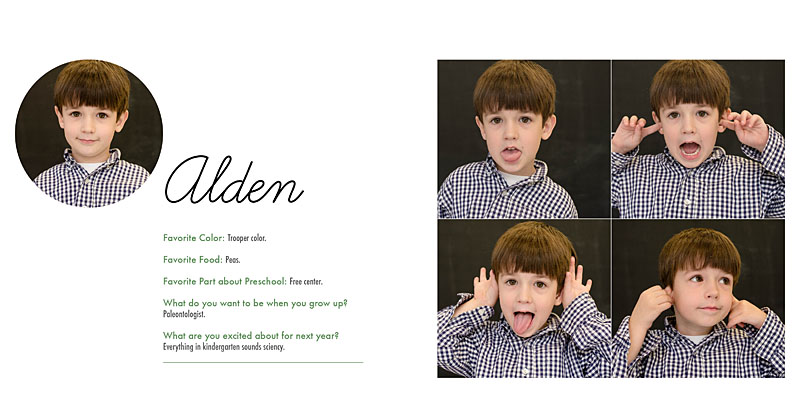
I’m holding an hour group call where you can ask me questions including how my process relates to your book project. It’s going to be so much fun, I can’t wait. Here’s a sample page from the photo book.
To sign up for this amazing opportunity, register at The Photographer Within.
Want more details, check out my FAQs.
Workshop starts June 9th so don’t delay!!! I look forward to seeing you in the workshop!
by Stacey Wiseman | May 1, 2014 | Description, Inspiration, Uncategorized
Right now my son is obsessed – no wait – OBSESSED with all things legos. It’s the first thing he does in the morning and last thing he does at night before bed. When we force him to break from lego building and do something vital, like eat or go the bathroom, he takes along the lego instruction manual to study the pieces, the characters and the steps.
Yes, we’ve seen the lego movie and even read the chapter book. (He could surprisingly remember what would happen next as we were reading!) What I loved about the movie is how it dissected lego builders into two types: those who go by the instructions and those who don’t.
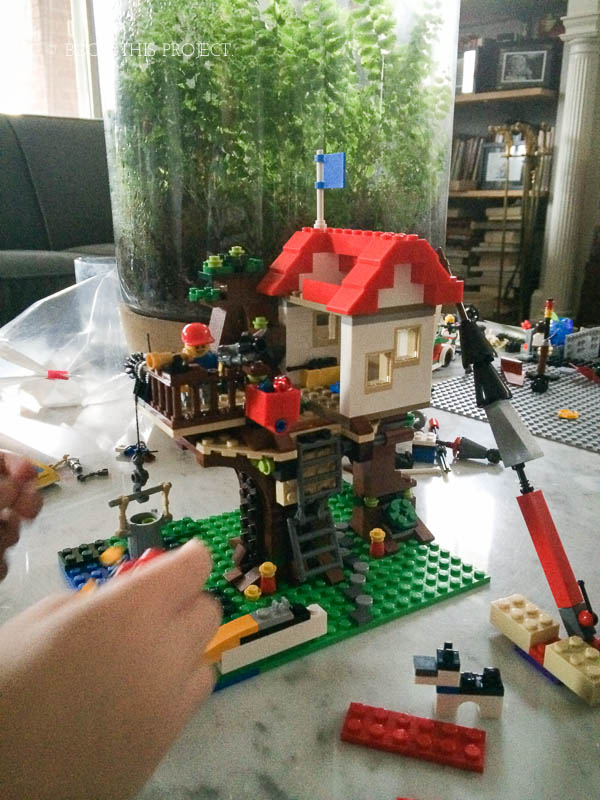
Of course there is no right and wrong answer here. It’s the beauty of the toy. Either way, legos require a lot of imagination to build and play with. A skill I’m very happy to foster with my 5 year-old….who is a make-up his own invention kind-of boy!
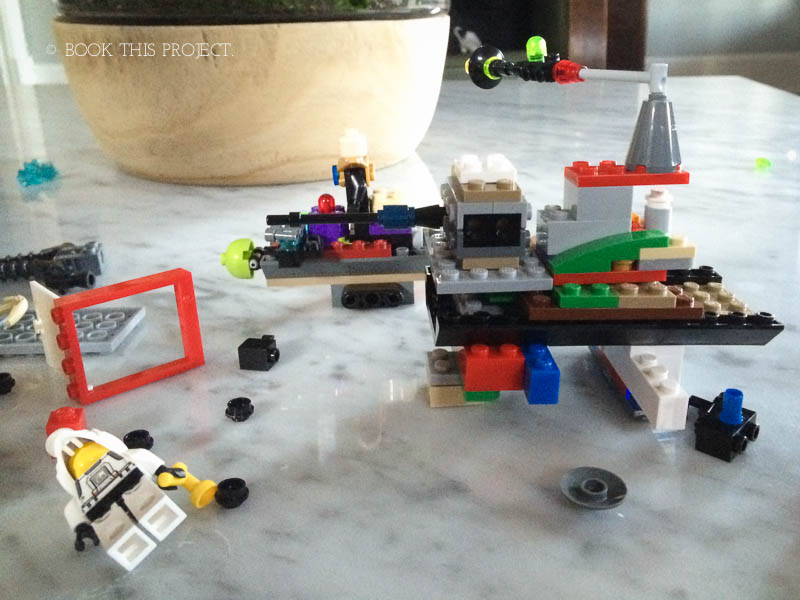
This got me thinking about my own design inspiration when it comes to photo books. Often I start with an image off-the-box – either from a website, a physical book, or a product around our house. Pinterest and magazines provide an endless source of inspiration. At this point I’ll adjust the elements to suit my tastes.
Occasionally, I’ll stick pretty close to a given design – particularly when I’m testing out something and want to see how it looks with my photos or preferred font style. This often describes my photo book cover design explorations.
But most of the time, I like to take something I see and adjust and tweak to fit my own unique personal style and vision.
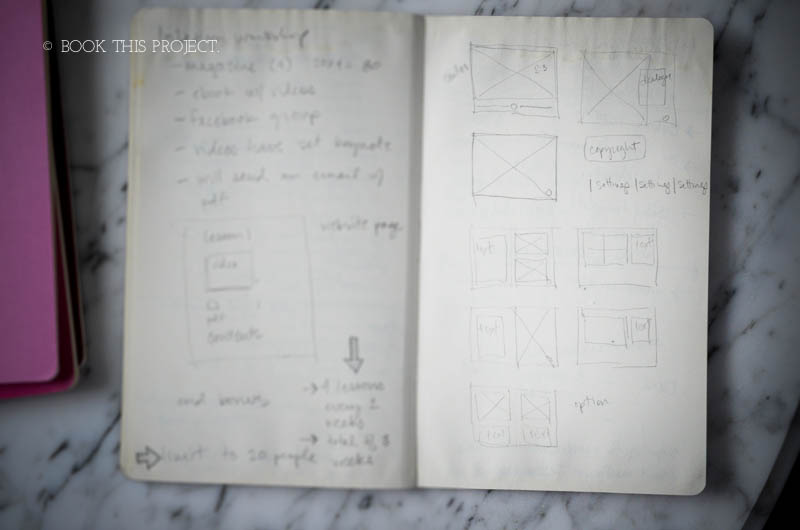
For this, I’ll use beautiful moleskin notebooks to collect ideas, thoughts, diagrams, and to-do lists on the photo books I want to create and how I’ll set out to accomplish them. With this method, I close down all websites and put away the magazines in order to think through how it is I want to use design elements into a project.
My particular style and strength is developed around a simple design move that is executed primarily through organization. So a lot of times, I’ll use the notebooks to write out how I want to structure an idea which informs how I organize my photos and how I want to graphically convey the structure.
In the end, there are a lot of design concepts frequently used with great success (for example, adding a line under a large title or a bold number in a circle). We should never look to copy directly but understand why the design element works and how it can be applied to your project.
Whether you are starting with something you’ve seen or really thinking out-of-the-box with your design, it’s best to develop a style that is consistent, cohesive and executed with confidence to your vision.
I’d love to hear what’s your design inspiration when taking photos and designing books. Do you start with a visual or do you love to create free from distractions?


