by Stacey Wiseman | Apr 17, 2014 | Family Photographs, Inspiration, Photography Tip
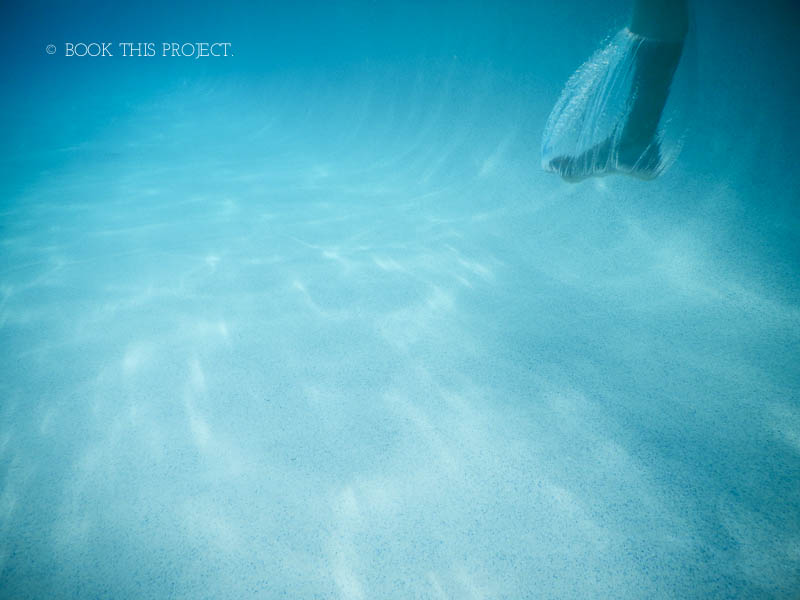
 Last year, I added a waterproof camera to my Christmas wish list. I thought it would be a fun way to experiment with my photography and a new way to capture our kids. Our goal is to spend a little more time in the pool this summer…and when we go on vacation – the ocean.
So I was delighted when I received the Nikon COOLPIX AW120 16.1 MP Wi-Fi and Waterproof Digital Camera for Christmas. Even though it was made to be an indestructible camera…it still felt a little weird to actually submerge the camera under water.
But on our Spring Break vacation, I did it. I dipped the camera underwater looking for those elusive, floating photos.
So here are my 5 tips for taking those fun, underwater photos on your next vacation. (At least my experience with a point and shoot camera.)
1. Shooting Blind.
For this first trip out, my method was about shooting blind. This means, I was in a 3′ high pool, without going underwater myself. I held the camera underwater in the general direction of my target and shot without knowing what I was capturing. This trial-and-error approach means that you have to try several times to get the hang of it. But it’s also really freeing. Don’t worry about limb chops or composition. The goal of the photo is to capture your kids doing something truly fun.
2. Snap and Hold.
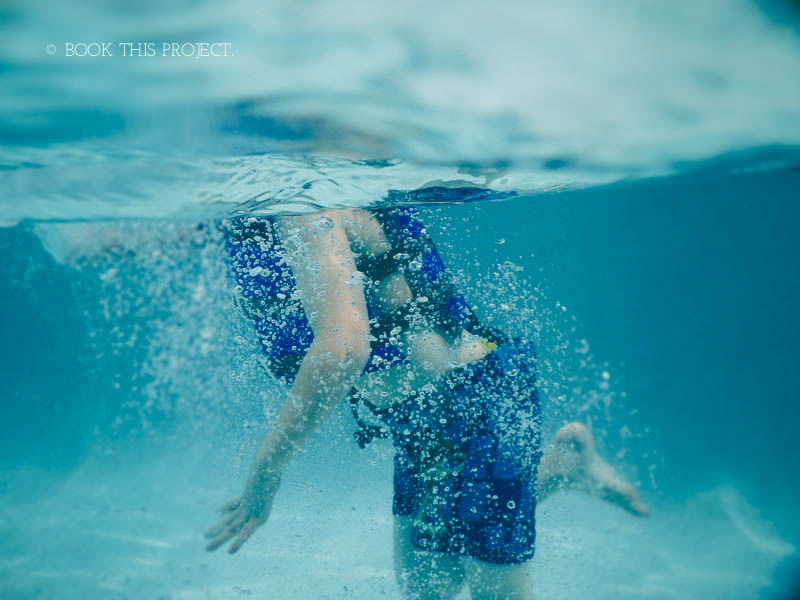
When I was using my camera, I had to hold it underwater, push the shutter about 1-2 second before I really wanted and then hold down on the shutter for about 5 seconds. I was never quite sure when the photo actually snapped. It takes a couple of times to figure out they rhythm. And maybe you won’t ever really figure out when it takes. But there are always different stages of the cannonball jump to capture.
3. Embrace any imperfections.
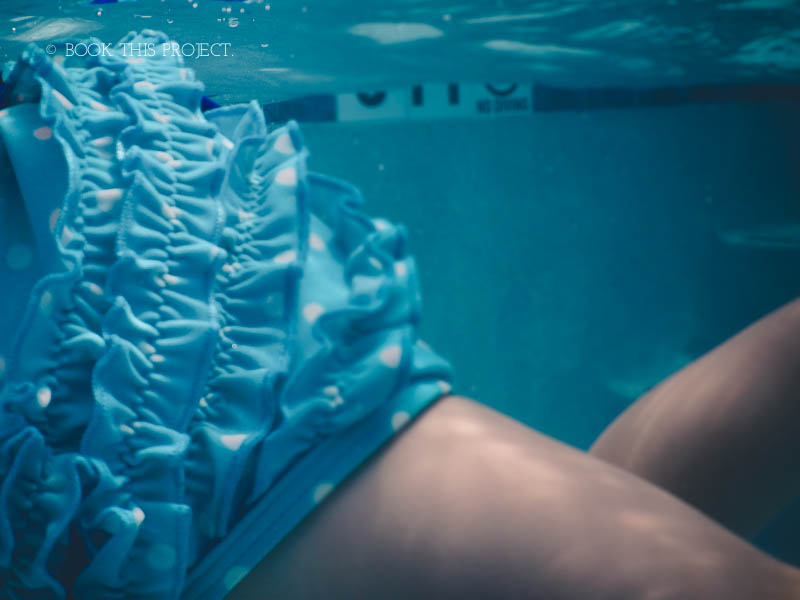
If you are shooting blind (#1) and holding down the shutter because you’re not sure when the actual shutter will happen (#2), then you need embrace the imperfections in the photos. They won’t all turn out. But that’s ok. They don’t have to. Keep trying. Eventually you’ll get something that you love. With water, it’s almost impossible to get something that isn’t fun, creative, and inspiring.
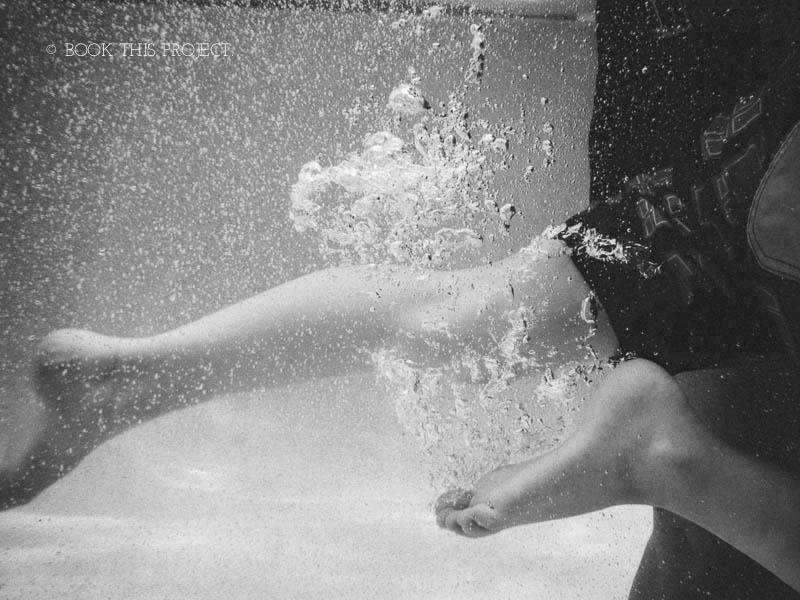
4. Discover new layers and textures.
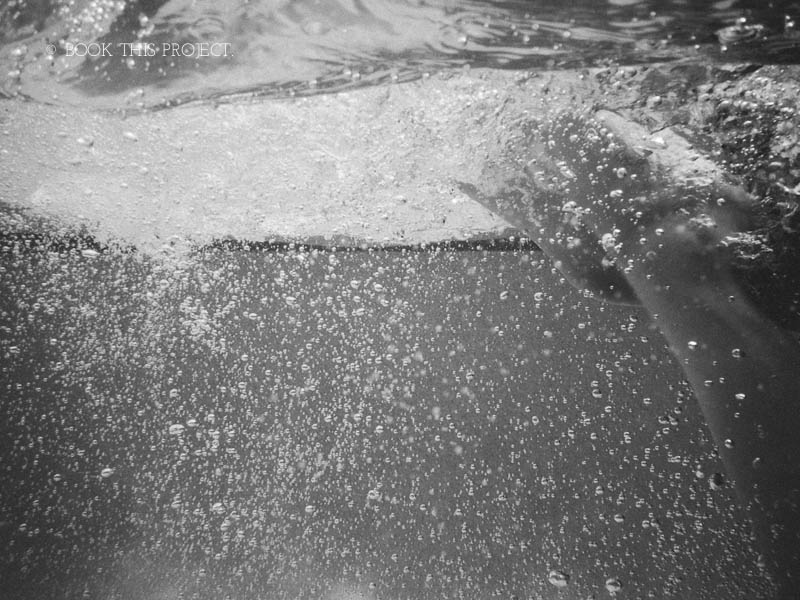
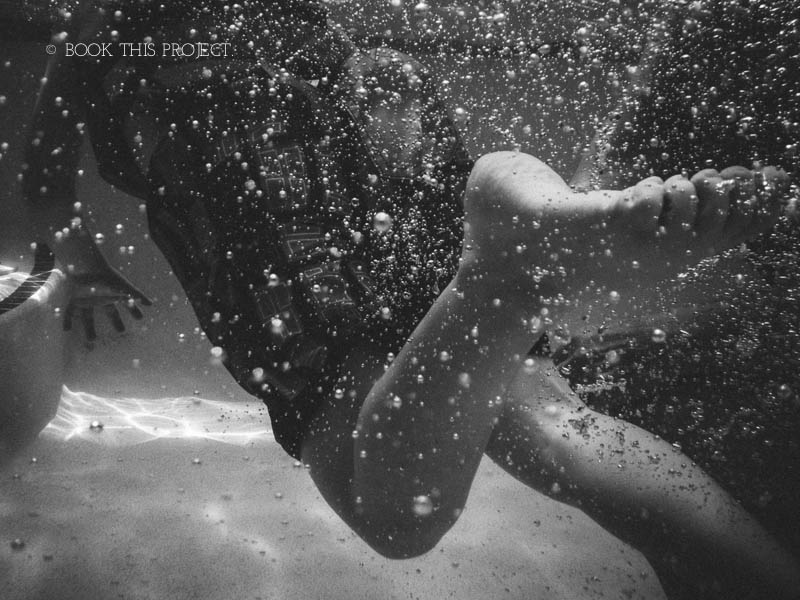
One of the beauties of water is the layers associated. The waves, ripples, bubbles, sunlight and calmness. Water captures them all. Use your camera to capture as many different modes of water you can. Test it out by moving your hand to create a tide. Or do like I did and capture as your son or daughter jumps into the water. You’ll get plenty of water bubbles floating to the surface.
5. Video’s worth it.
You have a camera that captures above and below water. By using video you can seamlessly move from one environment to the other – all within a matter of seconds.
If you’re looking to add a little fun to your vacation photos, I highly recommend getting a waterproof camera. The point-and-shoot cameras are lightweight, relatively inexpensive (especially when compared to waterproof housing), and can capture a perspective of your trip that people typically don’t get to see.
I’d love to hear your summer vacation plans! What fun summer trip are you planning now?
by Stacey Wiseman | Jun 10, 2013 | Inspiration, Photo Book Design Layout, Podcast
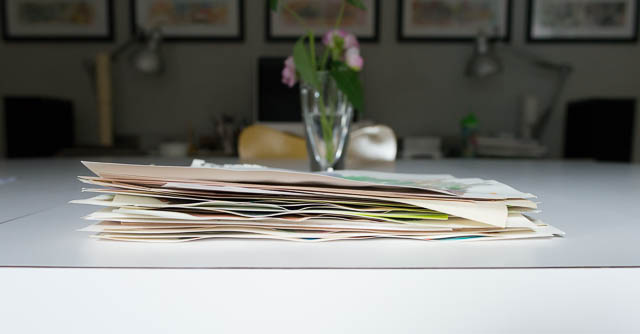
Do you have hundreds of your kid’s paintings laying around? You love them all but no sure what to do with them. You don’t really need to keep them all…but you hate to throw them away.
How about putting them in your photo book!
This is a great way to document and preserve them but not have them physically around. It makes your conscience feel a little better throwing them away to know that they will be in your photo book at the end of the year.
Of course you could frame a couple of your favorites but putting them in a book allows several to be on a spread every month so you can have variety and color all in one place.
Here are a couple of tips for including paintings, drawings or crafts in your photo book.
– 1 – Taking the Photos
When turning artwork into jpegs, the important thing is to standardize. Scanning is obviously the easiest way to achieve this because you can line up the artwork on the scanning guides. And it flattens the work while it scans.
If your scanner is not as accessible (as mine is) or the artwork is larger than the glass (again, my case here), then taking photos of the artwork is the next best option. Wait until you have a stack of artwork and set up an area to take the photos one by one.
In this example, I used our dining room table. Although it’s not terribly bright, there was a nice gentle light in which to photograph. Setting up a tripod, in this case, setting it on the table, would help to standardize the process – every frame would be exactly the same.
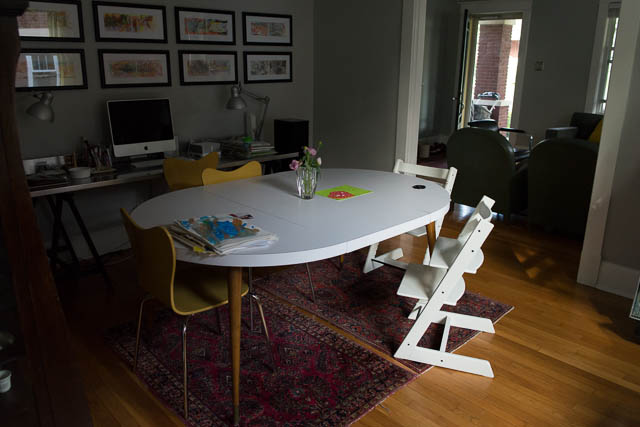 For this example, I decided to use a wall surface to photograph the work. Obviously the clipboard and the wall would be in each photo, but that could also add a design element to the layout. If you don’t want the clipboard showing, you could always use tape (adds a bit of time). Shooting on the wall is helpful because you can minimize the shadow created by the artwork itself.
– 2 – Editing the Photos
Next, you should import your photos using the method you typically do for sorting and editing. I use Lightroom, so I created a separate special collection with a keywork “artwork.” This helps to keep all of my kid’s artwork in one place in my catalog.
Then I added a noise reduction, slight increase in exposure and vibrance, and lifted the shadows a touch in my tone curve. I created my own preset to save time in the future.
Finally, I exported the photos at 300 dpi to the approximate image size in my photo book.
– 3 – Layouts
There are several different options for using artwork in your book.
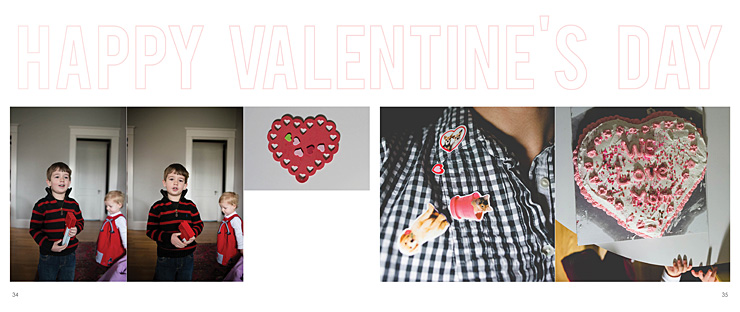
In this example, the craft is added directly to the layout with photographs.
[divider]
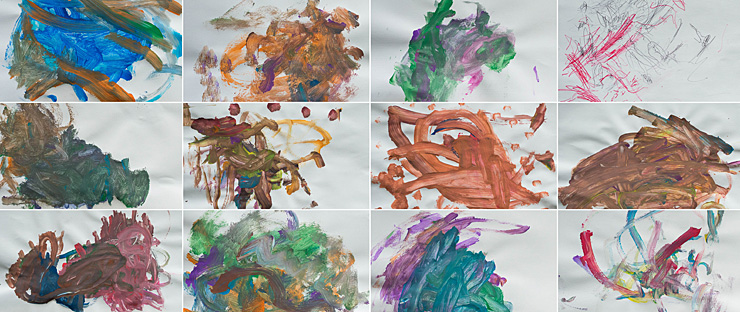
This example features a grid of the paintings on one spread.
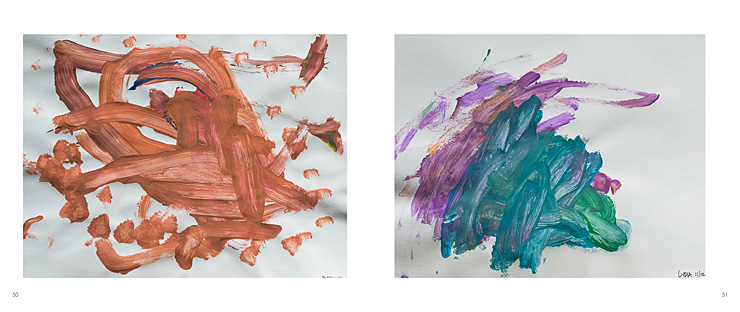
Here is how it would look with individual artwork from each of my kids.
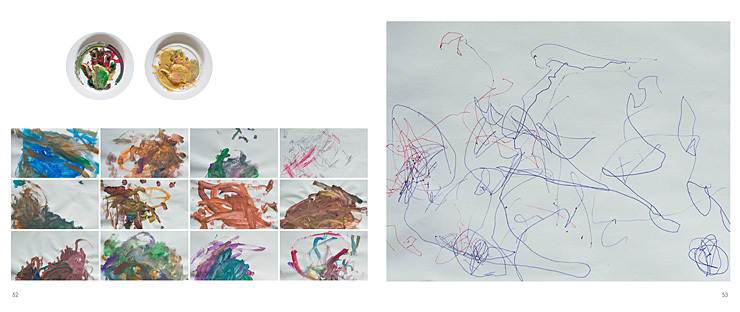
Finally, here is a combination of the above. I have individual works from my kids (their handprints), a small grid of paintings, and a large drawing on the right hand side.
Here is a video providing a little more detail into how I took, edited and placed my kid’s artwork into a photo book.
Leave a comment below telling me your favorite option or what you do to preserve your kid’s artwork!
by Stacey Wiseman | Oct 8, 2012 | Description, Inspiration, Tutorial
 Are you looking to improve the quality of your photo books?
Do you need extra motivation to complete your family photo book this year?
Enroll in this Introduction to Photo Book Design Workshop!
In 4-weeks, we will take your to-do list item and make it a reality. Perfect timing to have your photo book ready as a Christmas gift – or – end of year gift to yourself.
This Design Workshop is designed to help inspire and instruct you as you organize, prepare, and design your photo book.
Included in this purchase are:
- pdf’s with narrative, photos, & examples of layouts
- videos explaining how to implement the lessons
- detailed action plans to develop your personal photo book
- a private facebook group to ask questions and share examples
- bonus materials
The course runs 4 weeks.
Each week there will be a different lesson with examples and videos.
The start date is October 15, 2012.
This course only runs this year and is limited to 20 participants.
[divider] Some, but definitely not all, of the material will include videos that have previously been posted to the blog. The advantage in this course, it presents the materials in an organized fashion, ideally suited for you to follow along as you design your book.
By the end of this four week course, you should have your book almost finished…all you will have to do is add your November & December photos!
To be clear, this is not a design service for me to design your book. You will be responsible for organizing, cropping, preparing, placing and designing your own unique vision for your book.
This course will:
- instruct you on how to efficiently organize and design your book
- inform you on how to use the free software program provided by companies
- design principles to ensure a professional quality book
- inspire you to create a stand-out, beautiful book
A summary of the lessons:
Week 1: Photos
- Organizing Photos
- Quantity of Photos
- Editing Photos
- Exporting Photos
Week 2: Photo Book Design
- Organizing & Outlining a photo book
- Consistency with Variety layout design
- Placing Photos
- Creating Master Layouts
Week 3: Professional Elements
- Fonts/Text
- Color
- Sections/Table of Contents/Page Numbers
- Ways to Customize
Week 4: Cover Design and Finalize
- Cover Design
- Final Review/Edits
- Ordering
- Sharing
The purchase of this design workshop is non-refundable.
To purchase, click here.
by Stacey Wiseman | Jul 2, 2012 | Family Photographs, Inspiration, Photo Book Design Layout
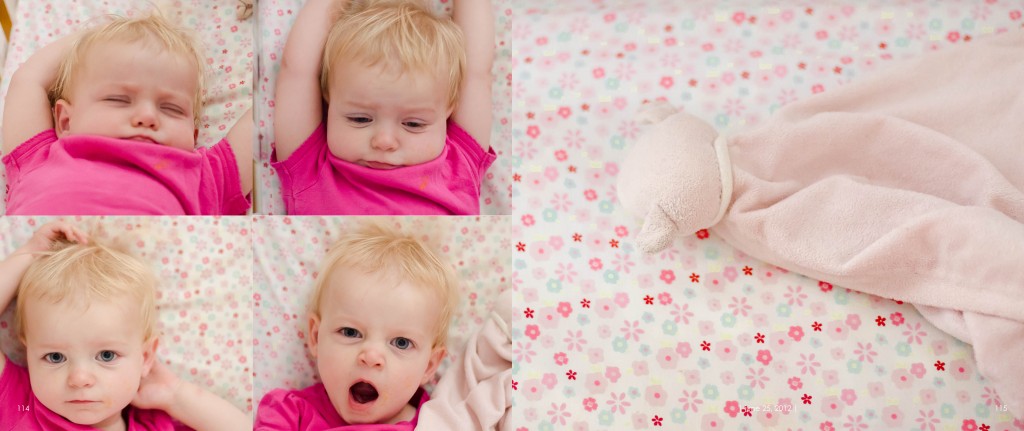
Last week, I wrote about my daughter’s favorite blanket. But let’s be honest, sleeping – even waking up photos – are adorable and a must every year for your kids. I took several photos, maybe 30 and selected my favorites to include in my annual family photo book.
To make it easier to select which photos, I had my layout in mind. I knew I wanted four photos on the left hand side of the layout and one photo on the right.
For the left page, I wanted four different facial expressions of my daughter waking up.
For the right page, a detail of the blanket would keep the layout simple and to the point. About my daughter – her sleeping, waking up, and her blanket.
This layout was prepared in Adobe InDesign and has the signature design elements of my photo book, page numbers and a date to document when these photos were taken.
by Stacey Wiseman | Jun 28, 2012 | Description, Family Photographs, Inspiration, Photography Tip
One of the essential categories to photograph every year are favorites. Since this can change every year (maybe even every month or week!), I love the idea of photographing your child’s favorite objects in life. Perhaps for most kids, their favorite of their favorites deals with sleeping. This could be their favorite blanket or stuffed animal. This is the thing you are scared to lose…even scared to wash. For any night trip away, you have to make sure you have included their favorite blankey, softie, or whatever terms of affection it goes by in your household.
For my oldest, he never really had one of these objects. The closest thing was a stuffed pillow-like dog that he like to curl up with. But if it happened to not be in the bed, he usually didn’t notice. My youngest on the other hand, has a small softie that she looks for every time. And you can trick her with something that looks and feels like it…she knows which one is hers. This small, pink blanket gets extremely dirty. She loves to chew on the corners and keep it close to her cheek. So it is really important to make sure it is always near by for any nap or bed time!
I wanted to photograph her with her blanket one day during her nap time.
Here are some simple tips for photographing sleeping children:
1. Set my camera to quiet mode (yes! my camera has one of these!).
2. Got my settings close to what I thought would be necessary for a slightly dark room.
3. Snuck in close to the time I thought she would be waking up.
I was hoping to get some of her sleeping but she woke up as soon as I opened the door. How it goes sometimes! Even though I couldn’t capture sleepy, closed-eye photos, this is the perfect time to capture an awesome yawn! Plus her favorite sleep blanket.
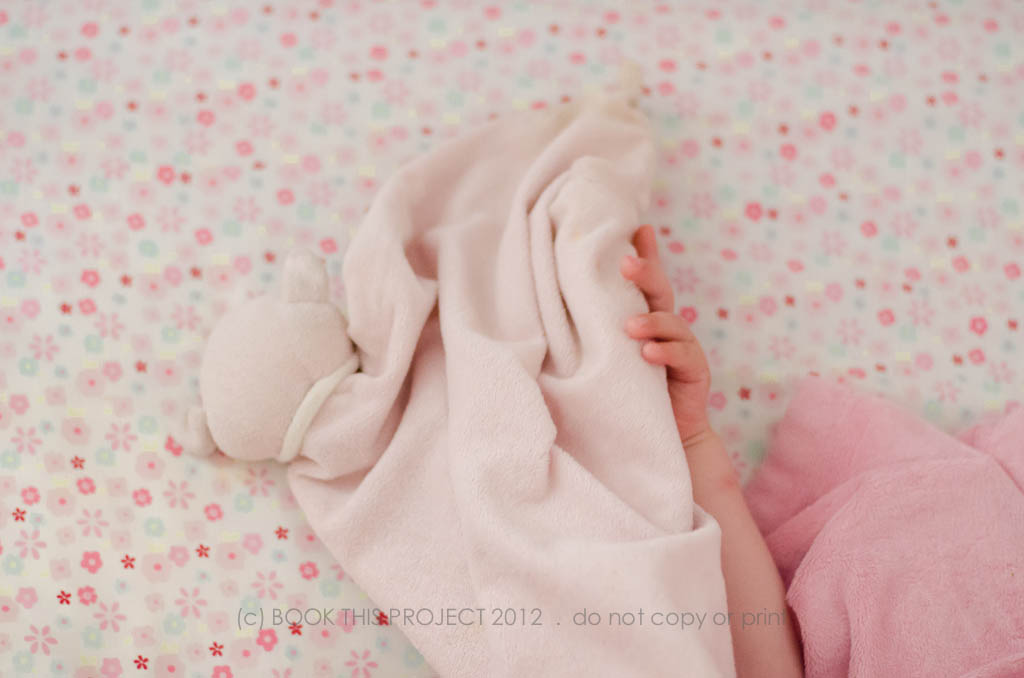
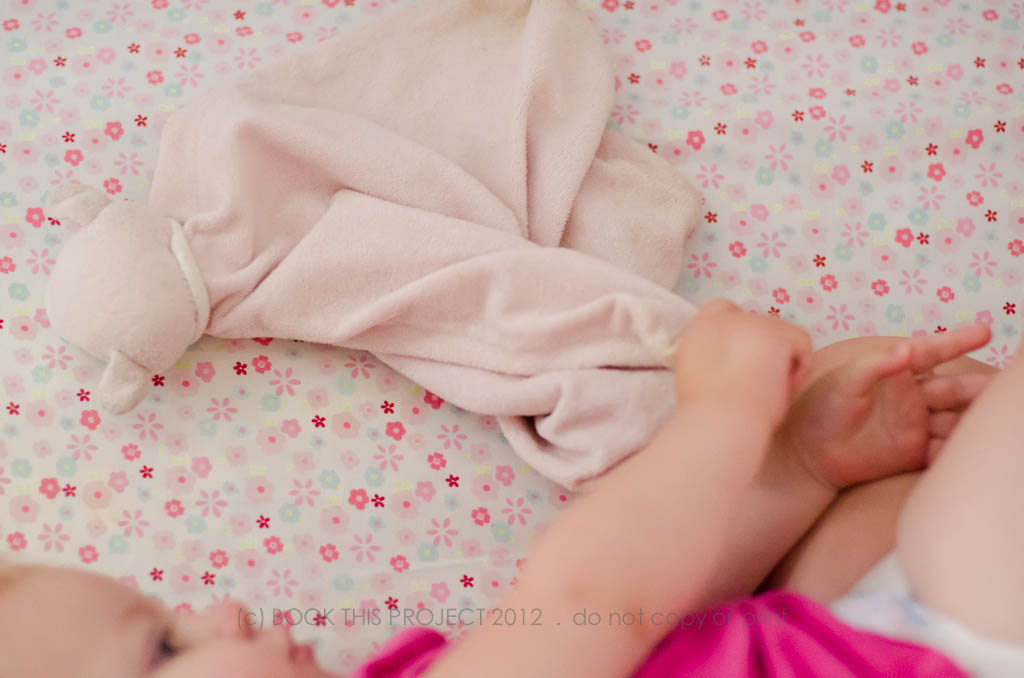

Take action! Capture your child’s favorite toy, object, or stuffed animal sometime this weekend. Have a goal, to photograph them while they are interacting with it. But…if not, you can always isolate the object. Your child will love having a photograph of their favorite thing!
Check out the blog on Monday to see how I transform these photos into a design layout!
And with this post, I have marked off two items on my 50 Essential Ways to Photograph your Family in a year. Do you have your copy yet? If not, make sure to sign up for the newsletter by clicking this image:

by Stacey Wiseman | Jun 22, 2012 | Description, Family Photographs, Inspiration, Photo Book Design Layout
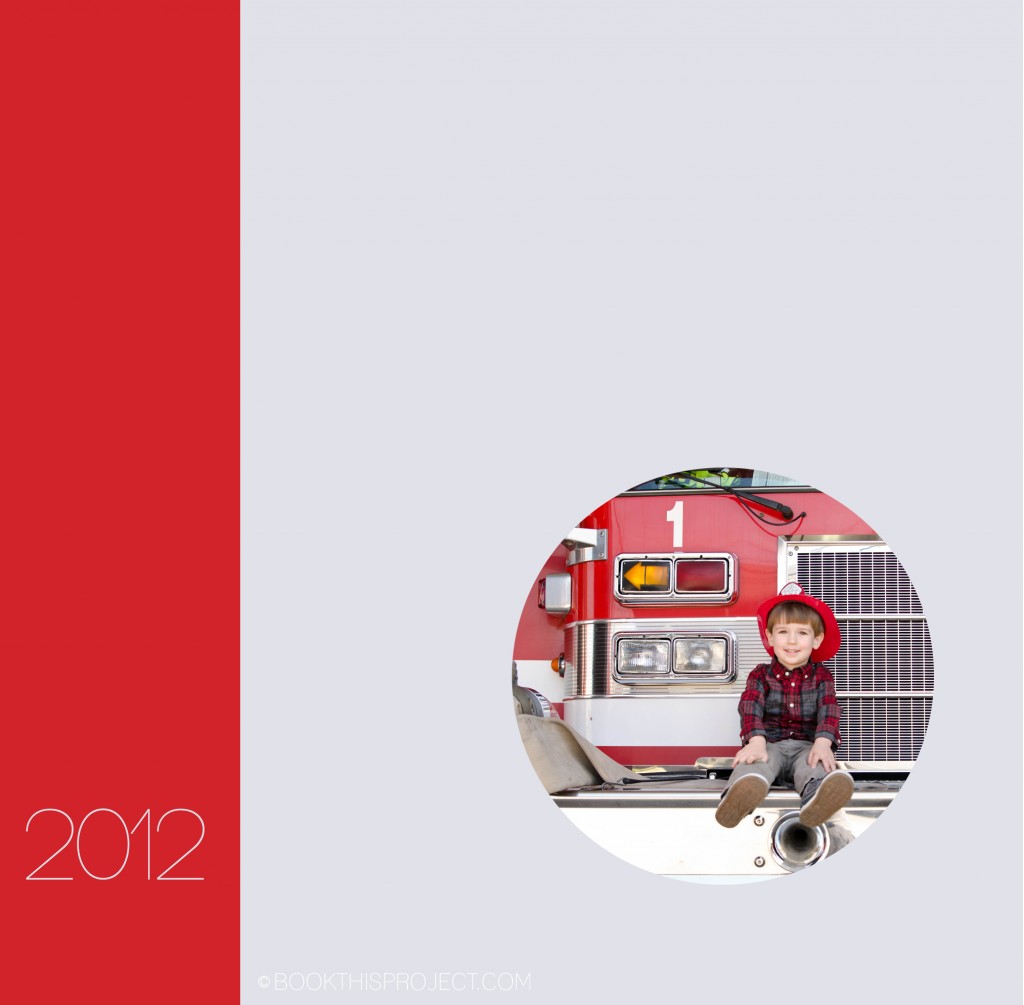
My intention for this book cover idea is to have the red bar wrap around the spine and the back. The front cover has a photograph of my son; the back cover features my daughter. These photographs speak more to their adventures as a kids and so I have titled this example: “Adventures in 2012.”
[divider] If you love this example or if it gives you some ideas for your photo book, pin it!
by Stacey Wiseman | Jun 15, 2012 | Description, Family Photographs, Inspiration, Photo Book Design Layout
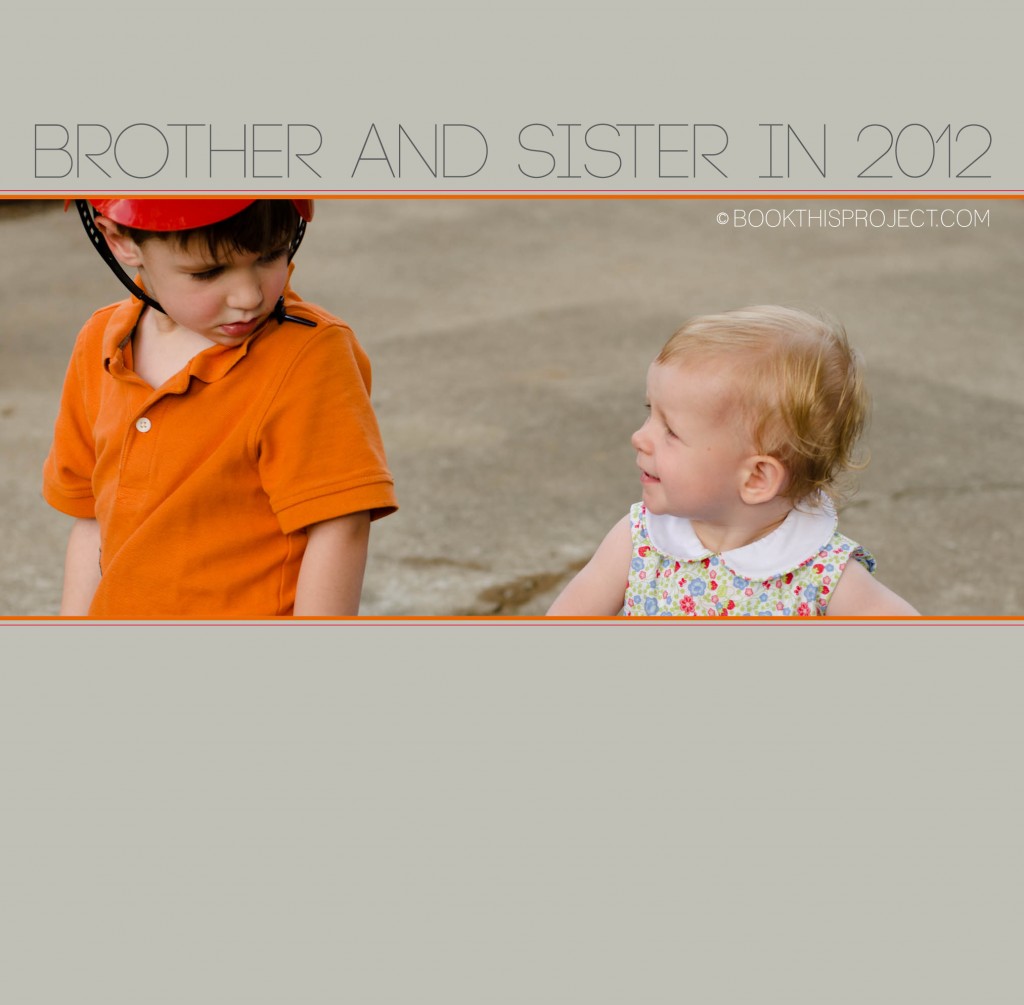
Today’s 2012 Cover Series highlights the interaction between my two children. I have cropped it tight to focus on their glances and I used two small lines at the top and bottom of the photograph to symbolize my two kids. The title is simple and points out the focus of the photograph selected for the cover. Plus it gives some indication that in my family book, I am going to focus on them – brother and sister!
[divider] If you love this example or if it gives you some ideas for your photo book, pin it!
by Stacey Wiseman | Jun 14, 2012 | Family Photographs, Inspiration, Photograph
Now that it is June, it is time to start thinking about and taking summer photos. To me, that means picnics, barbecues, and nothing says summer quite like a pool photograph. I love Lynne Rigby and I love Lynne Rigby’s photographs. She is amazingly talented – both with her camera and teaching. Truly inspiring lady. But…today…I want to focus on her pool photographs. I loved so many of them last year and already a little giddy for her photographs this summer.
Her photographs highlight the sun sparkle, the waves of the pool, and her kids in and out of the water. Here is a great photograph to get you inspired for your pool photographs this summer. And just warning you…there may be more. Seriously love her!
I want to see your summer photographs! I have started a flickr set that you can link your photograph to. Or you can always leave a comment below with a link to your blog post, Facebook page or flickr set. Love to see each other’s work!!!
by Stacey Wiseman | Jun 8, 2012 | Description, Inspiration, Photo Book Design Layout
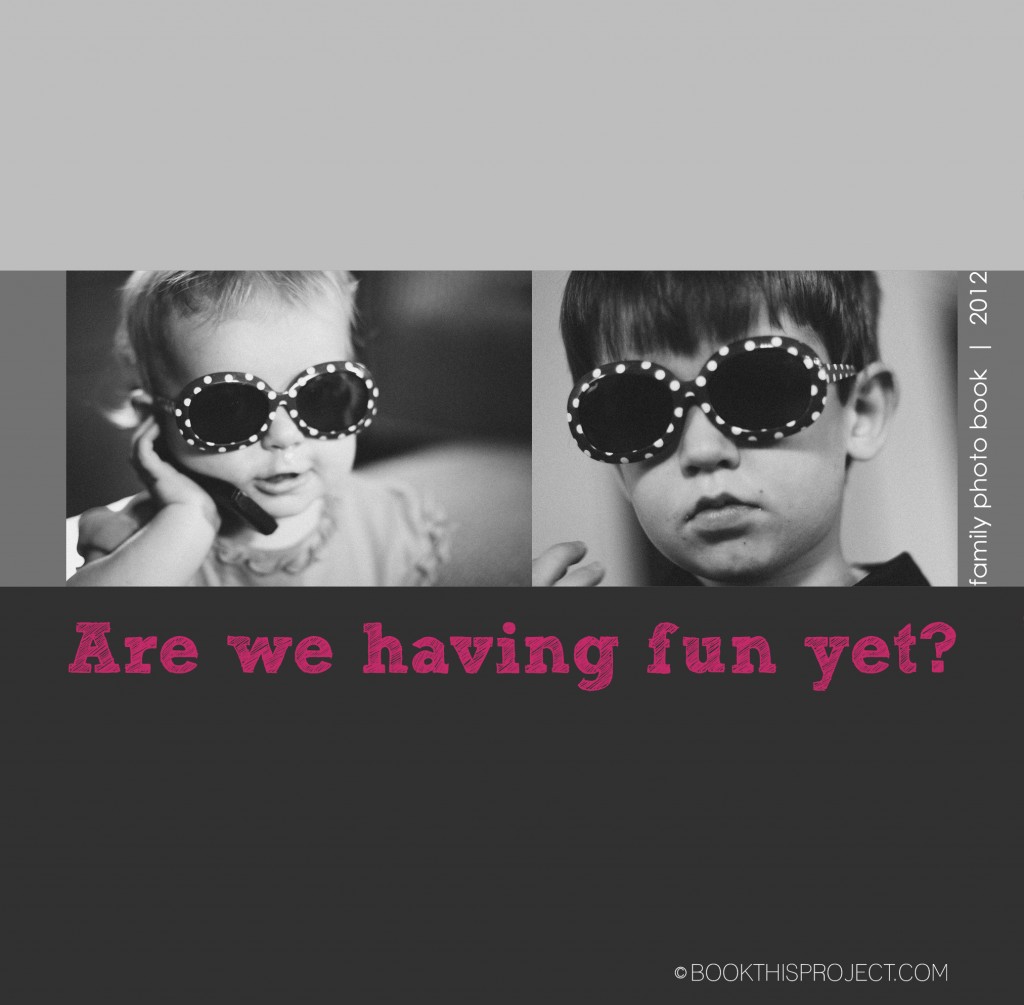
My previous cover examples all feature one photograph. In this cover design, I am featuring one photograph of each of my children. However to tie them together, the two photographs have something in common – sunglasses. They are wearing the same sunglasses and I thought it was really cute, not only of my little girl wearing her glasses…but also big brother! This is a great tip for you as you begin thinking about your cover. Perhaps it is a couple of photographs of your kids doing a similar activity. Or it could be a from a similar season – ie two photographs from the summer time.
Another thing to keep in mind when using two photographs on the cover is the scale of the subject. This particular example could be improved, my son’s face fills the frame a little more than my daughters, but you will notice they are both head shots. If you have a full body shot of one kid, it is a good idea to include a full body shot of the other. It ties them together. Of course there are exceptions, but starting out, it is a good idea to keep things similar!
Finally, for the title of the book, I decided to use a phrase or question. If there is something that really ties to the photograph on the cover or something that you or one of your kids likes to say, this would make a perfect cover title.
[divider] If you love this example or gives you some ideas for your photo book, pin it!
by Stacey Wiseman | Jun 1, 2012 | Description, Family Photographs, Inspiration, Photo Book Design Layout, Photograph
For this photo book cover, I am incorporating the two shades of dark gray with a black and white photograph. This gives the cover a stately simplicity that would perfectly set up a modern photo book. For the interior of the book, the same dark gray with light gray font could act as the section pages, dividing the custom photo book into months, seasons, or events!

[divider]Make sure you pin it!
[divider]

 Last year, I added a waterproof camera to my Christmas wish list. I thought it would be a fun way to experiment with my photography and a new way to capture our kids. Our goal is to spend a little more time in the pool this summer…and when we go on vacation – the ocean.


