by Stacey Wiseman | Aug 19, 2013 | Photo Book Design Layout, Photograph, Tutorial
Getting in the frame is challenging to accomplish but can be so rewarding. Often times, we are so busy practicing our photography or documenting out kids’ lives that we forget to get in the frame so your kids’ have memories of you as well.
One of the reasons I love designing photo books is to step back and shoot with a purpose – take photographs specifically to go in your photo book.
And this is the perfect opportunity. Plan to photograph with the intention of this going in your photo book.
Here are some of my suggestions.
– 1 –
Set up the tripod.
Set up the tripod, the remote, the timer or get a friend/husband/relative to take the photographs for you. For this layout, my design was to feature several ‘outtakes’ so I was okay with multiplicity and imperfection.
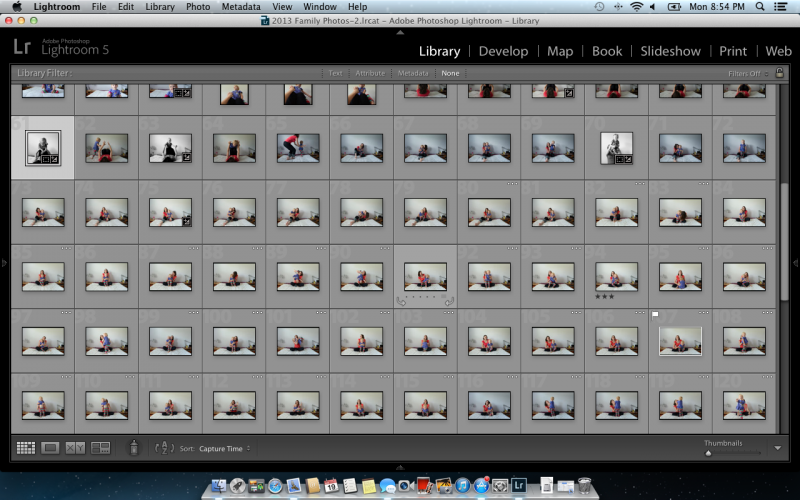
I set up the timer with 10 consecutive shots to be taken every 2 seconds. My daughter would push the button and then run towards me.
– 2 –
Take the photos.
Take plenty of photos to make sure you get a few photos that will work for your book. The goal is to get at least one photo that you really love.
[divider] – 3 –
Select one.
Find your favorite photo, edit it as desired. Export to a larger size. For my photo book, I exported out at 9″ long by 6″ wide.

[divider] – 4 –
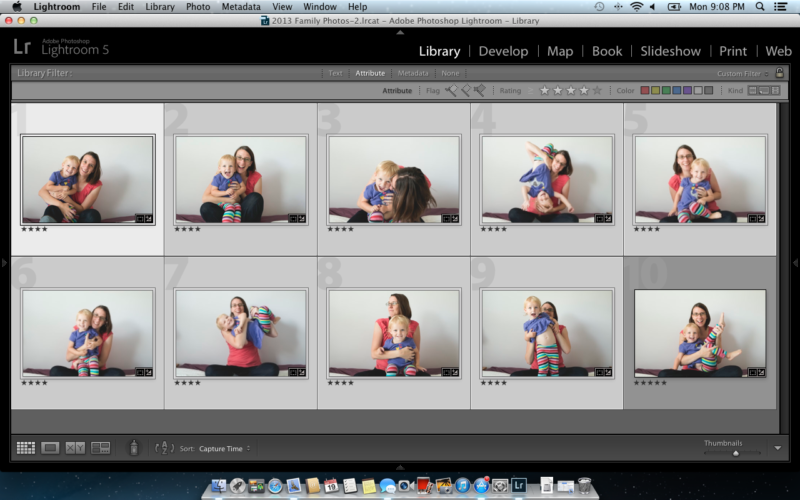
Select nine.
For this grouping, you don’t have to worry about perfect photos. This is mainly to get a sense of the fun that you were having with your little one. The key for editing this group is consistency. Export the photos at the same size. For my book, I exported with the short side set to 3″.
[divider] – 5 –
Design the layout.
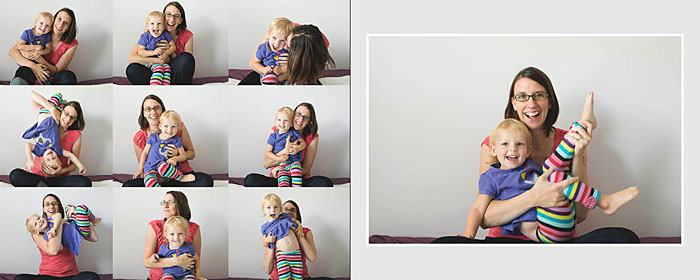
Now it’s time to get the photos into your book. Select one layout with a grid of nine images and another layout with one photo box. If you had trouble narrowing your selection in step 4, create a grid with the appropriate number of photos. The key here is to create a grid of images. You decide if you want a margin or for it to bleed off the page. For the singular photo, decide if you want in the center or aligned to one side.
[divider] So make some time this week to get in the frame and design a spread for your photo book!
by Stacey Wiseman | Aug 10, 2013 | FREE!, Photo Book Design Layout, Podcast
Lately I’ve been writing a lot about vacation photo books. Today I want to include a couple of tips on taking vacation photos and designing your vacation book.
This may help you decide which photographs to use and what to do with them. Or if you are like me, perhaps you have one vacation planned for Labor Day weekend!
First, take a look at the vacation book I designed last summer.
[divider] Second, here is a free download of 8 tips for your vacation photo book. (Here is a smaller version of the download – perfect for viewing on your mobile device!)
[divider] Third, here is my August podcast. I apologize for the quality. I’m staying at my in-laws while our house is being renovated so I didn’t have my microphone – and – I have a bit of a cold!
Leave a comment below letting me know your favorite tip to use in your vacation photo book!
by Stacey Wiseman | Jul 19, 2013 | Photo Book Design Layout, Q&A
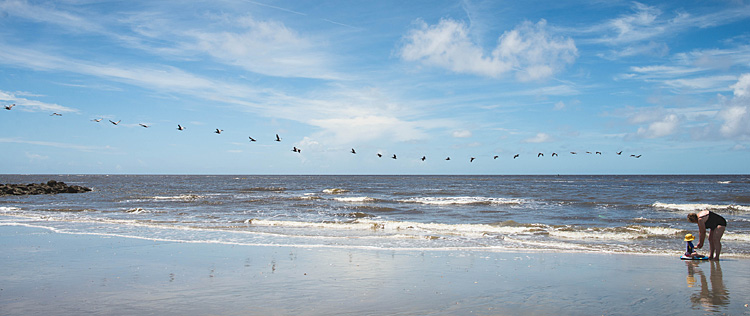
Yesterday, I showed you how I took some photographs on a crowded beach during our recent vacation.
Today, I want to show you how to incorporate your vacation photos into your annual family photo book.
 Q: We just got back from vacation and I would love to put some photos in my annual family photo book. But I have a lot of photos. How do I decide which photos to use and how to place them in my book?
 A: Yes! You should definitely put some of your vacation photos into your annual photo book. But it is easy to see how you could get overwhelmed with the number of photos…I have a couple of suggestions for you.
1 : Decide how many pages you want to include in your book.
This depends on how many pages are in your book – and – how long your vacation was.
If you have a 400 page photo book, it is easier to fit more vacation photo pages in your book. If your annual photo book is only 100 pages, and it was a week trip (or less), I recommend only one spread. (Unless you don’t take as many photos throughout year as I do.)
My annual photo book is 240 pages with about 20 pages per month. So I’m going to use 2 spreads (4 total pages) for my book.
Another family book I have designed, they took a very long vacation in June, so I devoted the whole month to their vacation.
2 : Decide how many photos you want on these pages.
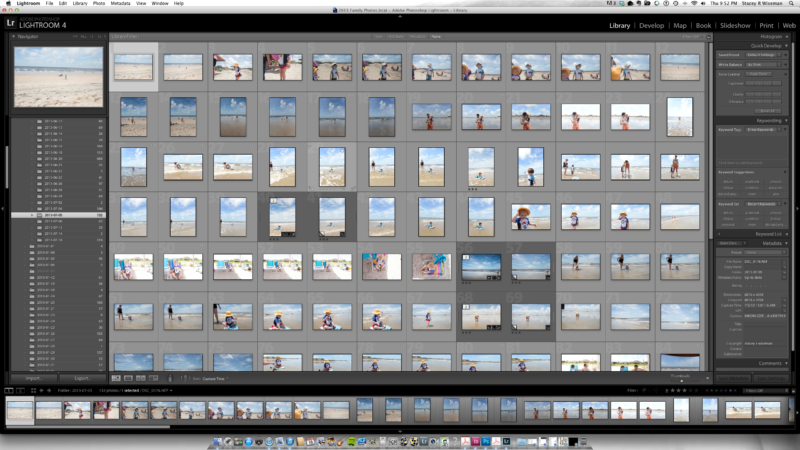
Once you know the target number of pages, you can decide how many photos you want to include. Use a rating system in order to narrow down your photos. Keep in mind the orientation and the content of the photos. You may only want to show certain photos that really tell the story.
If you have so many more photos that you can’t decide, design your own vacation book. That way you can include a lot of your vacation photos and only include your very favorite in your annual family book.
3 : Decide on the look of the layouts.
If you are familiar with this blog, you know I recommend designing your layouts while you are selecting your photos. How can your photos inform your layouts? Are they mostly horizontal? Vertical? Do you have a couple of standout photos? Or are you wanting to collage a collection of them together? Are they color? Black and White?
For my recent vacation, I had a lot of horizontal photos but one main vertical photo of my son on his boogie board. I decided I wanted to find one horizontal photo that could work as a full spread bleed. Then I would use the second spread as a collage, mixing in my vertical photo, with some beach portraits and another fun photo really showcasing the beach.
Here is what I came up with.
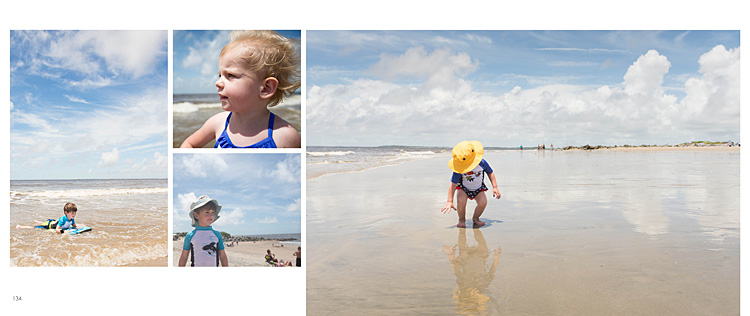 I hope this Q&A has helped you with how to incorporate vacation photos into your book.
Leave a comment below letting me know where you went (or are heading) for your vacation this summer!
And stay tuned…in August I hope to have a custom book design option for your vacation photos.
by Stacey Wiseman | Jun 10, 2013 | Inspiration, Photo Book Design Layout, Podcast
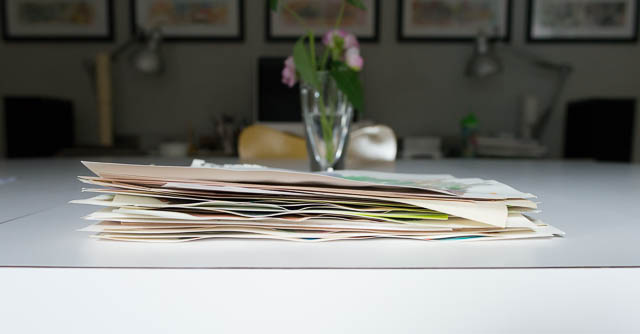
Do you have hundreds of your kid’s paintings laying around? You love them all but no sure what to do with them. You don’t really need to keep them all…but you hate to throw them away.
How about putting them in your photo book!
This is a great way to document and preserve them but not have them physically around. It makes your conscience feel a little better throwing them away to know that they will be in your photo book at the end of the year.
Of course you could frame a couple of your favorites but putting them in a book allows several to be on a spread every month so you can have variety and color all in one place.
Here are a couple of tips for including paintings, drawings or crafts in your photo book.
– 1 – Taking the Photos
When turning artwork into jpegs, the important thing is to standardize. Scanning is obviously the easiest way to achieve this because you can line up the artwork on the scanning guides. And it flattens the work while it scans.
If your scanner is not as accessible (as mine is) or the artwork is larger than the glass (again, my case here), then taking photos of the artwork is the next best option. Wait until you have a stack of artwork and set up an area to take the photos one by one.
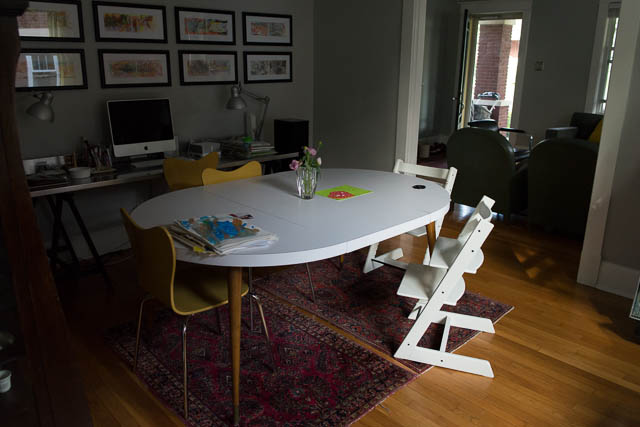
In this example, I used our dining room table. Although it’s not terribly bright, there was a nice gentle light in which to photograph. Setting up a tripod, in this case, setting it on the table, would help to standardize the process – every frame would be exactly the same.
 For this example, I decided to use a wall surface to photograph the work. Obviously the clipboard and the wall would be in each photo, but that could also add a design element to the layout. If you don’t want the clipboard showing, you could always use tape (adds a bit of time). Shooting on the wall is helpful because you can minimize the shadow created by the artwork itself.
– 2 – Editing the Photos
Next, you should import your photos using the method you typically do for sorting and editing. I use Lightroom, so I created a separate special collection with a keywork “artwork.” This helps to keep all of my kid’s artwork in one place in my catalog.
Then I added a noise reduction, slight increase in exposure and vibrance, and lifted the shadows a touch in my tone curve. I created my own preset to save time in the future.
Finally, I exported the photos at 300 dpi to the approximate image size in my photo book.
– 3 – Layouts
There are several different options for using artwork in your book.
In this example, the craft is added directly to the layout with photographs.
[divider]
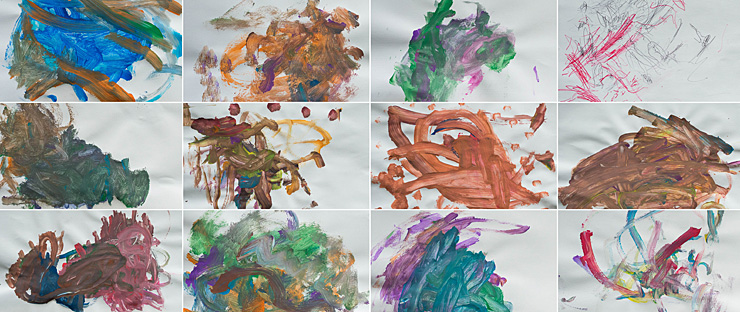
This example features a grid of the paintings on one spread.
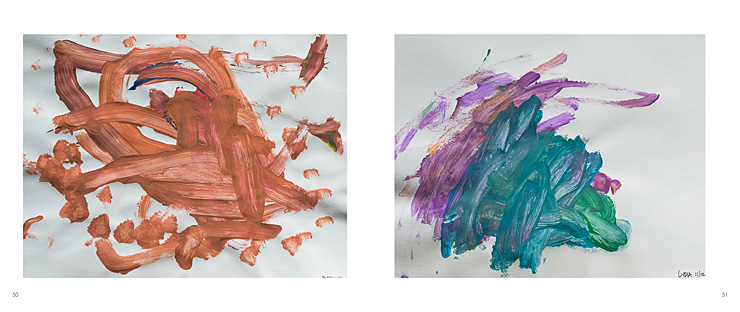
Here is how it would look with individual artwork from each of my kids.
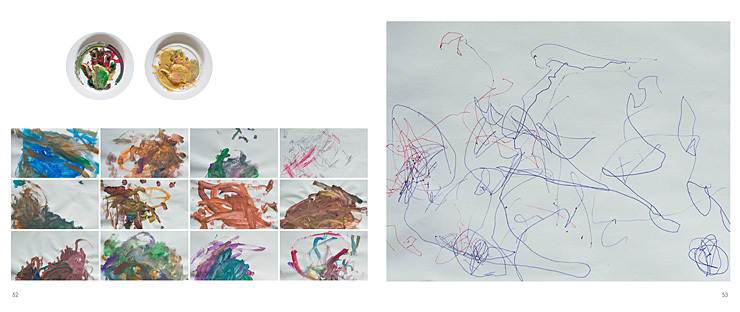
Finally, here is a combination of the above. I have individual works from my kids (their handprints), a small grid of paintings, and a large drawing on the right hand side.
Here is a video providing a little more detail into how I took, edited and placed my kid’s artwork into a photo book.
Leave a comment below telling me your favorite option or what you do to preserve your kid’s artwork!
by Stacey Wiseman | May 20, 2013 | Photo Book Design Layout, Podcast
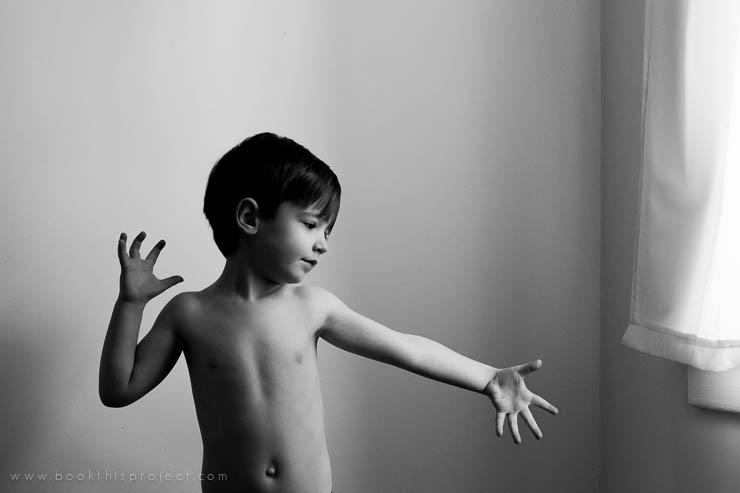
In this month’s podcast, I illustrate how I changed a photograph for my full spread divider and how I create a little more variety while maintaining constant elements.
For February, I ended up selecting 89 photos for contention. Quite a bit more than my 43 in January…but somehow I found a way to keep to my outline and not create additional pages.
Here are the pages featuring my February photos in my family photo book.
Now it’s time to check out my short video to see me walk through the pages!
by Stacey Wiseman | May 14, 2013 | Photo Book Design Layout, Q&A
Question:
I’m using LR4 Book Module to design my book. I’m curious if there is a way to use one of the provided page layouts and take one of the picture squares to use it as a text box? I’d love to just pop my text into one of the picture squares from a page layout that doesn’t have a text area. I feel like this should be easy to insert text where I want but I cannot figure out how! Any insight on this would be so so appreciated!
Answer:
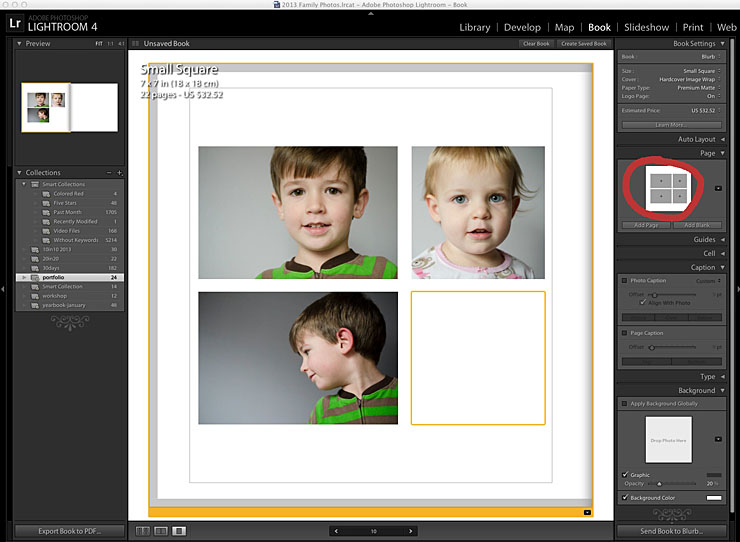
Great question! I agree, text is not the easiest to include in the Book Module. This may be something they are fixing in the upcoming LR5 release.But it is possible. Here’s what I did! I selected a 4 photo page:
Then instead of filling the fourth photo, I selected the photo above (top right) and selected “Caption.”
This is the key, I adjusted the offset in order to get the text to line up with the other photo.

Next, you can adjust the style/size of font to suit your book.
There you have it! A simple way to cleanly add text to your layouts using the LR4 Book Module. Do you have a question about how to use the Book Module? Leave a comment below and I’ll address it in an upcoming post!
by Stacey Wiseman | May 9, 2013 | Photo Book Design Layout, Product Feature
I’m so excited to share my featured product for May: a photo book template for your child based on the British nursery rhyme, The House that Jack Built.
I love this idea and I know my son will have a fabulous time reading it.
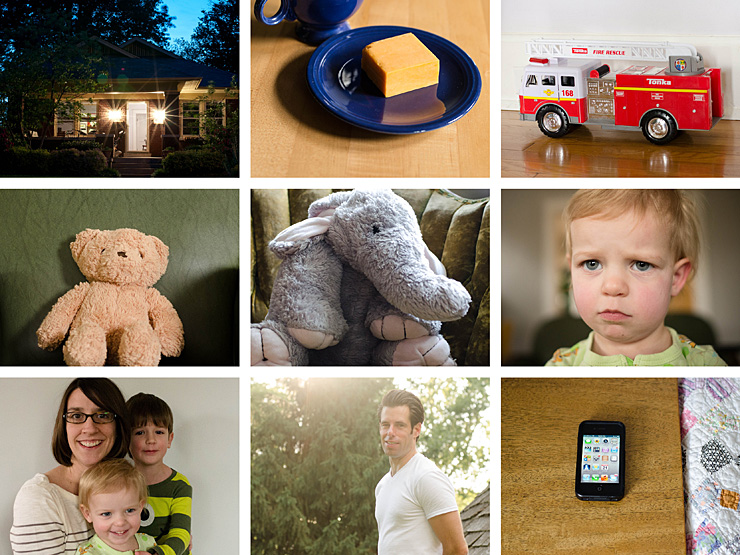
Here is the premise, take objects and details from your son’s or daughter’s life and incorporate them into building narrative. Each page leads into the next. This means family members, stuffed animals, favorite toys and favorite snacks.

In this photo book template, I provide everything you need to create the book.
The narrative, the photo ideas, recommendations for font styles and sizes and an 11 minute video showing you exactly how to use the photo book template for Blurb’s BookSmart.
Here is the last page of my story:
This is the phone that woke up
daddy not shaven or shorn,
who kissed mommy in clothing worn,
who fed Lydia all forlorn,
who loved the elephant with the big, loud horn,
that startled the bear,
who pushed the fire truck,
that carried the cheese,
that lay in the house that Alden built.
Here are all of the photos I used for my son’s book.

[divider]Here is the entire book:
[divider] Don’t you love it!!!!
By downloading this template, you can create this book for yourself. The photo book template is sized for a 7″x7″ book and with a soft cover book from Blurb, this is a $15.39 + tax + shipping.
Your download includes:
- 7″x7″ template file for Blurb’s BookSmart
- 11 minute video on how to use the template
- 3 page instruction manual
- 9 color fill jpegs
To get your template, click here!
by Stacey Wiseman | Apr 20, 2013 | Description, Photo Book Design Layout, Q&A

[divider] Are you wanting to design your own photo book but have no idea how to begin?
You don’t even know how to select the best photo book company or program to use. This month’s Q&A will definitely help you out!
 How to choose which photo book program should I use?
 This is a great question and actually really influences the type of photo book you want … and the design process itself.
Are you looking for a no-fuss process? Do you want the fastest way to design a book? Are you looking for some creative choices but don’t want to be overwhelmed? Do you love having complete control?
Do you want a lot of photos in a grid layout? Do you want fewer photographs in a more specific layout?
Do you want to start with a clean / blank layout (think black or white backgrounds) or do you want a bit of design?
Every single one of these questions influences which company, process and program you should use.
The best single piece of advice I can offer: Spend a little time right now to decide what you want before you download a program. You’re more likely to get the results you want in the end, if you start with an intelligent choice in the beginning. Here are some options to consider.
First, start with the photo book company.
If you’re looking for a template to add photos to, check out Snapfish, Shutterfly or TinyPrints.
If you’re wanting to start with a basic background, white, black or solid color, look into Blurb, My Publisher or AdoramaPix Books.
How do you decide? Look for the specific design templates, page layouts and/or finish options that speak most to your vision. Look at the cover, the binding, the paper options.
[divider] Second, think about the design control you want to have.
Does the photo book company you are considering have an autoflow option (if you want a quick design) or a custom layout option (if you want more design control)?
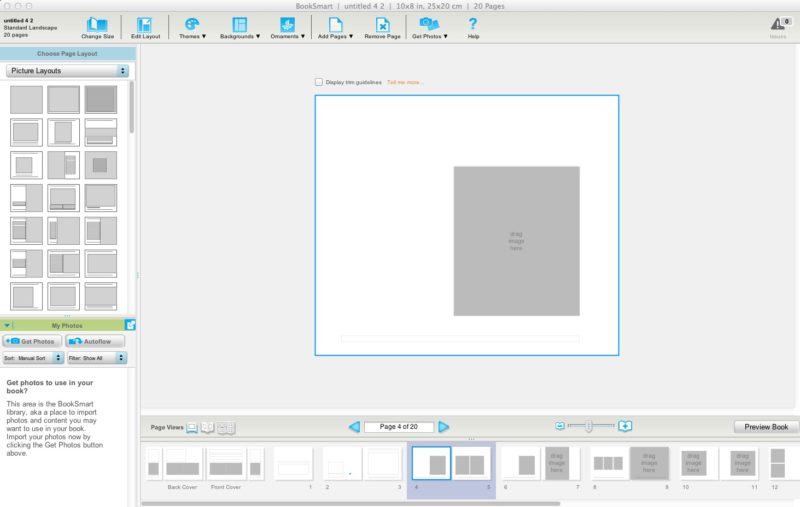
I’m more familiar with Blurb so I wanted to outline the three options they provide to design a photo book.
1 – Bookify: This is purely an online, cloud-based, program. It does not have an application that you download to a desktop. This is great if you plan on working from various computers. You can not customize the page layouts and have to use the pre-designed templates. For simple books, chances are you’ll find what you want. These are great for autoflow books (where the program places the images for you automatically), especially if using instagram or facebook pics.
2 – BookSmart: This is an application that you download to your desktop. There are a variety of more advanced options that you can use to design layouts. There is an autoflow feature but you can also customize the page layouts. There are some restrictions to text – for instance size and rotation. But for the most part, you can be design a sophisticated book. There are layout options for full spreads (left and right side of the page) which is an awesome feature to have.
3 – Adobe InDesign Plug-in: Blurb provides a plug-in to be installed into Adobe InDesign in order to design photo books. All of the margins are established with the plug-in. You simply design what you want and upload it to their site. This option provides the maximum level of design and creative control. The only restriction is your knowledge and understanding of InDesign. I’m offering an upcoming workshop to educate how to design gorgeous books (and other documents) using this plug-in and InDesign.
Third, factor in cost. You don’t want to design your book and then realize the price is too high for you to order your book. Understand what to expect from the beginning.
There you go! My answer to help you select the perfect photo book program for you photo book project!
Do you have a specific request and want to hear my recommendation? Leave a comment below and I’ll let you know what I think may be the best option for you!
by Stacey Wiseman | Apr 10, 2013 | Family Photographs, Photo Book Design Layout, Podcast
It’s time for another video podcast where I illustrate steps / tutorials / examples for photo books. If you remember last month’s podcast, I started to fill in my outline with my monthly photo project – 10 photos in 10 hours. In this month’s video podcast, I fill in my 2013 January photos. You will see how I select photos and how I varied my layouts. And I critique my layouts – so you will see what I hope to change.
My goal is to show you my thought process as I design a photo book. Whether I’m designing your photo book – or you’re designing your own – you will see how the pages begin to come together. I’ll reveal a little bit of the design process each month – so make sure you follow along! Did you know you can sign up for my podcast feed in iTunes!
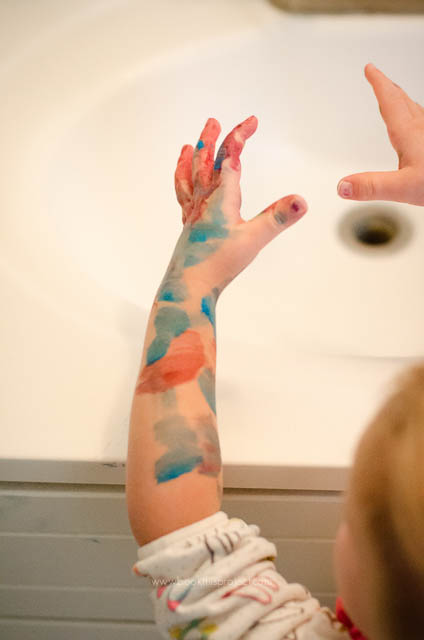
I’m really excited about this video because I’ll explain why I passed on this image with my son’s locked focus:

[divider] and instead selected this less than stellar image for my photo book.
[divider]
Make sure you leave a comment below with your favorite spread!
by Stacey Wiseman | Mar 22, 2013 | Cover Series, Family Photographs, Photo Book Design Layout
For this photo book cover, I wanted to use an out of focus photo to create a more abstract image for the cover. While this may not be the best photograph to use, it does point out if you like this concept for your cover to shoot with intention throughout the year. Every time you have a potential contender, give it a keyword like “cover” in Lightroom or iPhoto. Then at the end of the year, you can look through all of the options and decide which one works the best!
Here is the full image wrap cover for a square photo book.
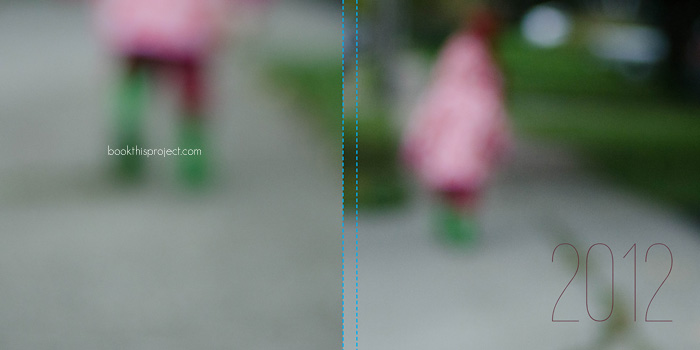
Here is the front cover.
